[EN] Splunk Installation
Hi everyone, in this article I will guide you how to install Splunk Enterprise on Linux server and Universal Forwarder on Ubuntu Client.
Splunk is one of the best SIEM solution that stands out with its comprehensive, valuable and strong features. Splunk is a Cisco company which means it has a strong development background.
We can install and use Splunk for free with trial version.
Here is how to download and install.
Splunk Enterprise Installation
The first thing we should do is download the relevant installation file which is Splunk Enterprise.
Download Page: https://www.splunk.com/en_us/download.html

Once you click the button, you’ll shown several downloading way. I’m going to use copy method.
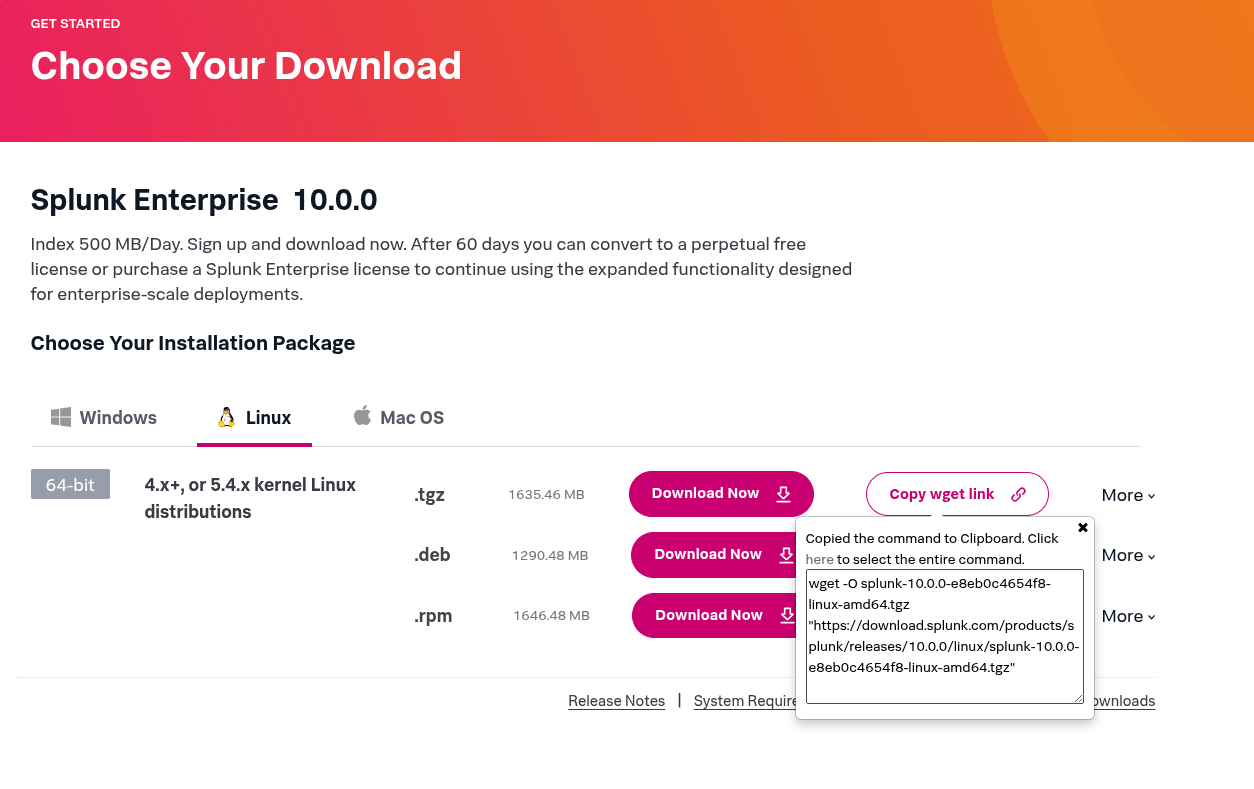
Basicially copy the command that begins with wget, then paste it in the terminal. Installation package is going to be downloaded.
Since the installation package has been downloaded, you’ll be able to see as follows.
 1ubuntu@ubuntu:~$ sudo wget -O splunk-10.0.0-e8eb0c4654f8-linux-amd64.tgz "https://download.splunk.com/products/splunk/releases/10.0.0/linux/splunk-10.0.0-e8eb0c4654f8-linux-amd64.tgz"
 2[sudo] password for ubuntu:
 3--2025-08-21 15:22:13--  https://download.splunk.com/products/splunk/releases/10.0.0/linux/splunk-10.0.0-e8eb0c4654f8-linux-amd64.tgz
 4Resolving download.splunk.com (download.splunk.com)... 2600:9000:243d:a600:1d:f9c1:d100:93a1, 2600:9000:243d:ca00:1d:f9c1:d100:93a1, 2600:9000:243d:1200:1d:f9c1:d100:93a1, ...
 5Connecting to download.splunk.com (download.splunk.com)|2600:9000:243d:a600:1d:f9c1:d100:93a1|:443... connected.
 6HTTP request sent, awaiting response... 200 OK
 7Length: 1714900912 (1.6G) [binary/octet-stream]
 8Saving to: ‘splunk-10.0.0-e8eb0c4654f8-linux-amd64.tgz’
 9
10splunk-10.0.0-e8eb0c4654f8-linu 100%[======================================================>]   1.60G  6.92MB/s    in 4m 0s
11
122025-08-21 15:26:13 (6.82 MB/s) - ‘splunk-10.0.0-e8eb0c4654f8-linux-amd64.tgz’ saved [1714900912/1714900912]
13
14ubuntu@ubuntu:~$ ls
15splunk-10.0.0-e8eb0c4654f8-linux-amd64.tgz
Next step you need to do is extract the files.
1ubuntu@ubuntu:~$ sudo tar xvzf splunk-10.0.0-e8eb0c4654f8-linux-amd64.tgz -C /opt
It’s going to take a little time. If you do not see any errors, you can start the Splunk server by typing this command.
1ubuntu@ubuntu:~$ sudo /opt/splunk/bin/splunk start --accept-license
 1This appears to be your first time running this version of Splunk.
 2
 3Splunk software must create an administrator account during startup. Otherwise, you cannot log in.
 4Create credentials for the administrator account.
 5Characters do not appear on the screen when you type in credentials.
 6
 7Please enter an administrator username: superAdmin
 8Password must contain at least:
 9   * 8 total printable ASCII character(s).
10Please enter a new password:
11Please confirm new password:
12Copying '/opt/splunk/etc/openldap/ldap.conf.default' to '/opt/splunk/etc/openldap/ldap.conf'.
13writing RSA key
14
15writing RSA key
16
17Moving '/opt/splunk/share/splunk/search_mrsparkle/modules.new' to '/opt/splunk/share/splunk/search_mrsparkle/modules'.
18
19Splunk> 4TW
20
21Checking prerequisites...
22	Checking http port [8000]: open
23	Checking mgmt port [8089]: open
24	Checking appserver port [127.0.0.1:8065]: open
25	Checking kvstore port [8191]: open
26	Checking configuration... Done.
27		Creating: /opt/splunk/var/lib/splunk
28		Creating: /opt/splunk/var/run/splunk
29		Creating: /opt/splunk/var/run/splunk/appserver/i18n
30		Creating: /opt/splunk/var/run/splunk/appserver/modules/static/css
31		Creating: /opt/splunk/var/run/splunk/upload
32		Creating: /opt/splunk/var/run/splunk/search_telemetry
33		Creating: /opt/splunk/var/run/splunk/search_log
34		Creating: /opt/splunk/var/spool/splunk
35		Creating: /opt/splunk/var/spool/dirmoncache
36		Creating: /opt/splunk/var/lib/splunk/authDb
37		Creating: /opt/splunk/var/lib/splunk/hashDb
38		Creating: /opt/splunk/var/run/splunk/collect
39		Creating: /opt/splunk/var/run/splunk/sessions
40New certs have been generated in '/opt/splunk/etc/auth'.
41New certs have been generated in '/opt/splunk/etc/auth'.
42	Checking critical directories...	Done
43	Checking indexes...
44		Validated: _audit _configtracker _dsappevent _dsclient _dsphonehome _internal _introspection _metrics _metrics_rollup _telemetry _thefishbucket history main summary
45	Done
46	Checking filesystem compatibility...  Done
47	Checking conf files for problems...
48	Done
49	Checking default conf files for edits...
50	Validating installed files against hashes from '/opt/splunk/splunk-10.0.0-e8eb0c4654f8-linux-amd64-manifest'
51	All installed files intact.
52	Done
53All preliminary checks passed.
54
55Starting splunk server daemon (splunkd)...
56Using configuration from /opt/splunk/share/openssl3/openssl.cnf
57..................+....+++++++++++++++++++++++++++++++++++++++++++++++++++++++++++++++++*..+......+++++++++++++++++++++++++++++++++++++++++++++++++++++++++++++++++*....+..+...+.......+...+..................+..+....+.....+....+.........+......+.........+..+....+...........+...+.+......+...+........+....+..............+.......+...+..+.........+....+.....+.+.........+.........+..+.+..+.+.....+......+...+...+...+......+.+.........+...+........+...+....+..+....+..+.............+..+...+.......+........+..........+.....+................+.....+.+.....+.......+.................+.+..+.......+...+.....+...+...............+....+...+...+.........+.....+....+..............+.......+.....+.+.....+.......+...+..+...............+......+....+...+..............+................+...+............+..+......+......+.+.....+.......+..+...+.......+...+......+.........+.....+.......+.....+.........+.+.........+..+....+...............+...+..+................+...+..+............+.+.........+...+..+++++++++++++++++++++++++++++++++++++++++++++++++++++++++++++++++
58.......+.+.........+...+...+......+.....+.+.....+..........+..+......+.+......+.....+++++++++++++++++++++++++++++++++++++++++++++++++++++++++++++++++*..........+.+++++++++++++++++++++++++++++++++++++++++++++++++++++++++++++++++*..+......+.........+......+............+........+.+......+.........+.....+.+..+.+..+.......+.....+................+..+.........+...+.+......+...+........+...+.+.........+..+.......+...+..................+.....+.+...+...............+...+...............+..+...+...............+....+......+...+......+.........+..............+.+......+.....+.+.....+...+.+..................+..+....+.................+..........+..+...+...+....+..+.+..+.......+.....+......+...+............+..........+...+..+...+..........+..+....+.....+...+.+......+...+........+....+......+...+............+..............+.............+...+...+.....+......+.+..............+...+......+...................+..+.........+.+.....+...+.+..............+...+...+............+.......+.....+...+....+.....+....+......+...+...+.......................+......+...+.......+...+........+....+.....+....+..+.......+...+..+............+...+......+.+...+...+..+...+...+.+...+...........+.+...........+....+.....+.+..+++++++++++++++++++++++++++++++++++++++++++++++++++++++++++++++++
59Warning: ignoring -extensions option without -extfile
60Certificate request self-signature ok
61subject=CN = ubuntu, O = SplunkUser
62Done
63
64
65Waiting for web server at http://127.0.0.1:8000 to be available............. Done
66
67
68If you get stuck, we're here to help.
69Look for answers here: http://docs.splunk.com
70
71The Splunk web interface is at http://ubuntu:8000
Splunk is running now. You can start to use it going to the URL that given to you.
1The Splunk web interface is at http://ubuntu:8000
If you struggle with reaching out web interface, use IP address of the server as follows.
http://Server-IP:8000/

http://192.168.1.49:8000/
Login by typing Username and Password that you’ve set during the installation.
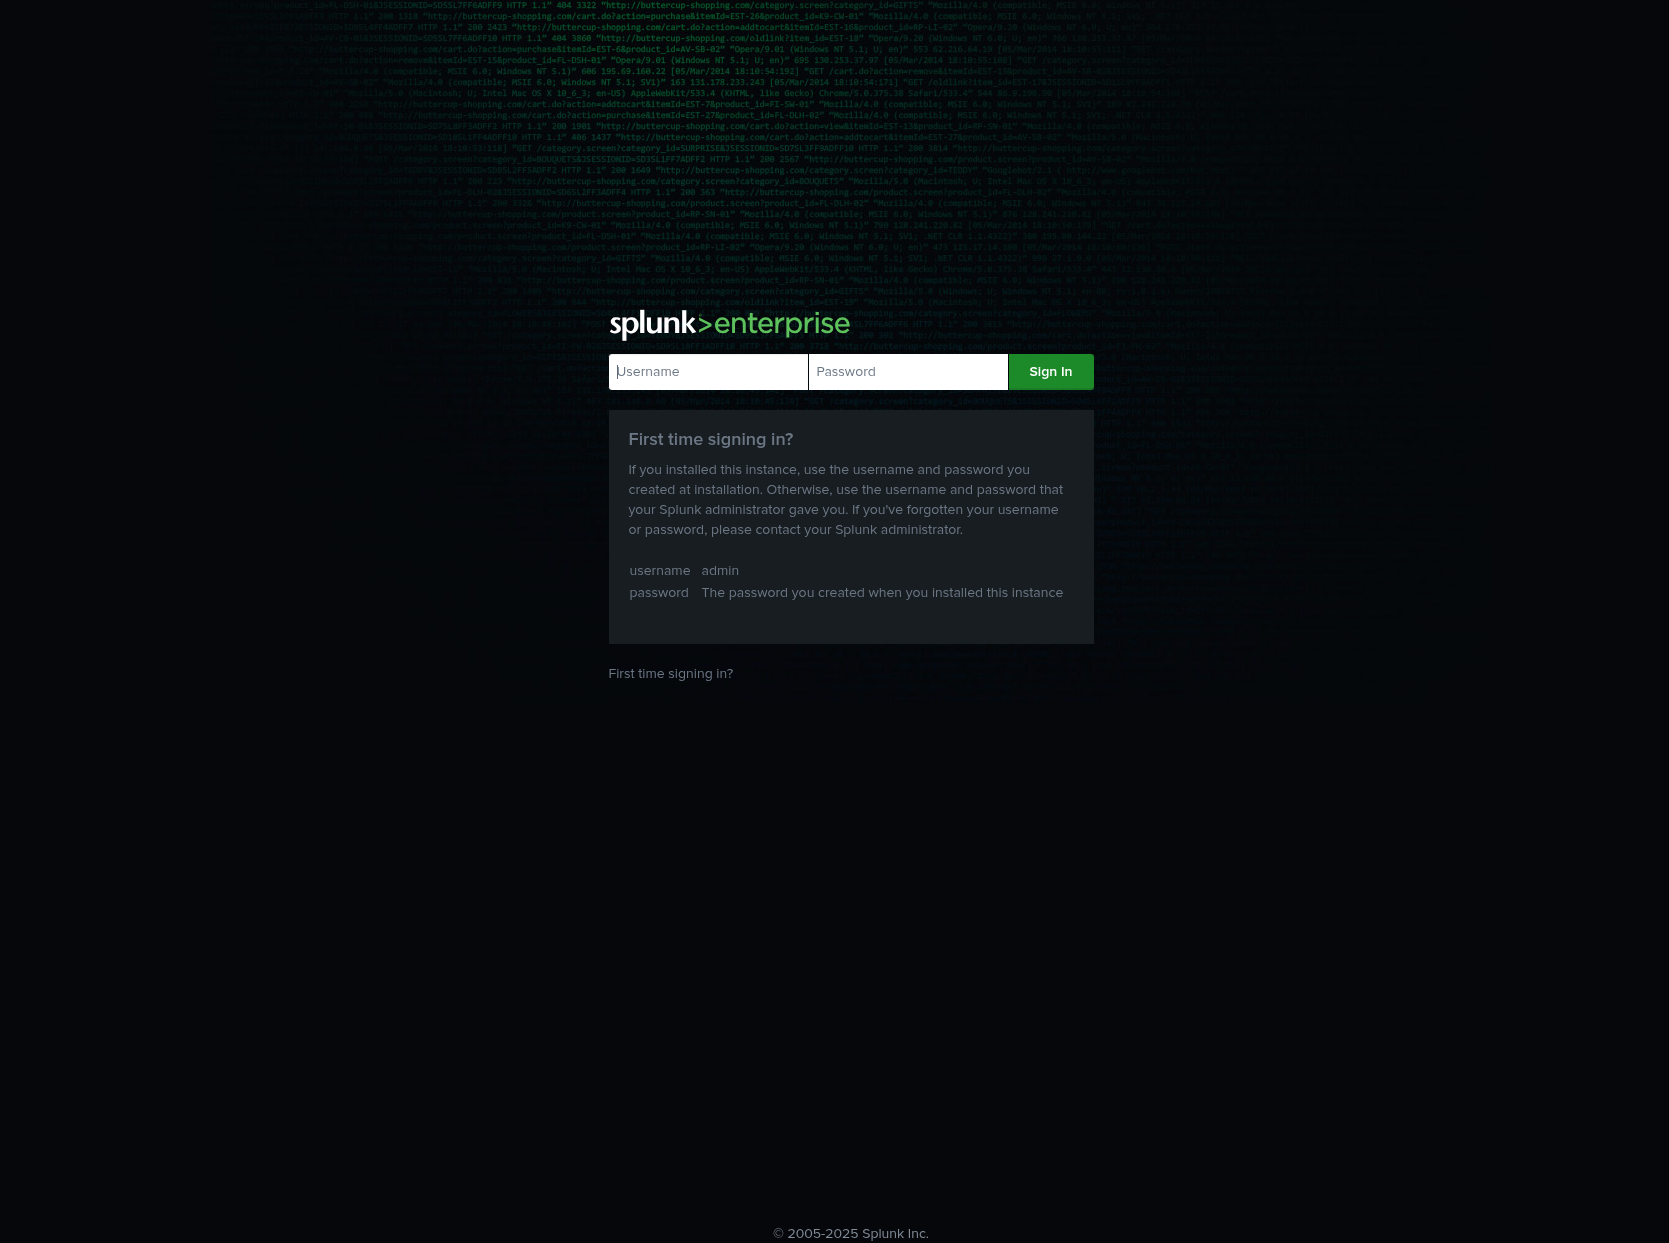

That’s all in terms of basic installation.
Thank you for taking time to read this article, I hope you will find it helpful.
Keep up the great work!