[EN] Vmware to Proxmox Migration
Hi everyone, in this article I will show you two methods for migrating virtual machines from VMware to Proxmox.
There are two ways to perform a VMware to Proxmox migration:
- Manual Method:
In this approach, you need to export the .vmdk and .ovf files from the ESXi host and import them into Proxmox using the following command:
qm importdisk <VM-ID> <TheNameOfvmdk> <StorageName> -format raw|qcow2

qm importdisk 100 Win22.vmdk local-lvm -format raw
- Automatic Method:
This method leverages the VMware ESXi API to automate the process. Later on, we will add the ESXi host under Proxmox VE > Datacenter > Storage > ESXi, enabling seamless integration
First, I will demonstrate the manual method. The steps are as follows:
I have a virtual machine named AD-DC on the ESXi host, and I will export its files.

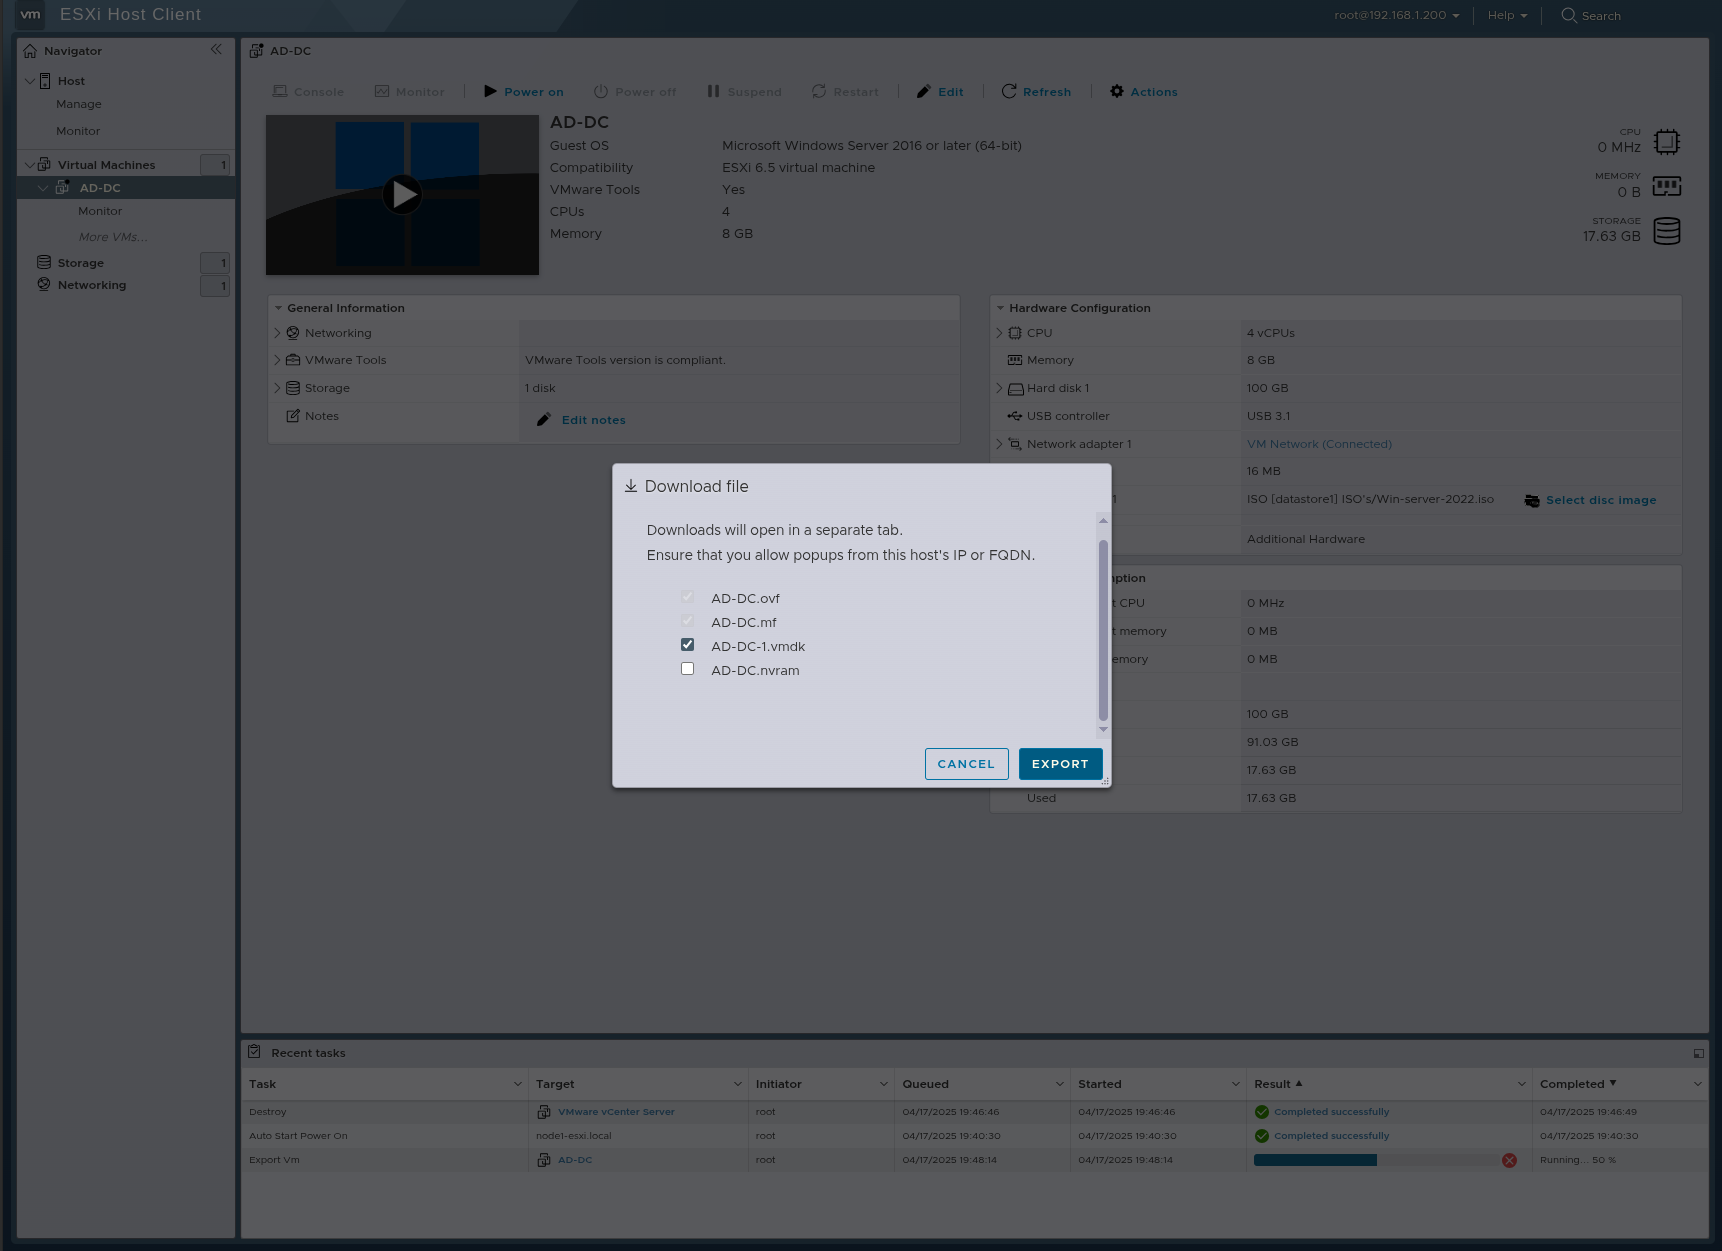
I have downloaded the necessary files as shown in the image above.
Next, I will create a new directory on my Proxmox VE via the CLI:
mkdir /media/VMWare
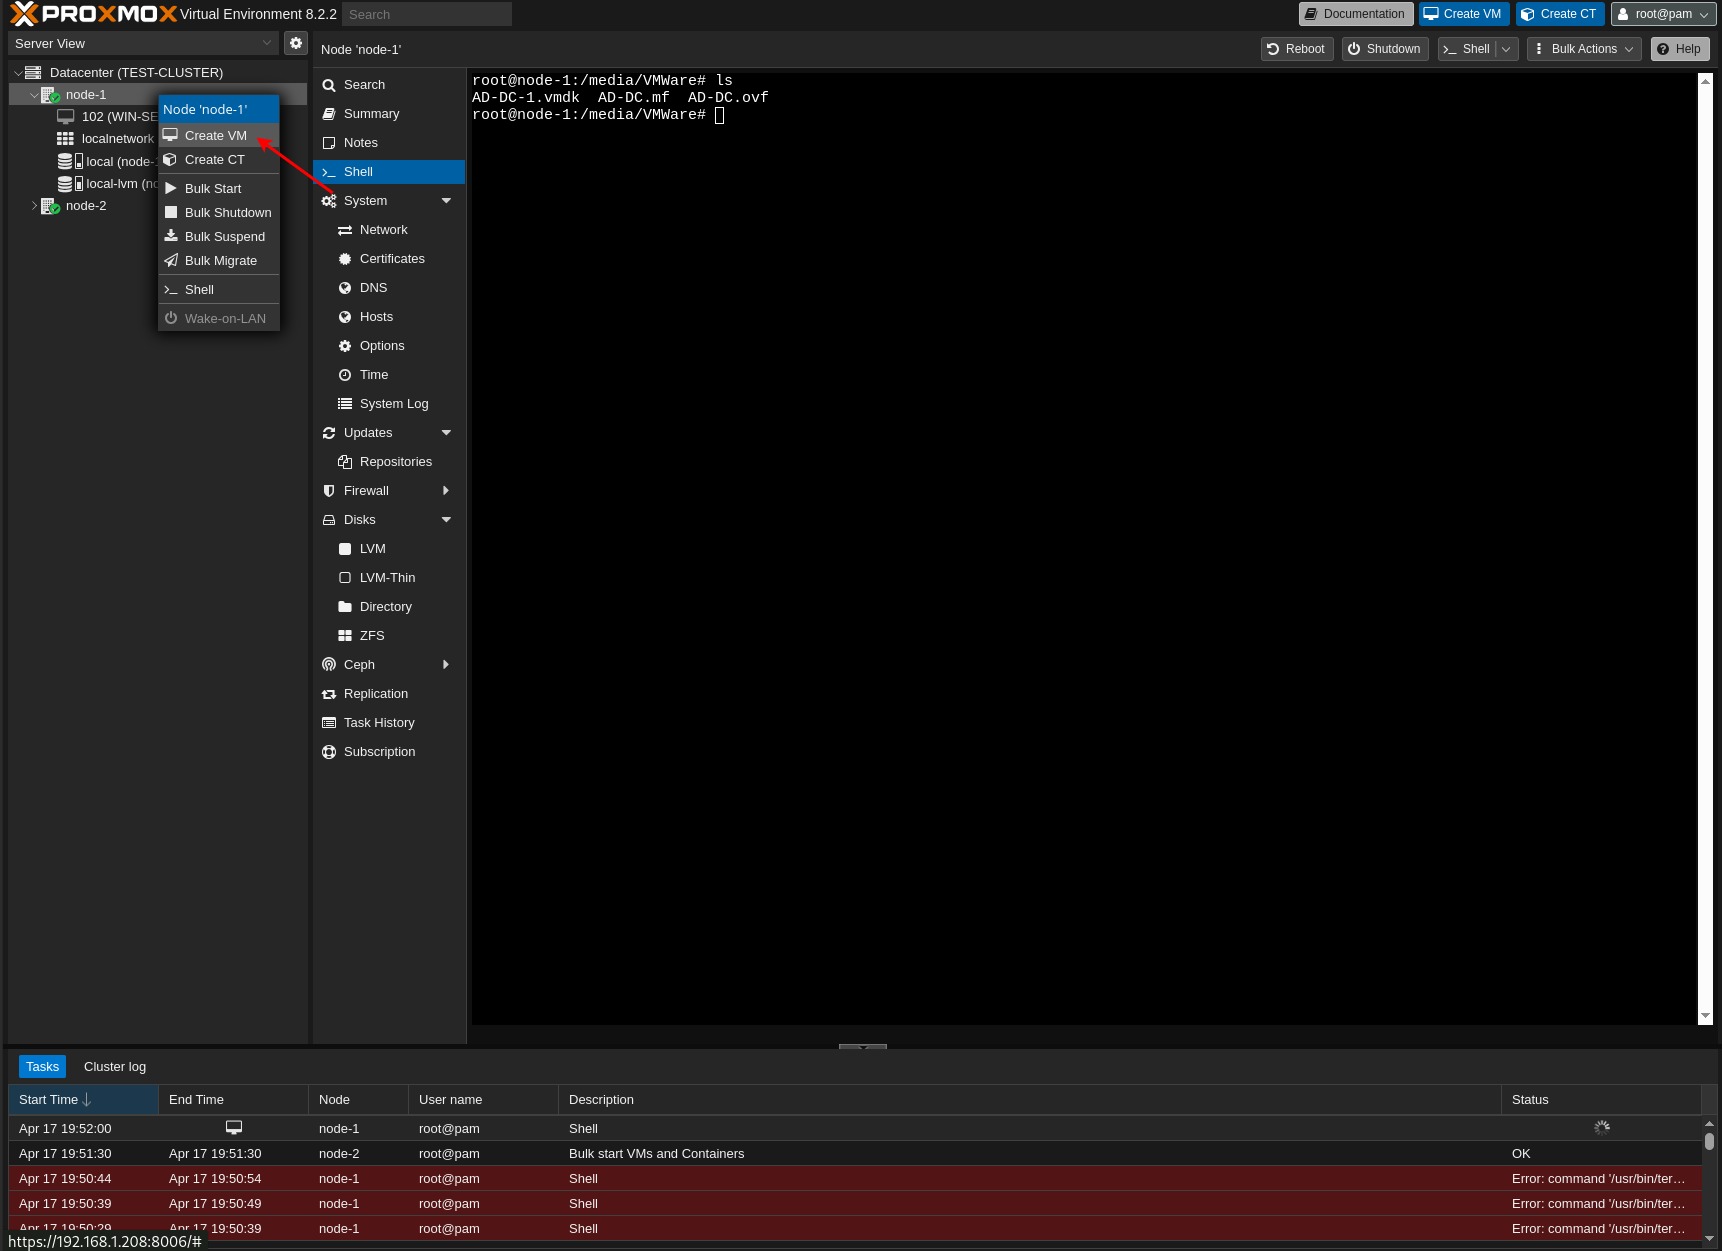
Then, I will transfer the downloaded files to the Proxmox VE using scp as shown below:
scp * root@192.168.1.1:/media/VMWare
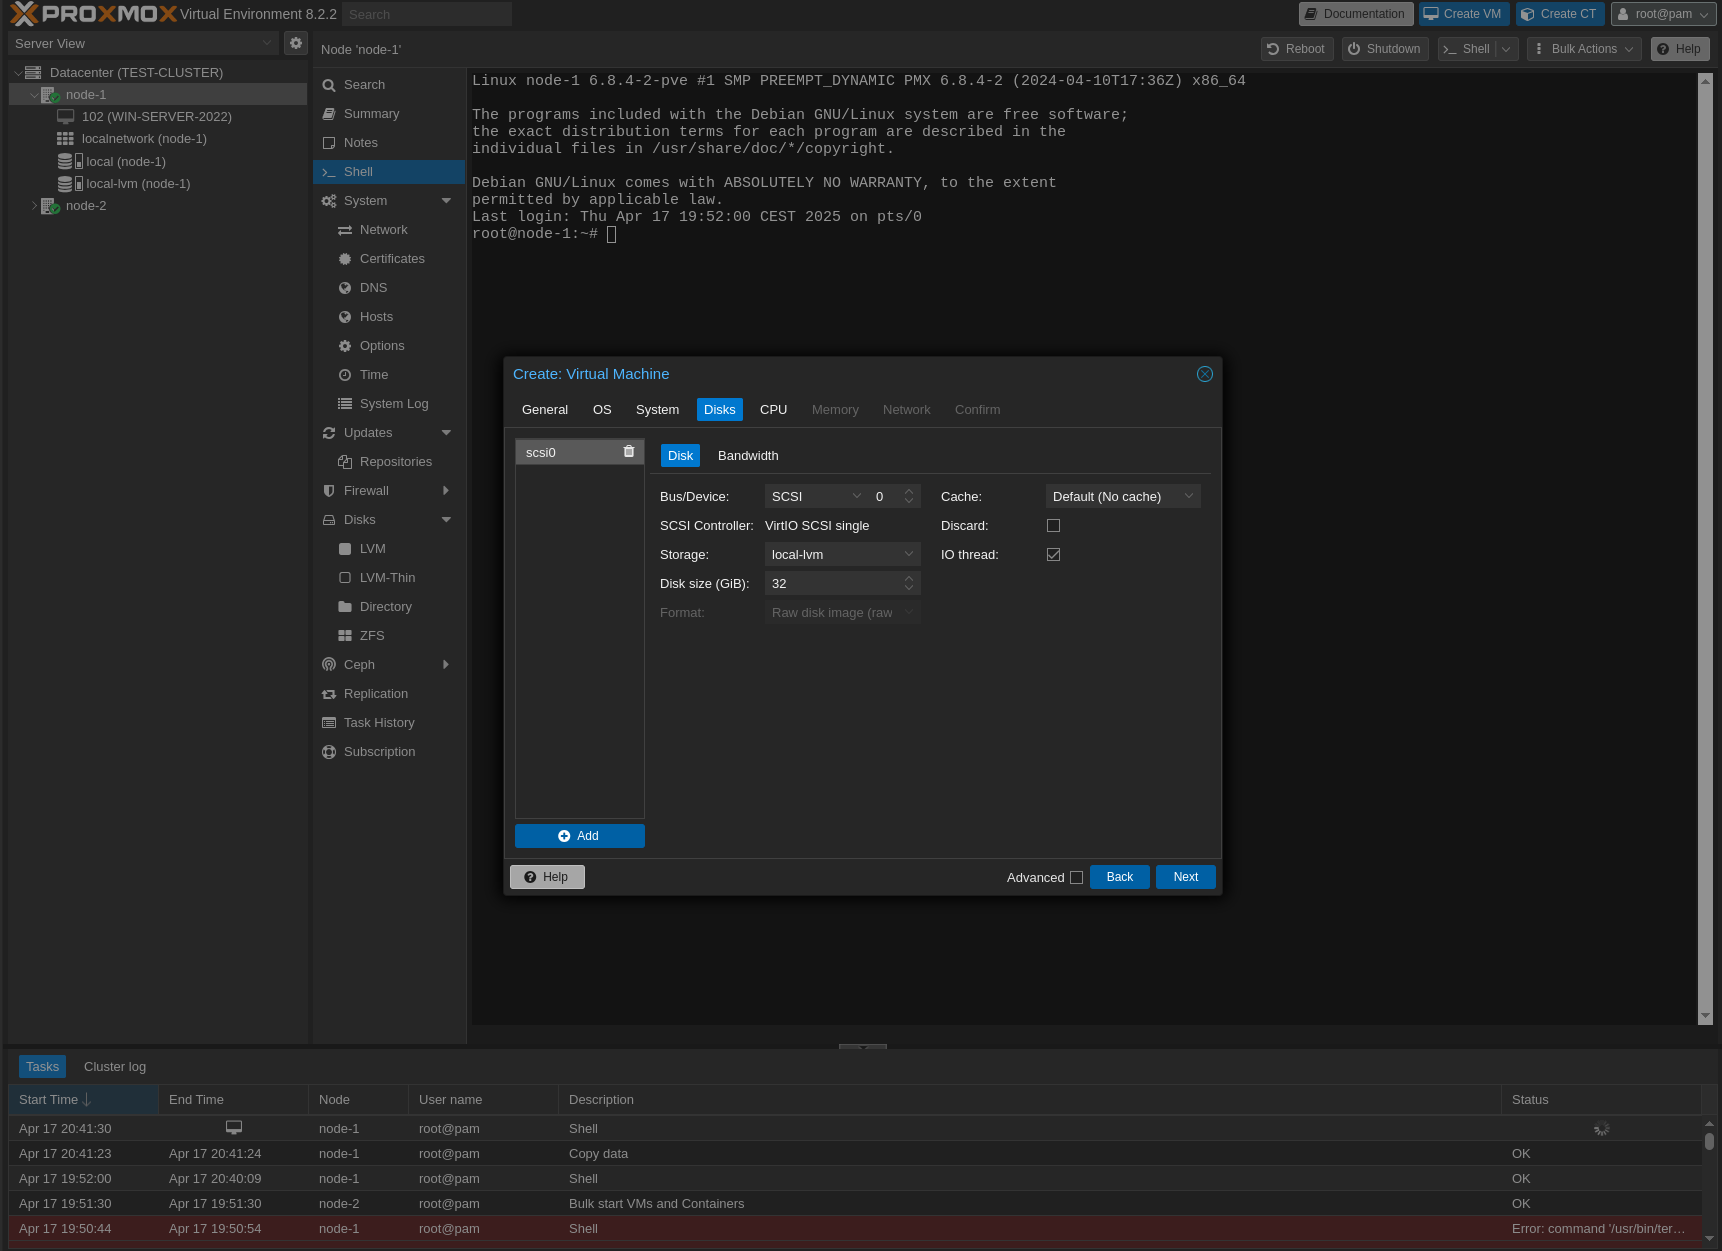
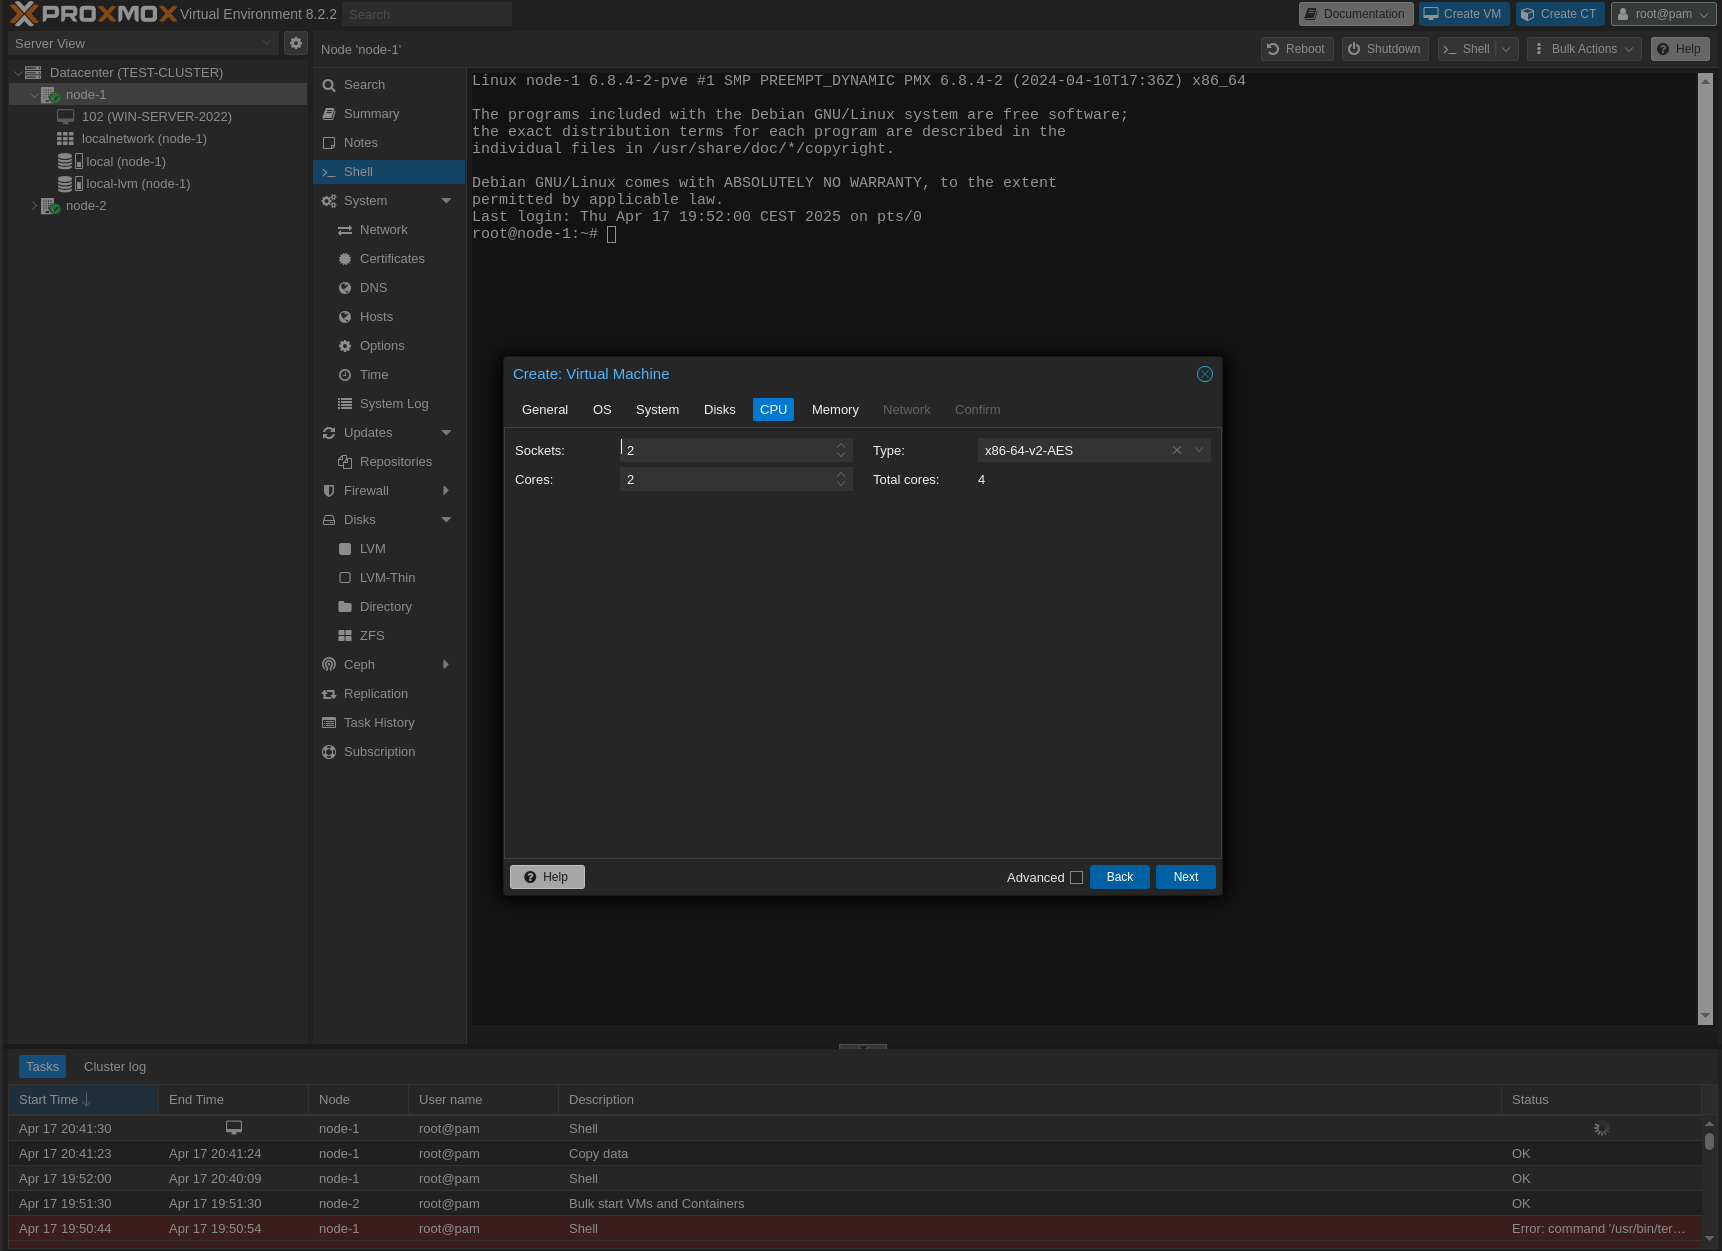
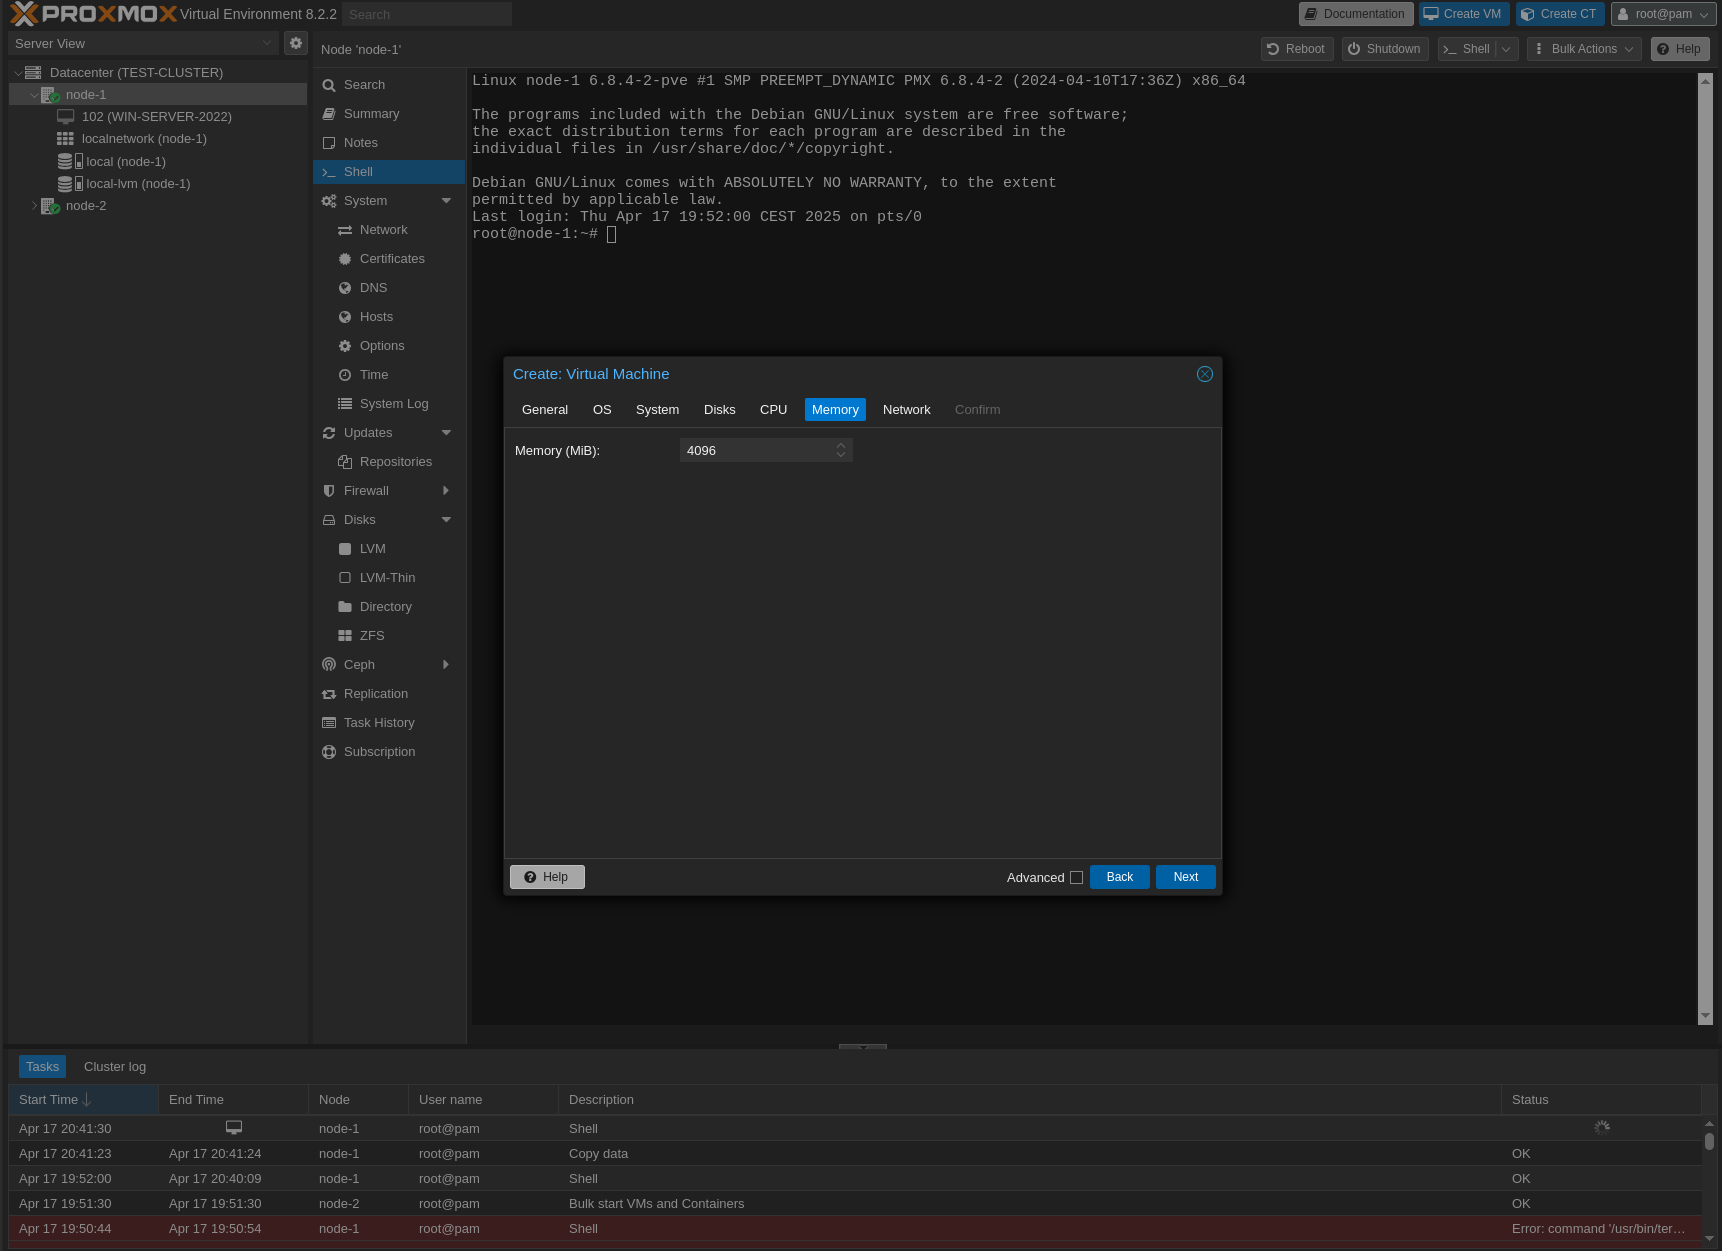
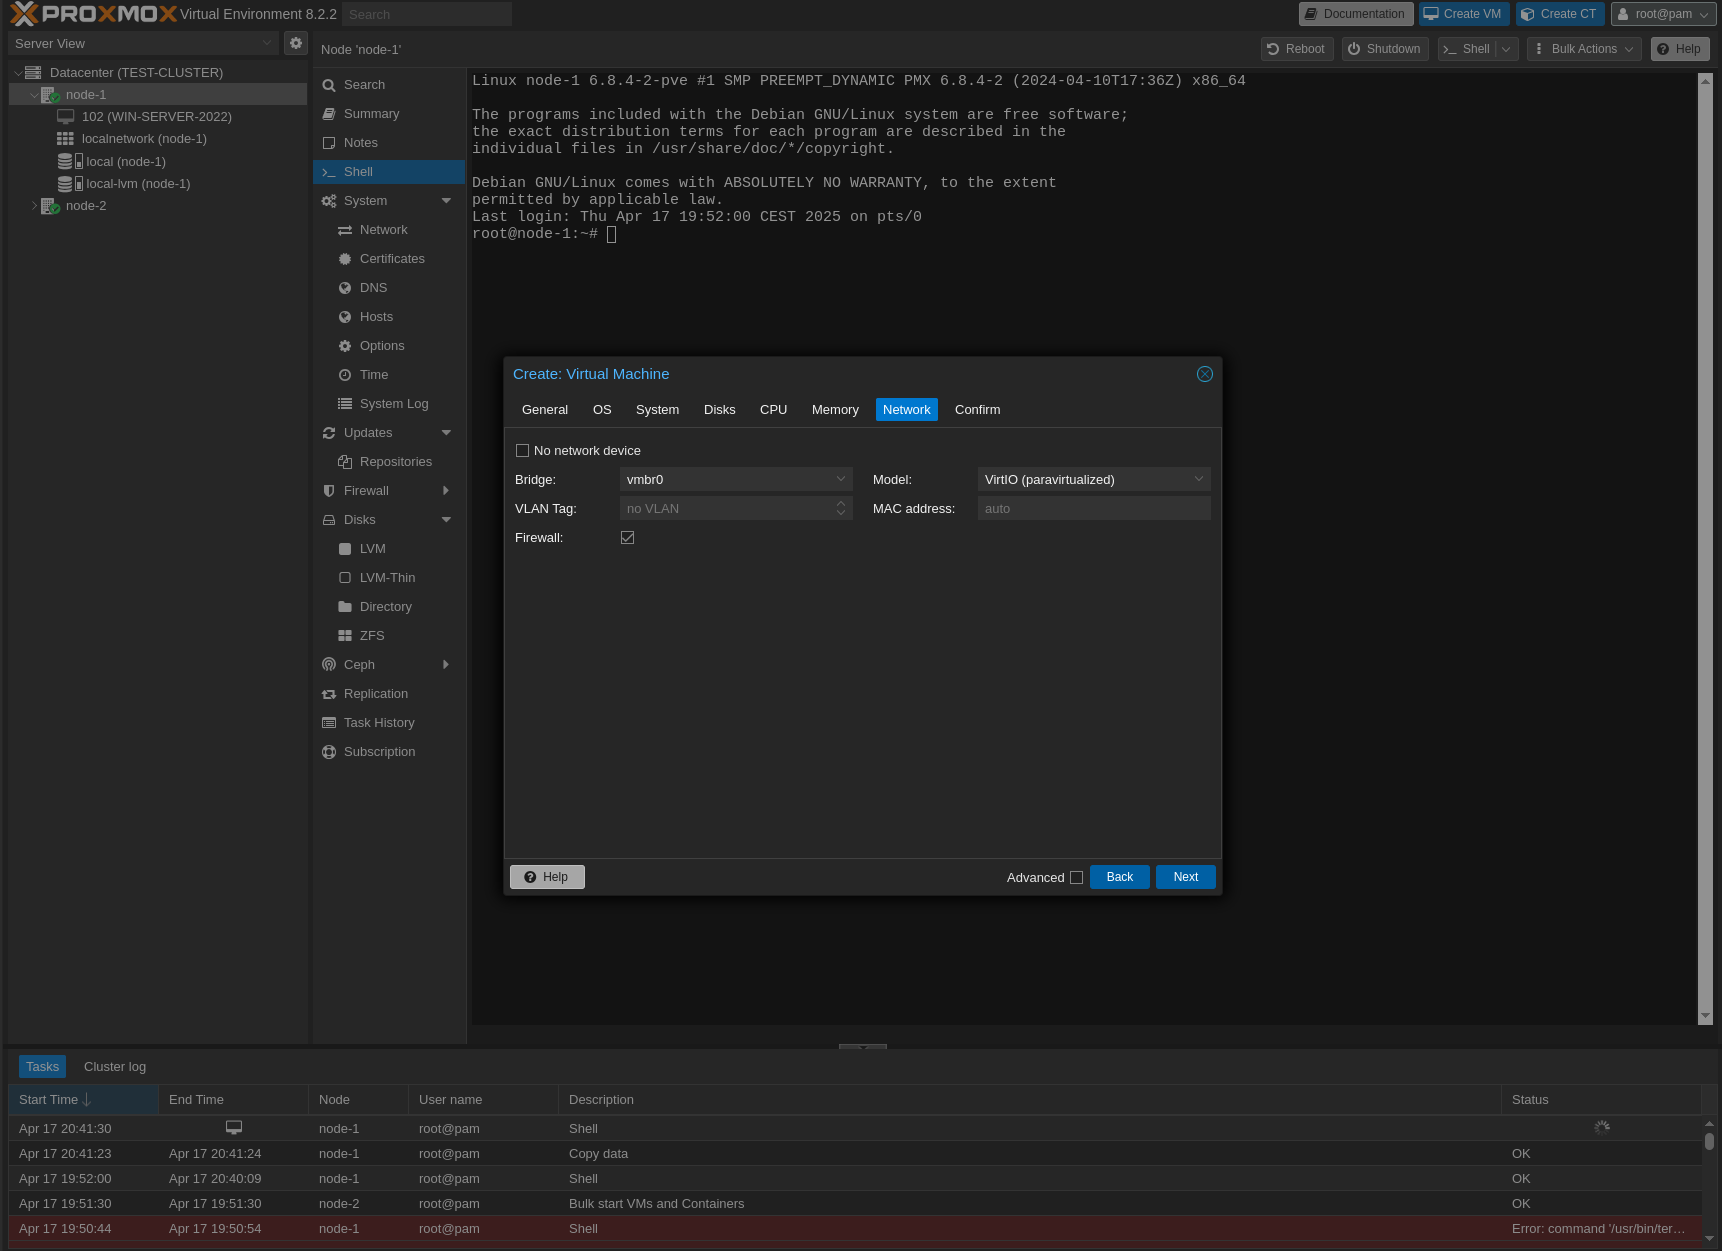
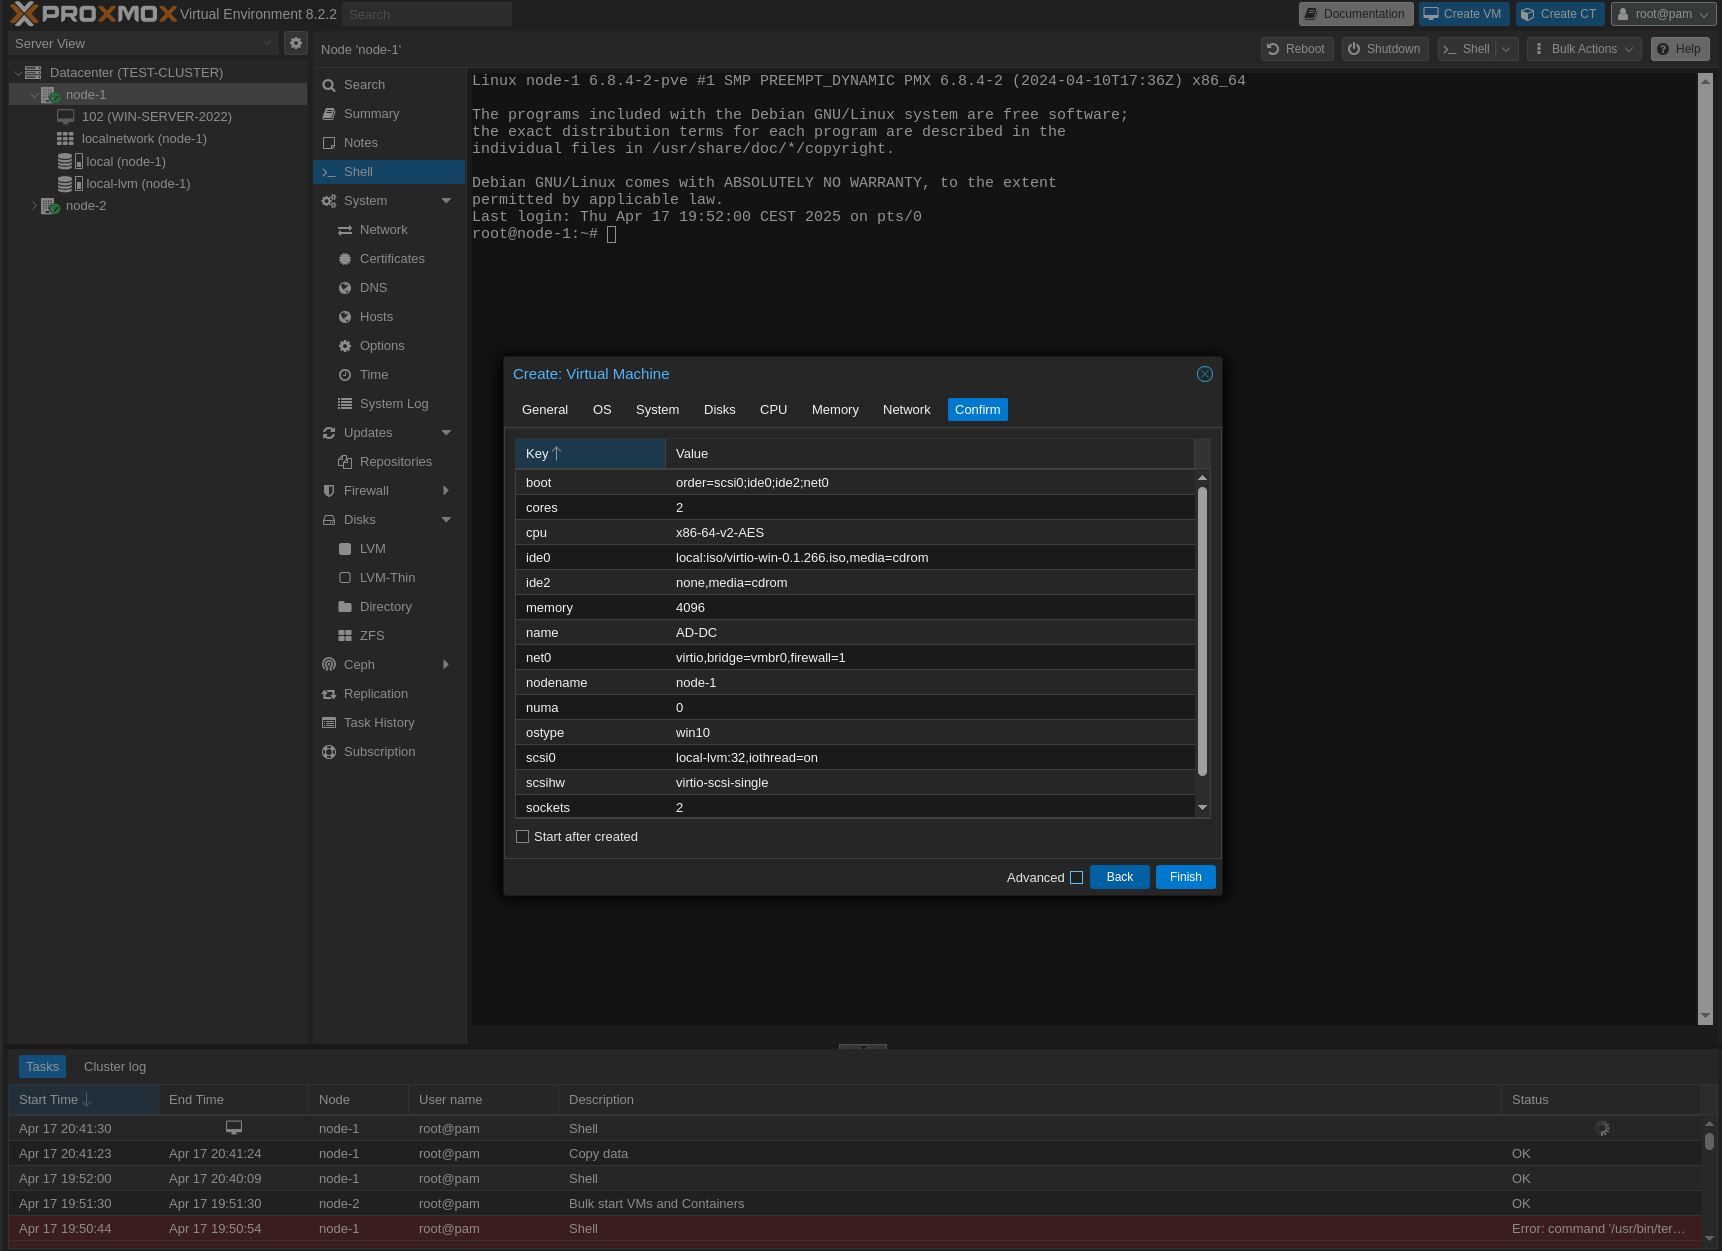
Now, we need to create a new virtual machine template using the Proxmox interface or CLI. Here’s how:
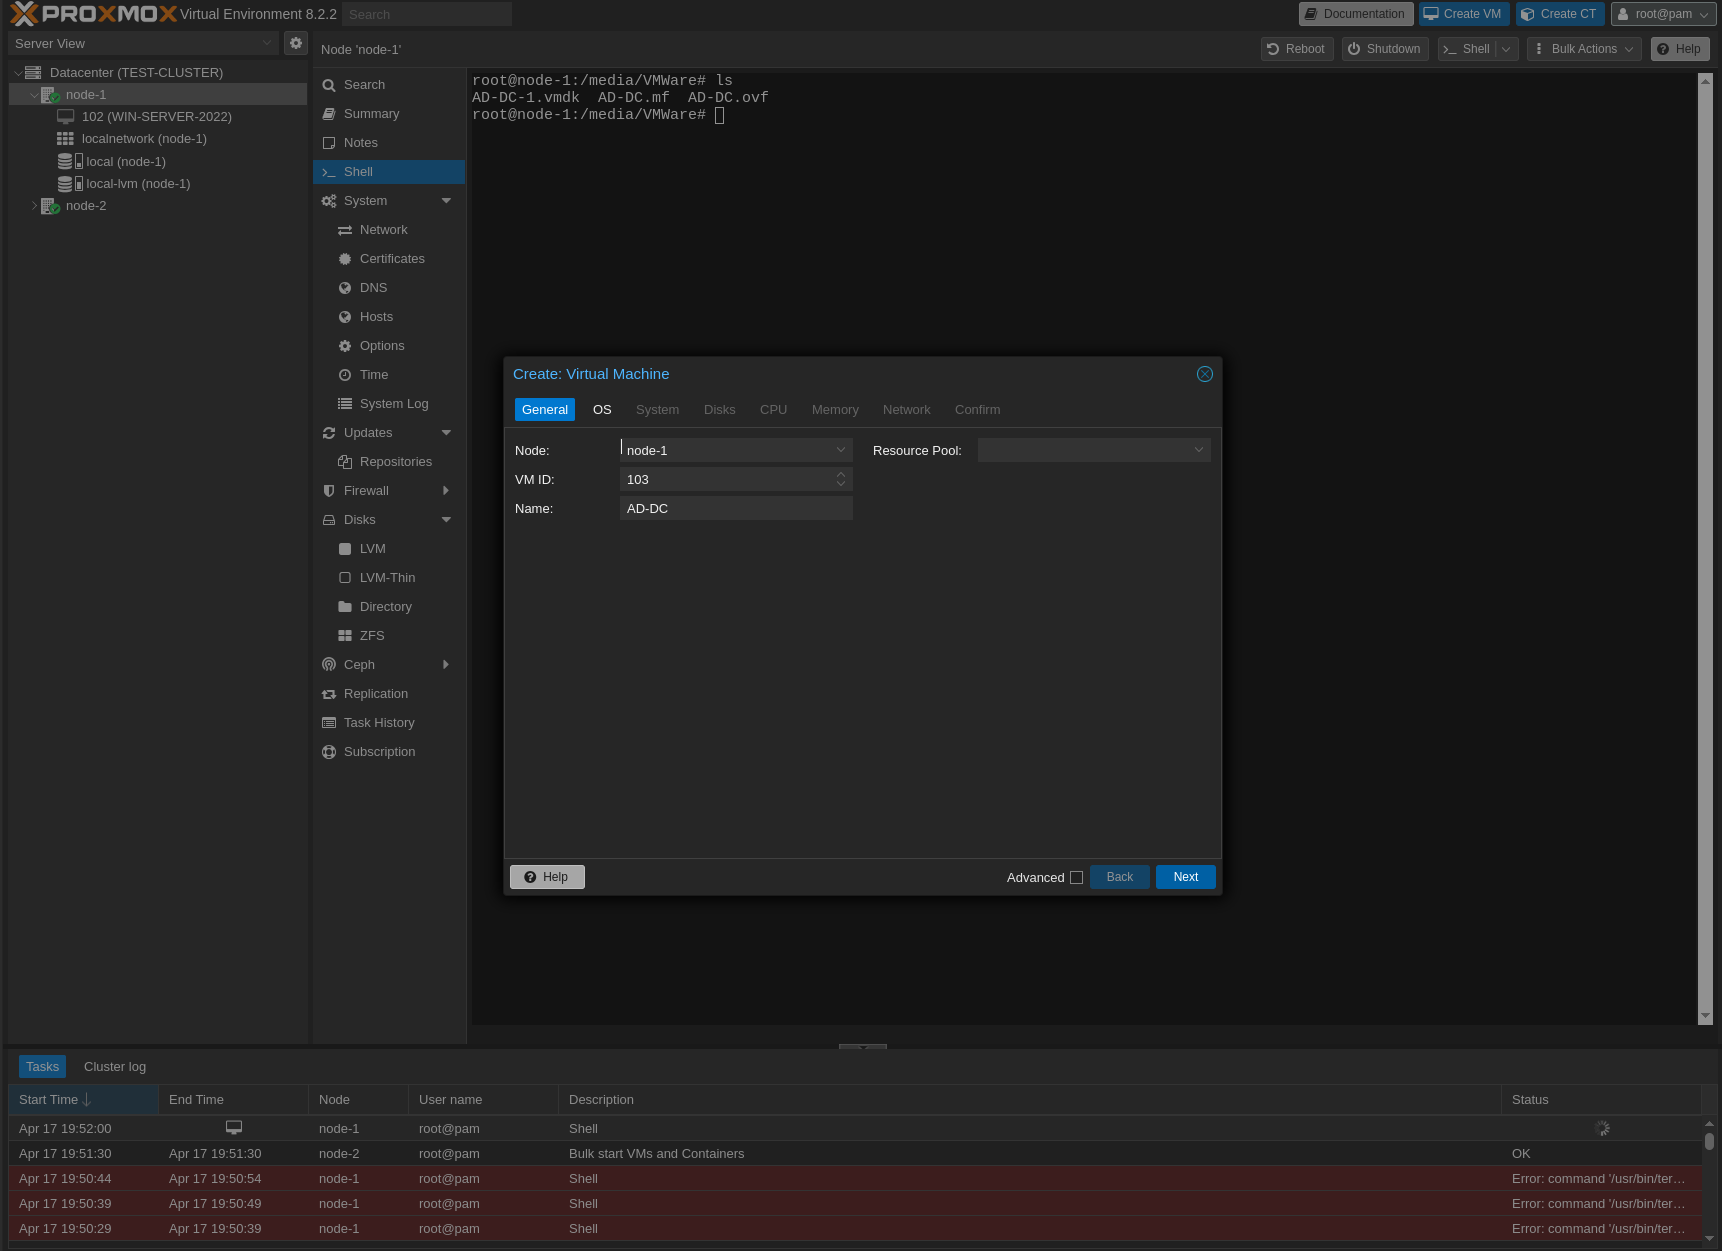
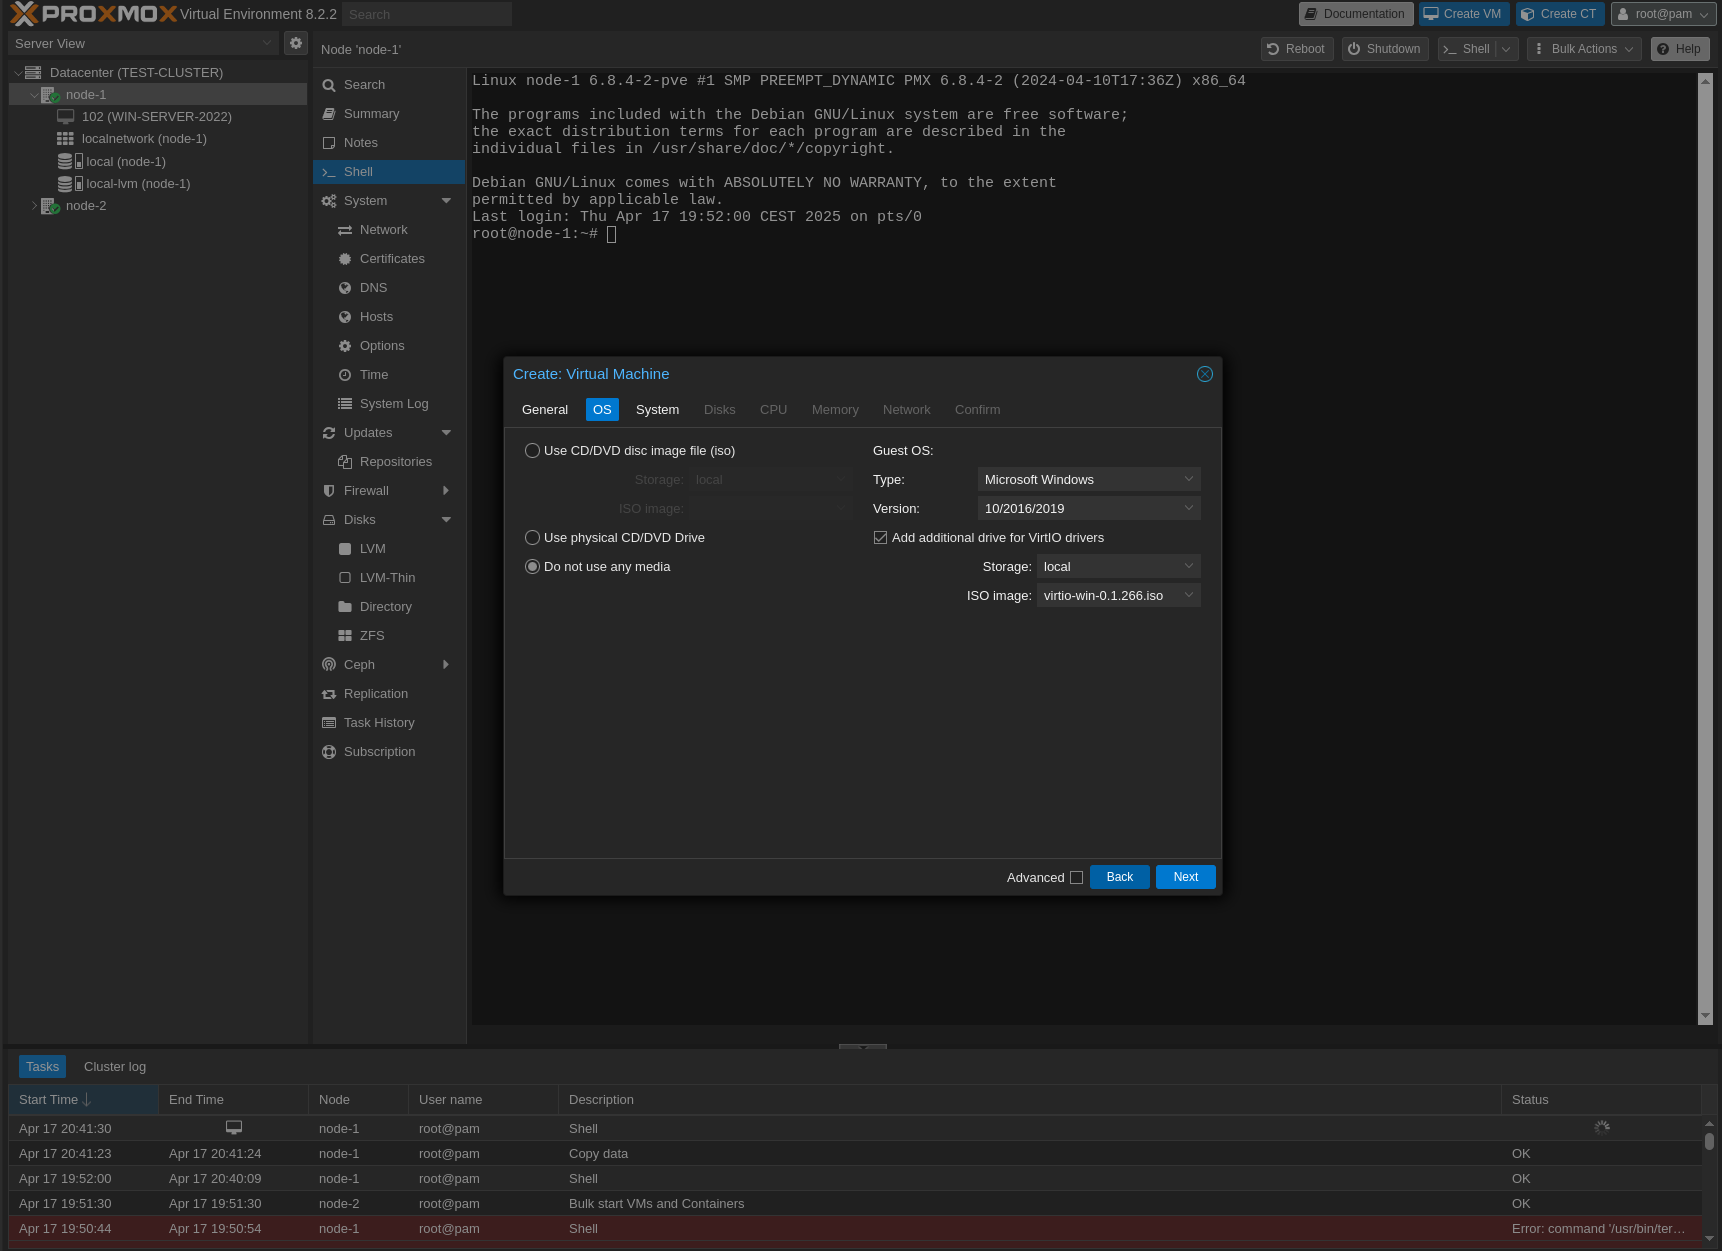
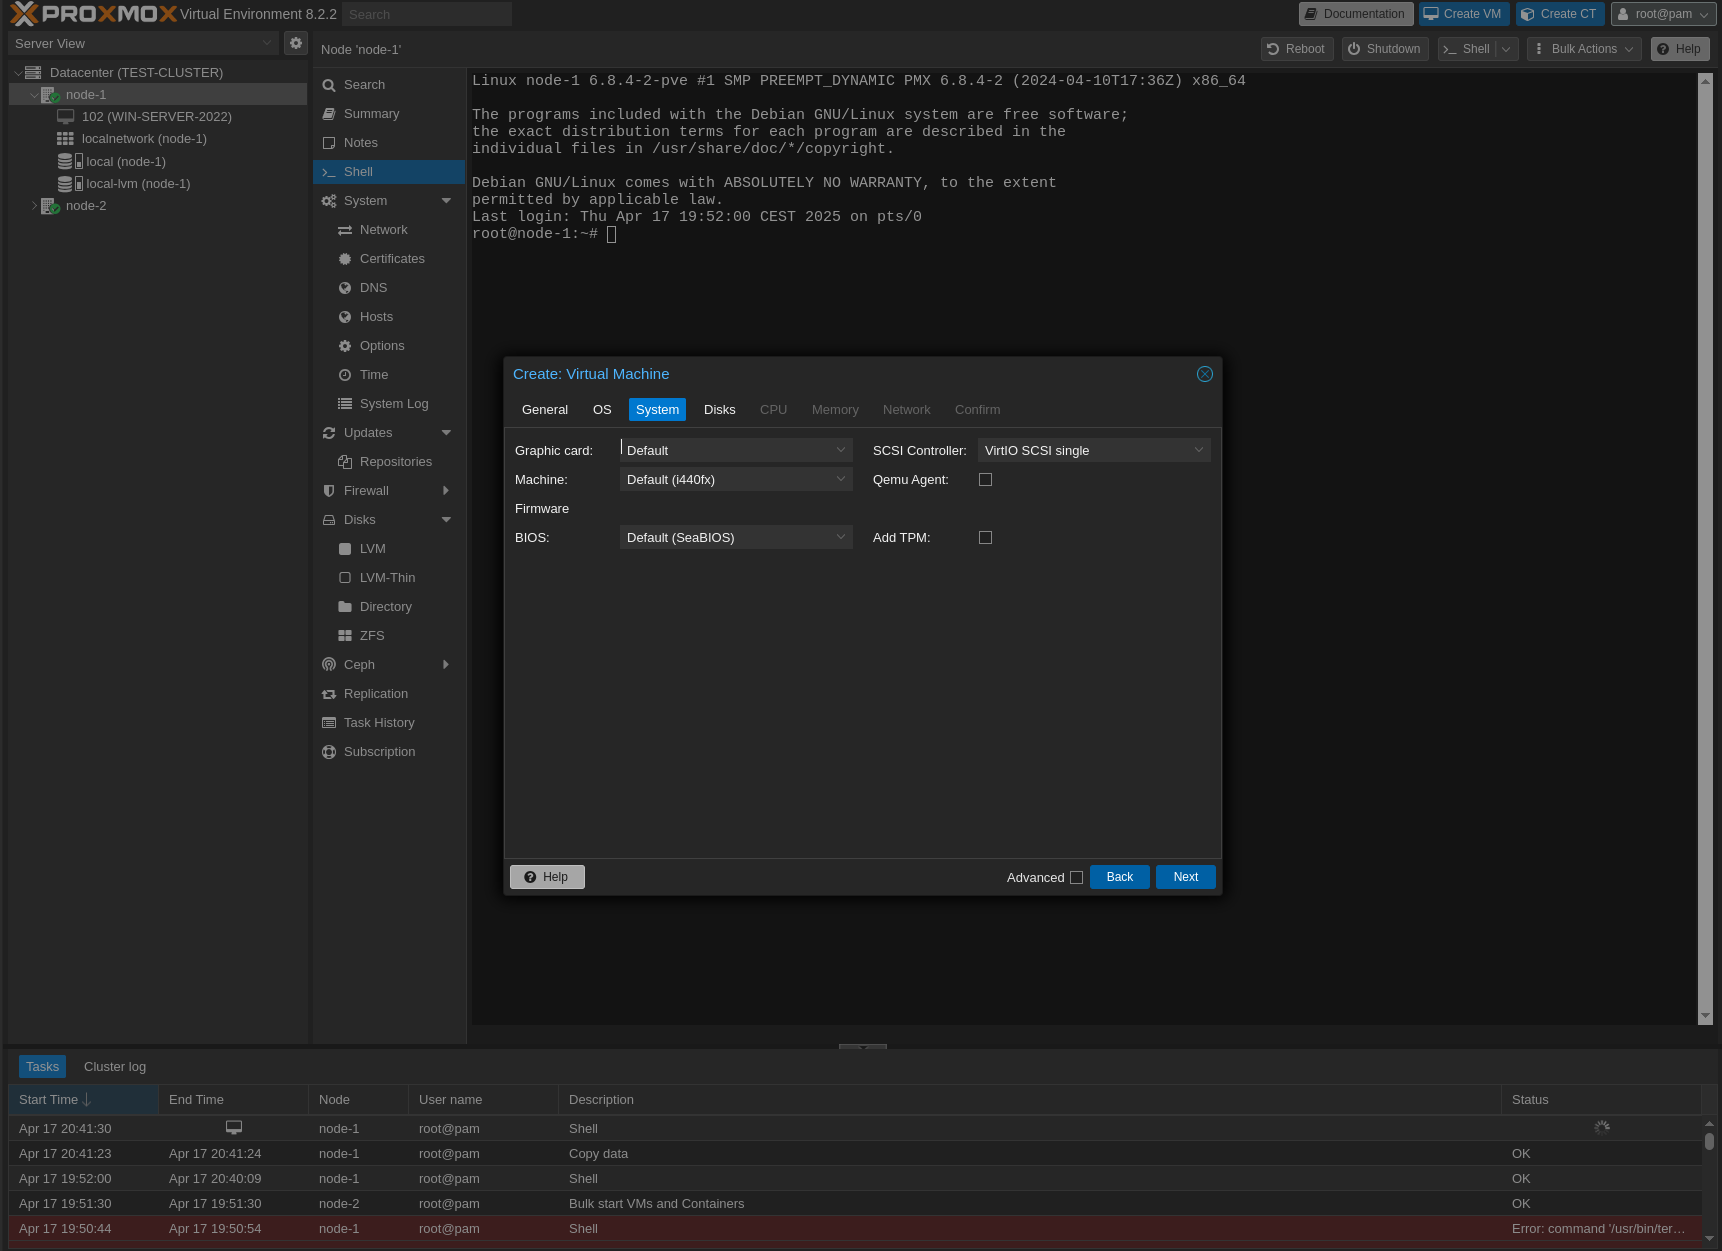
I will create a temporary virtual disk during the VM creation process, but I will remove it later, as it won’t be needed.
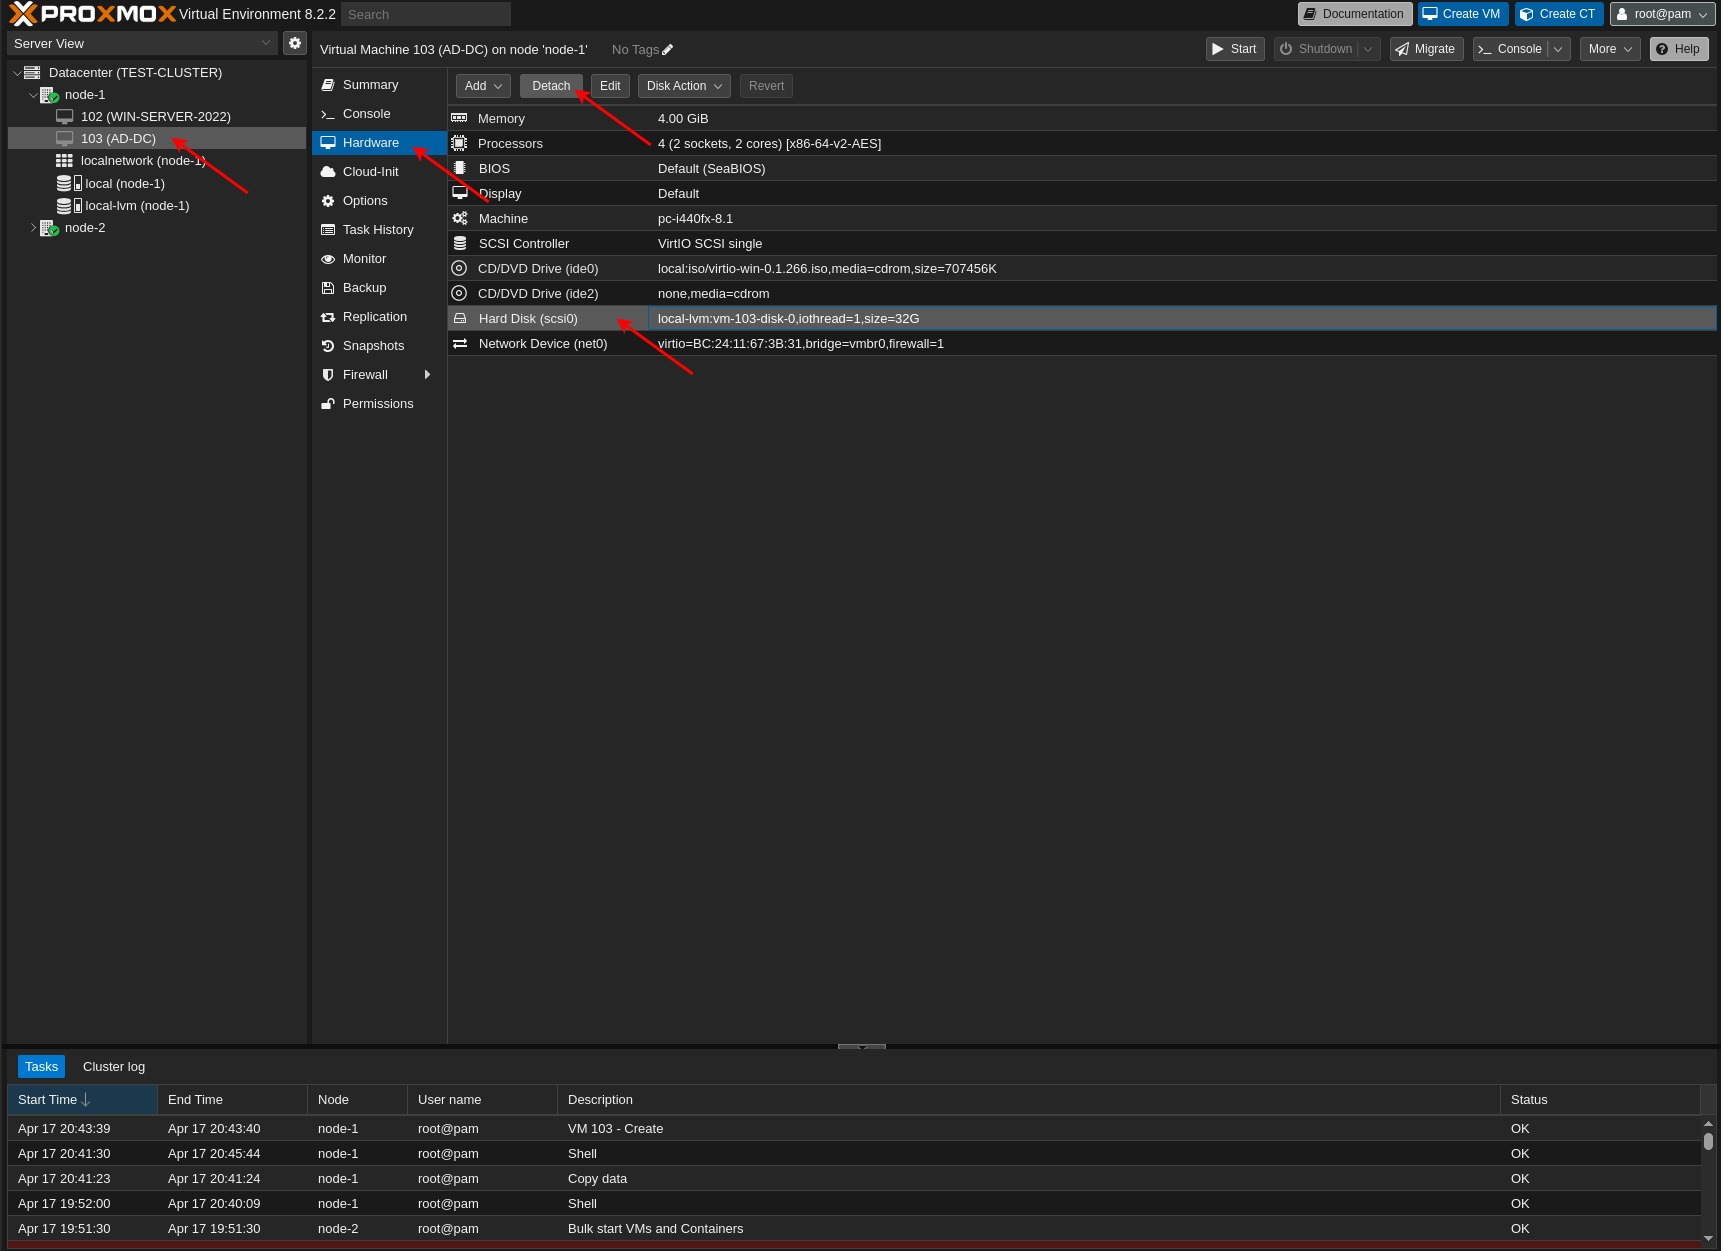
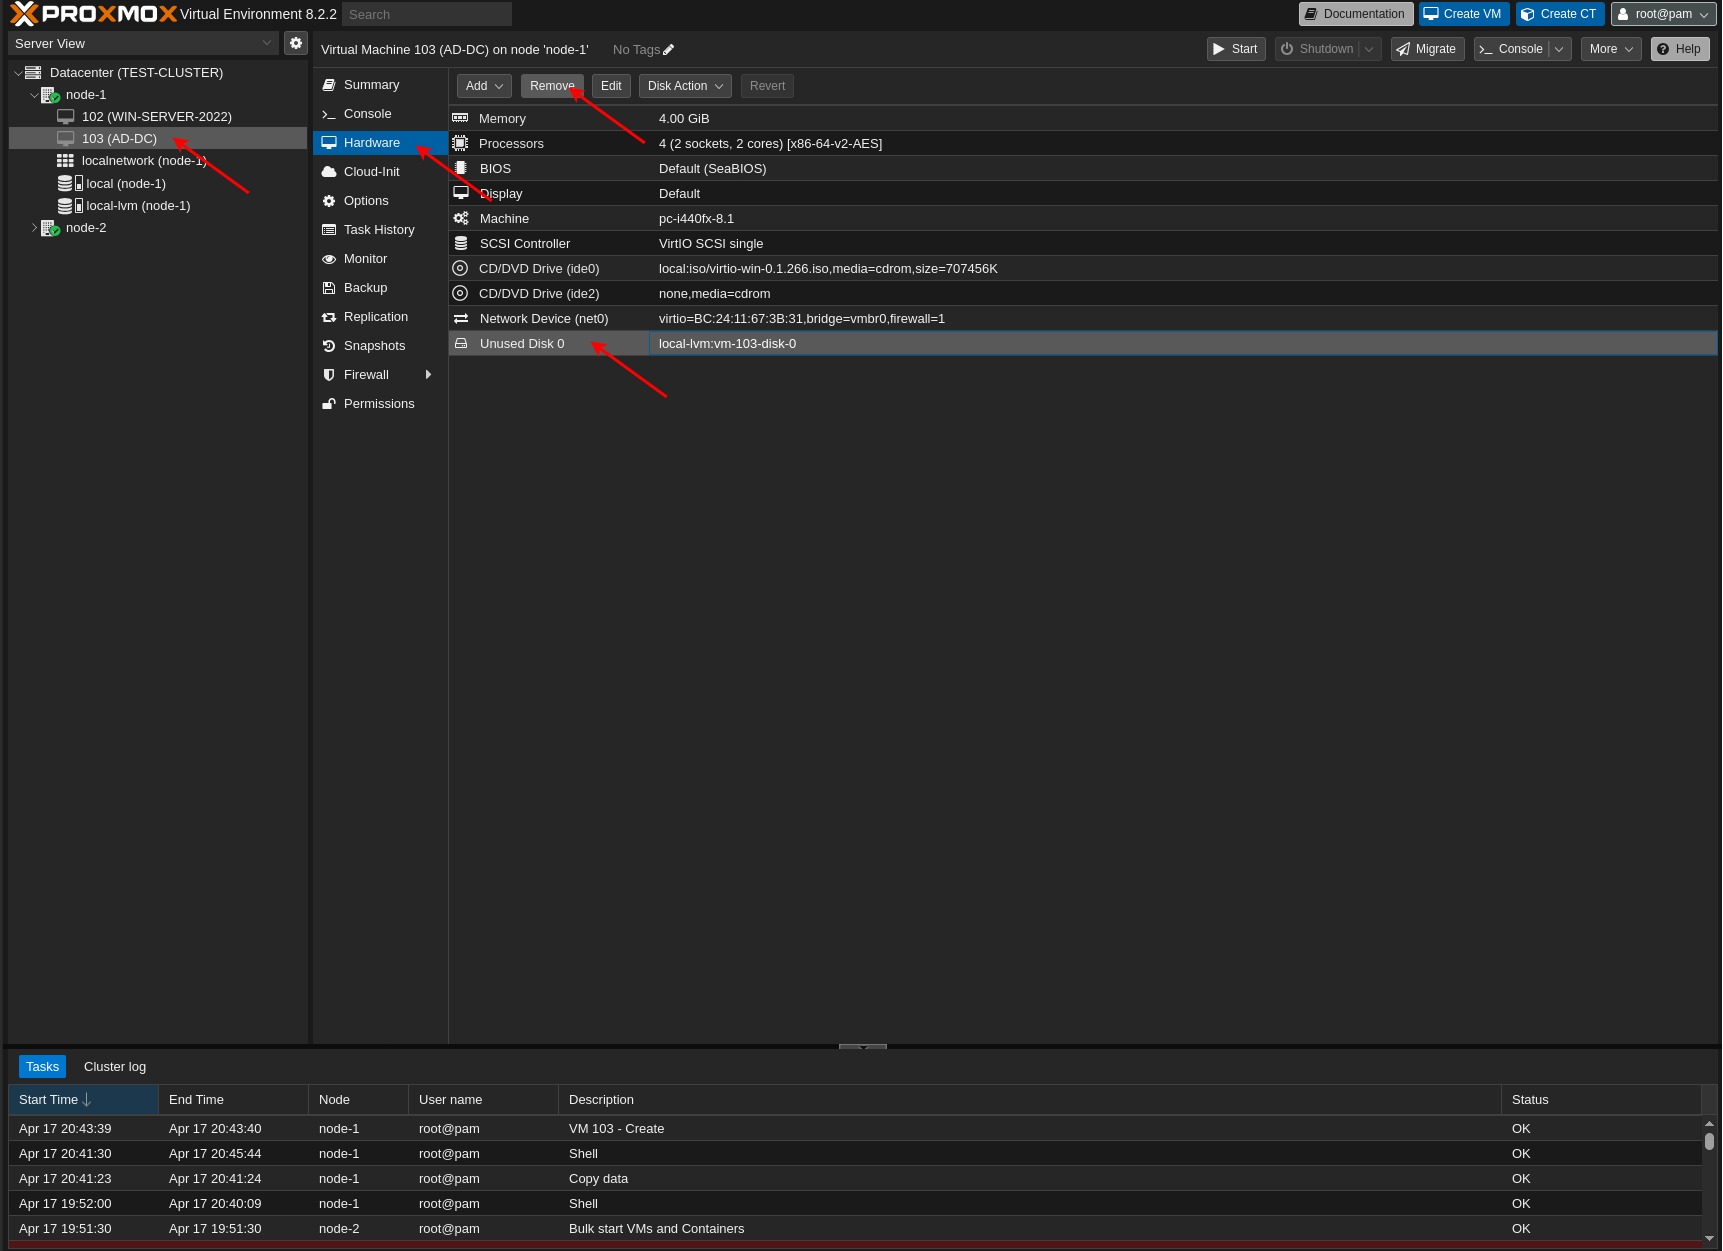
Now, I will detach and remove the temporary disk that we just created.
Now, we need to verify the type of disk the virtual machine uses: SATA, IDE, SCSI, or VirtIO. To check this, go to the CLI and retrieve the information from the .ovf file as follows:
CLI:
cd /media/VMWare
cat Win2022.ovf |grep ResourceSubType

	<rasd:ResourceSubType>vmware.sata.ahci</rasd:ResourceSubType>
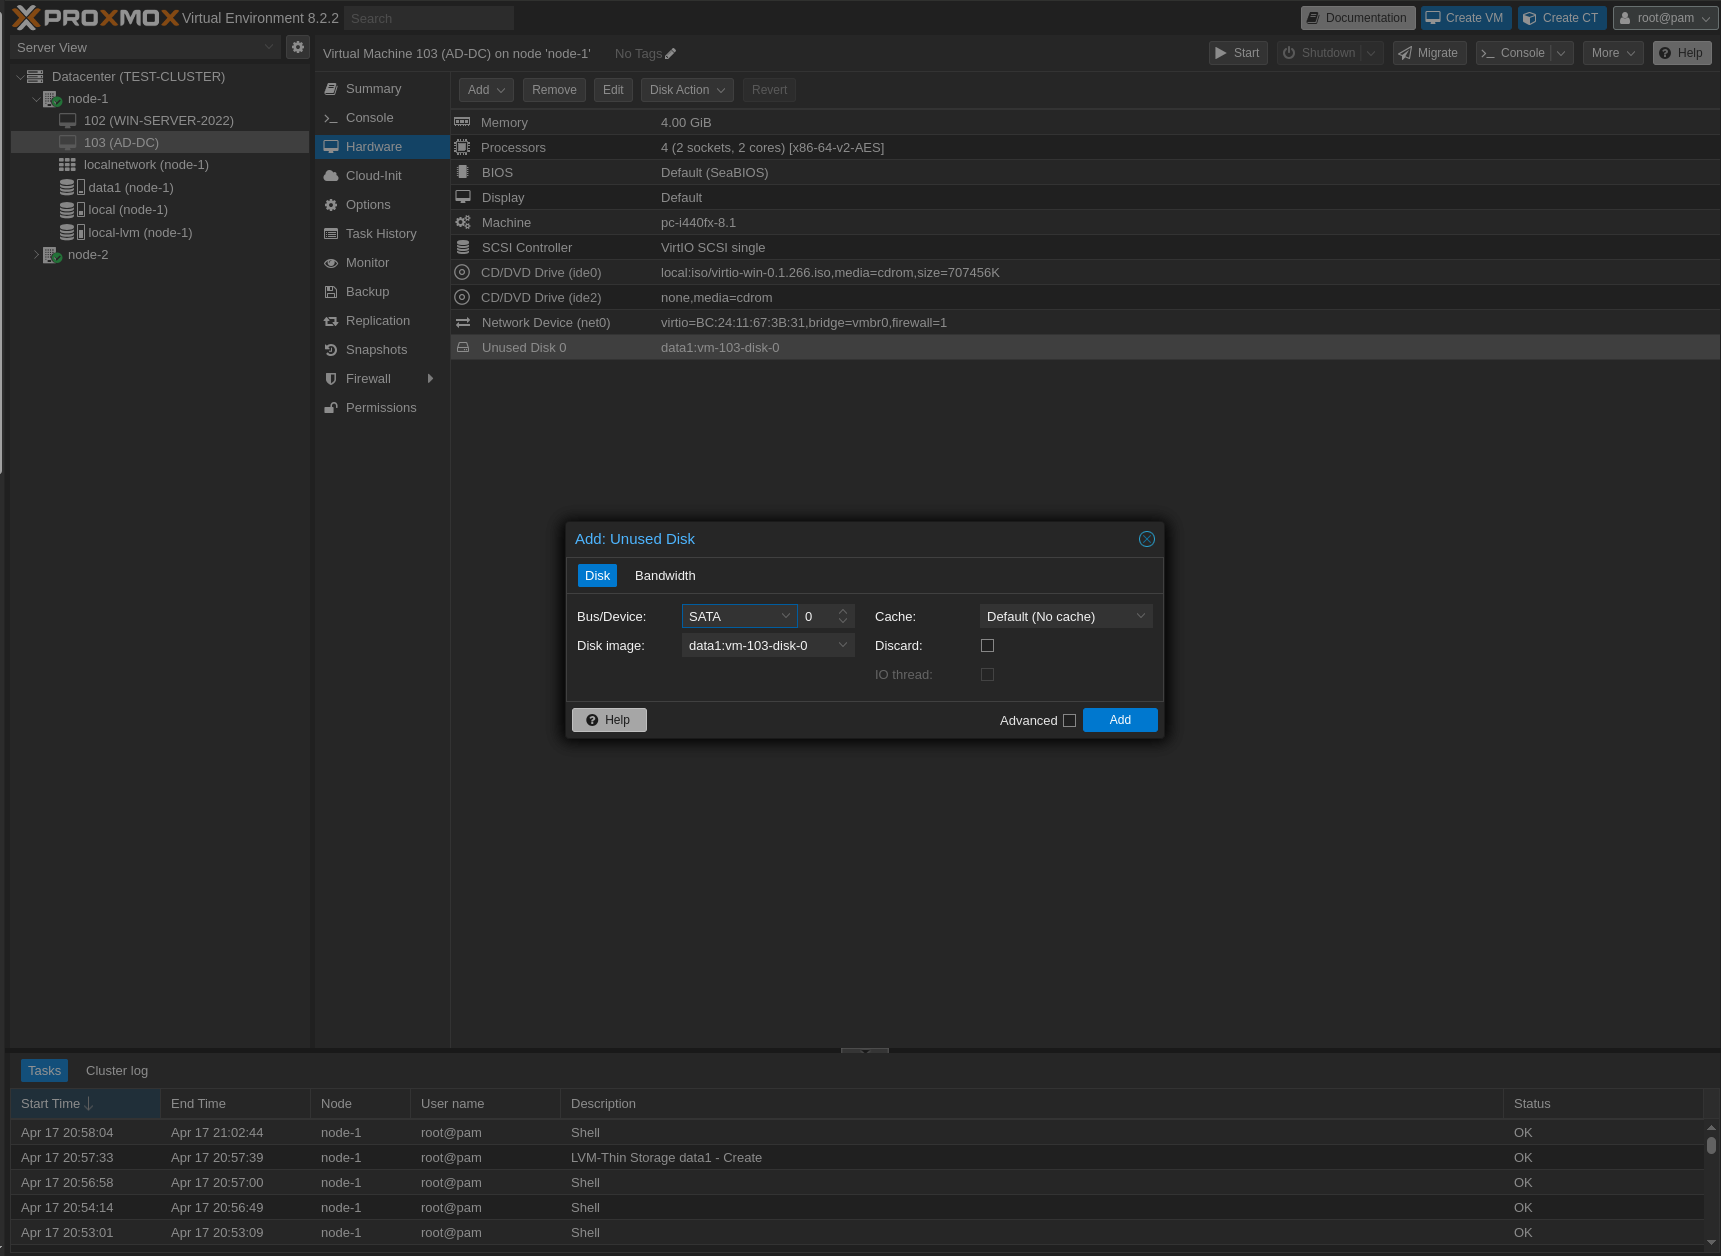
Based on this information, we will import the .vmdk disk as a SATA disk. Therefore, the bus device must be set to SATA.
qm importdisk 100 win2022.vmdk local-lvm -format raw
The import process will now begin.
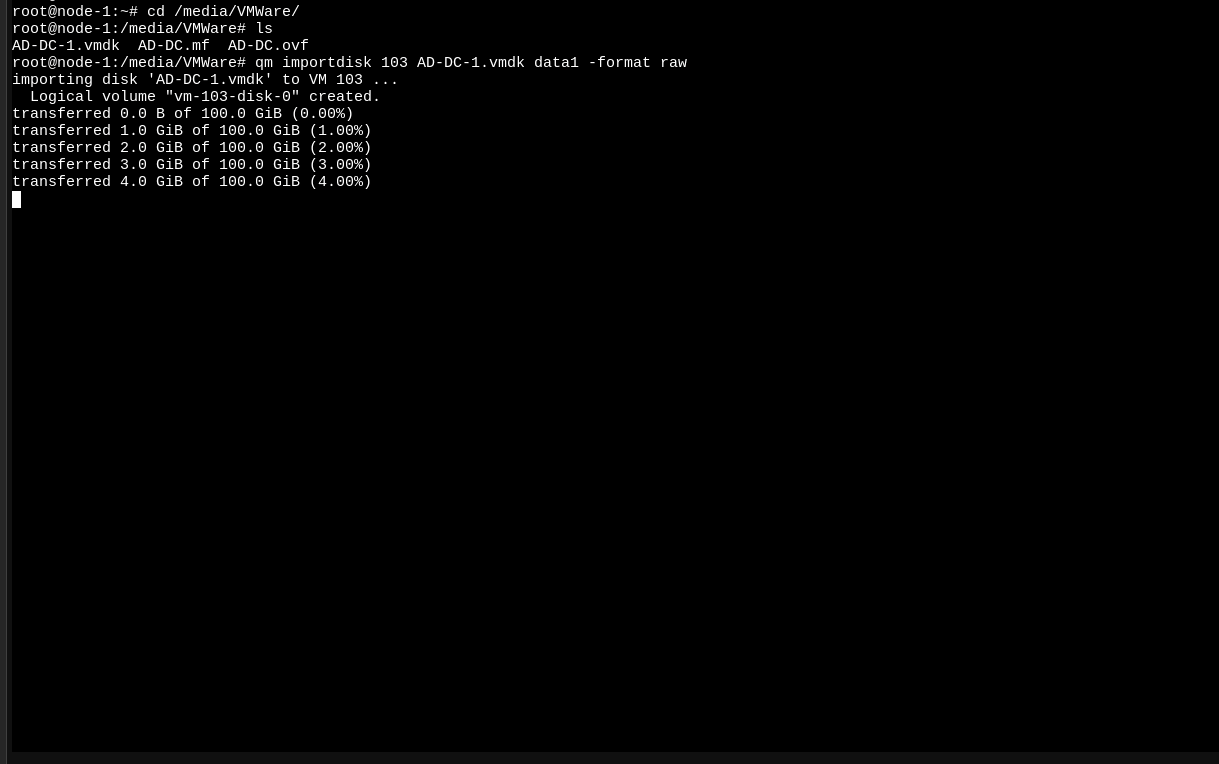
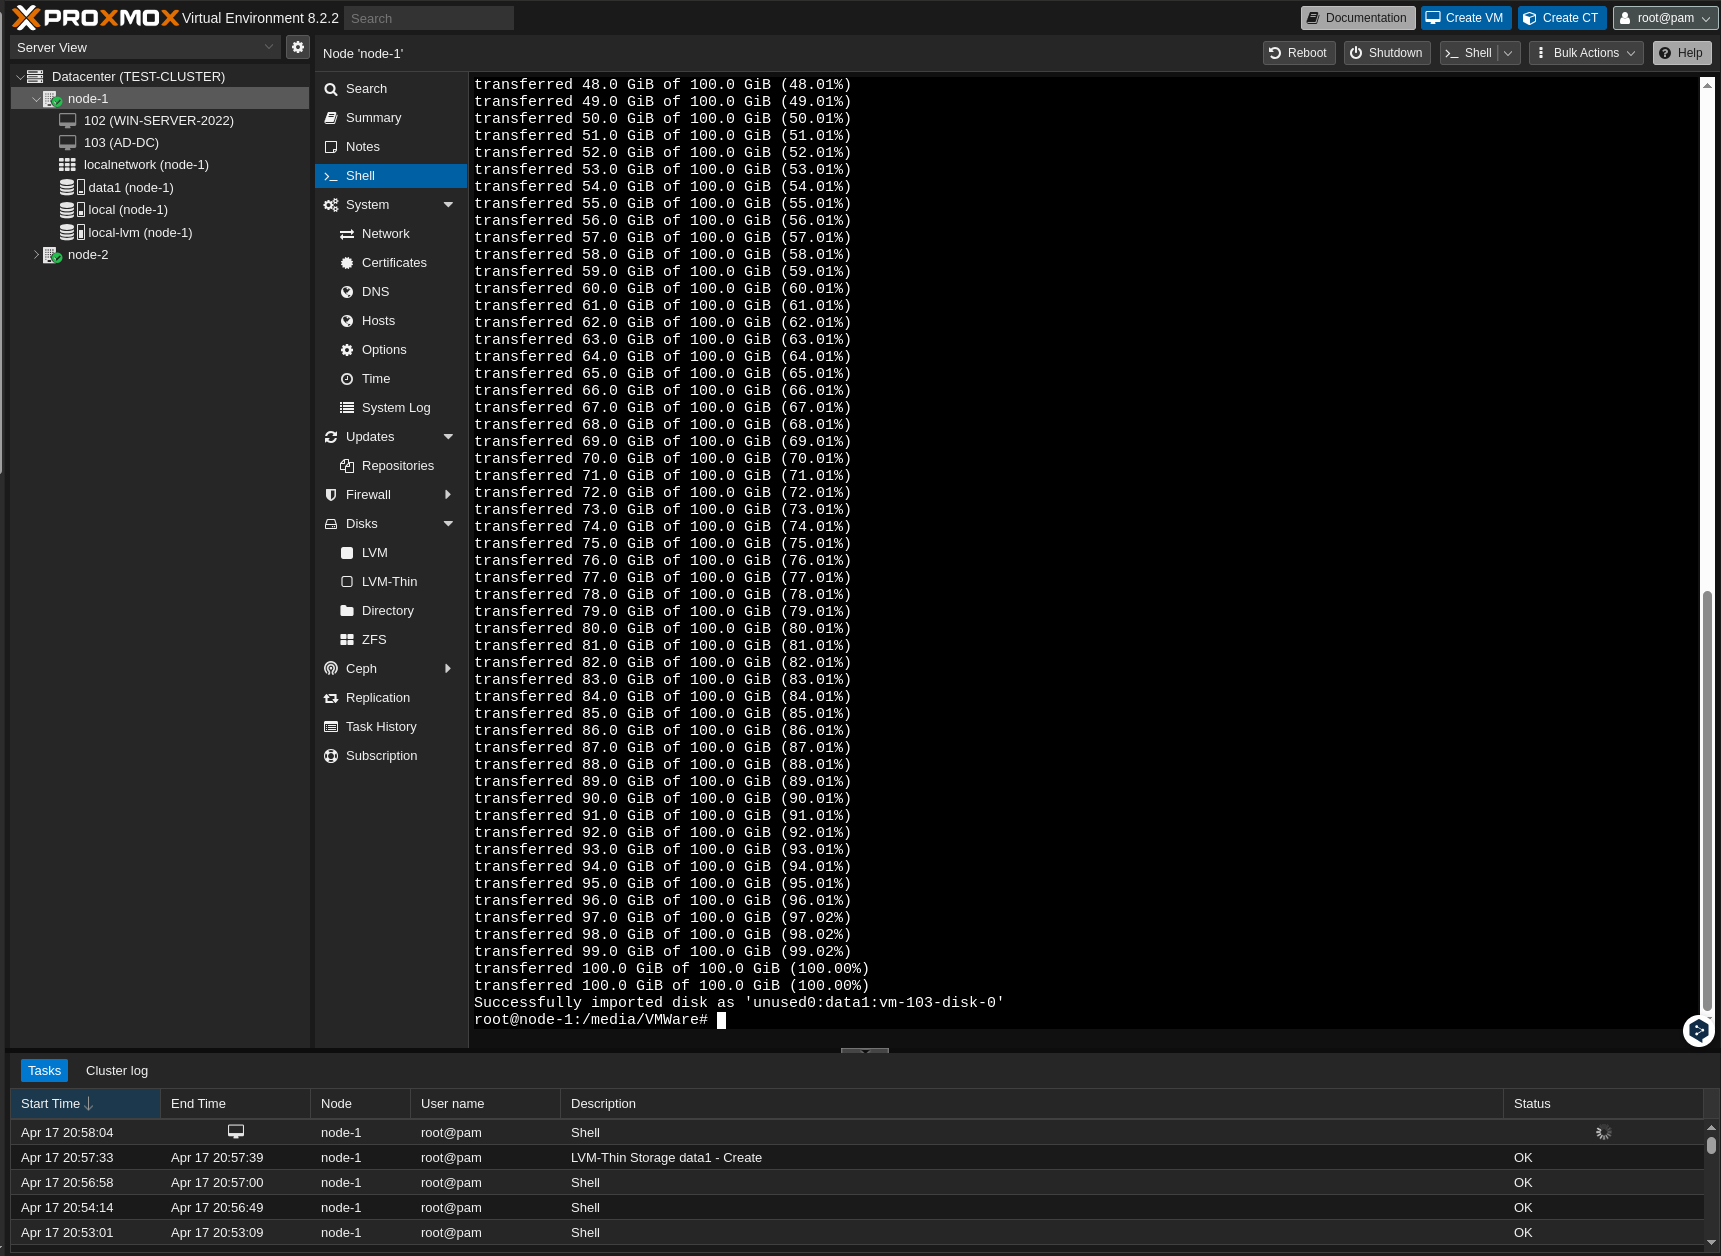
Done.
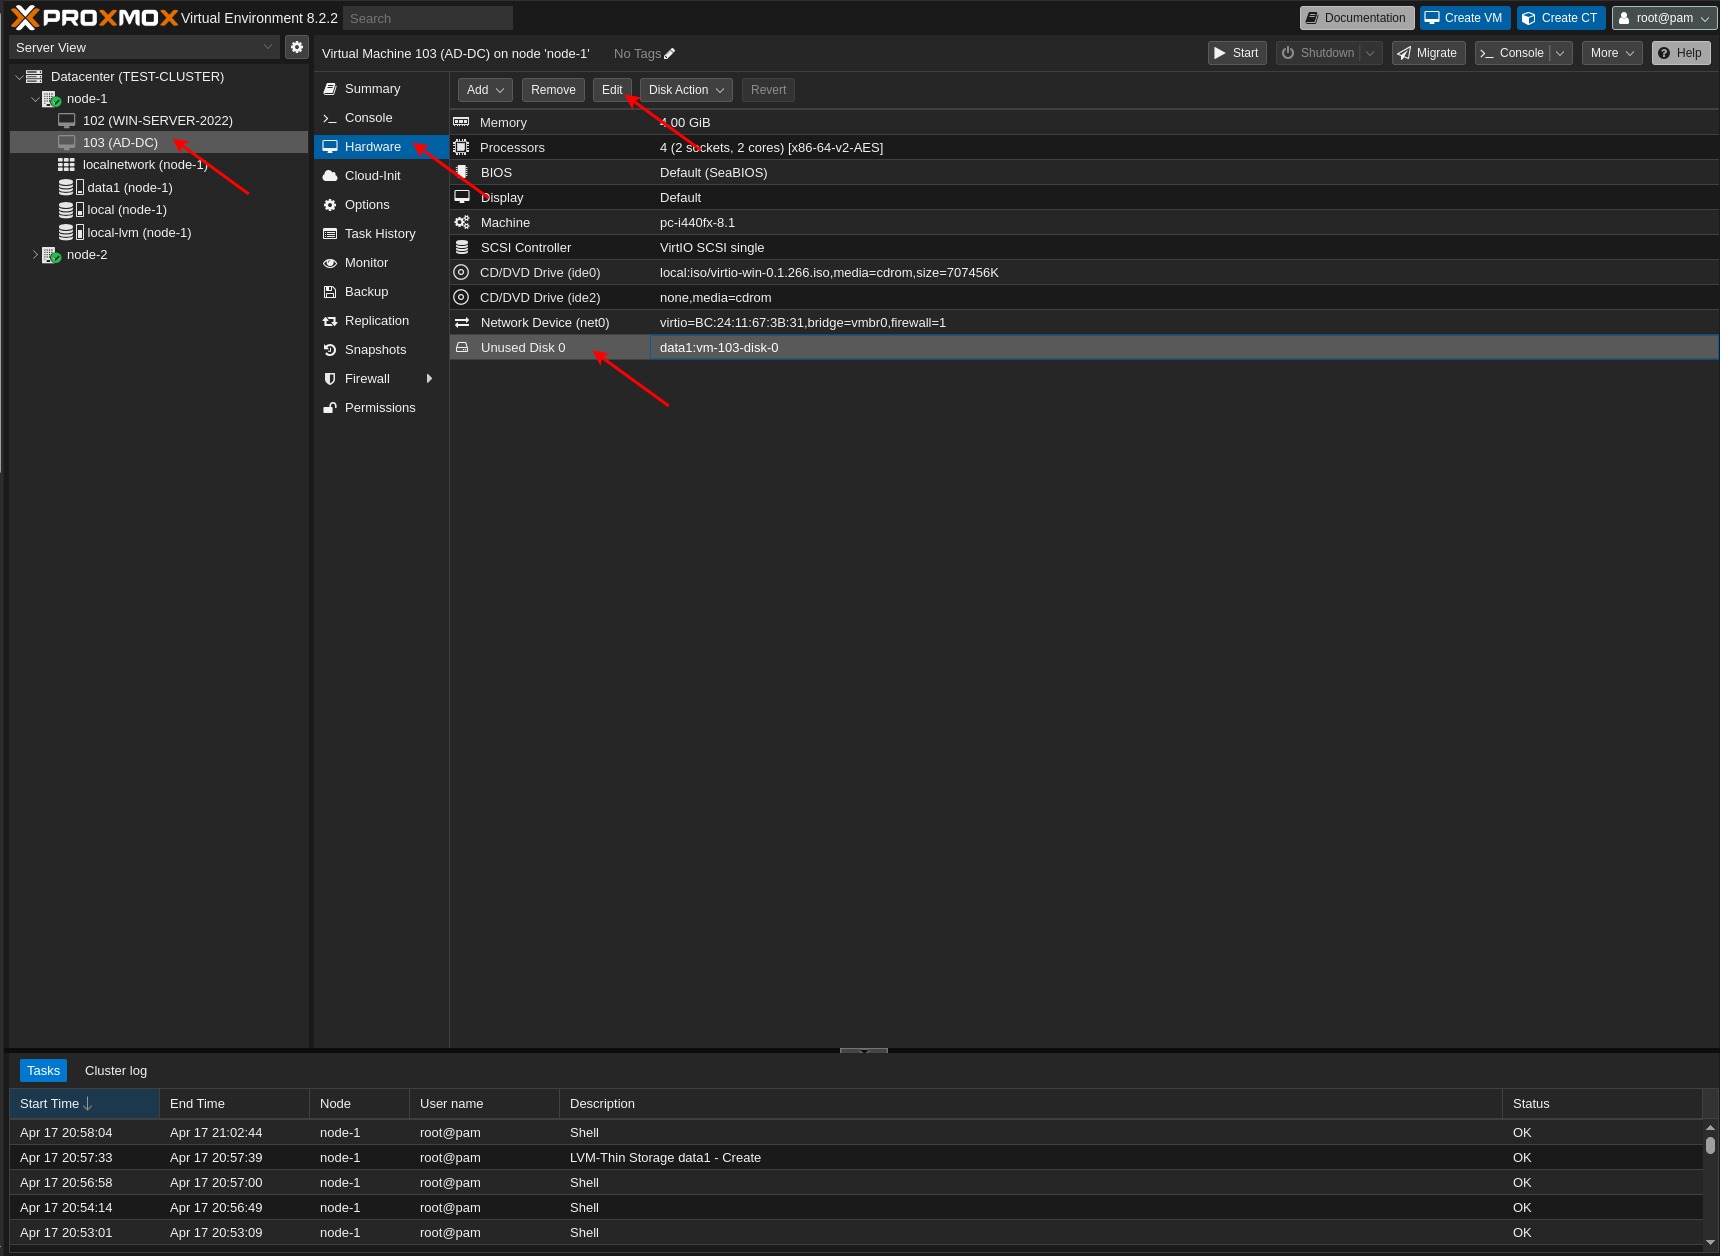
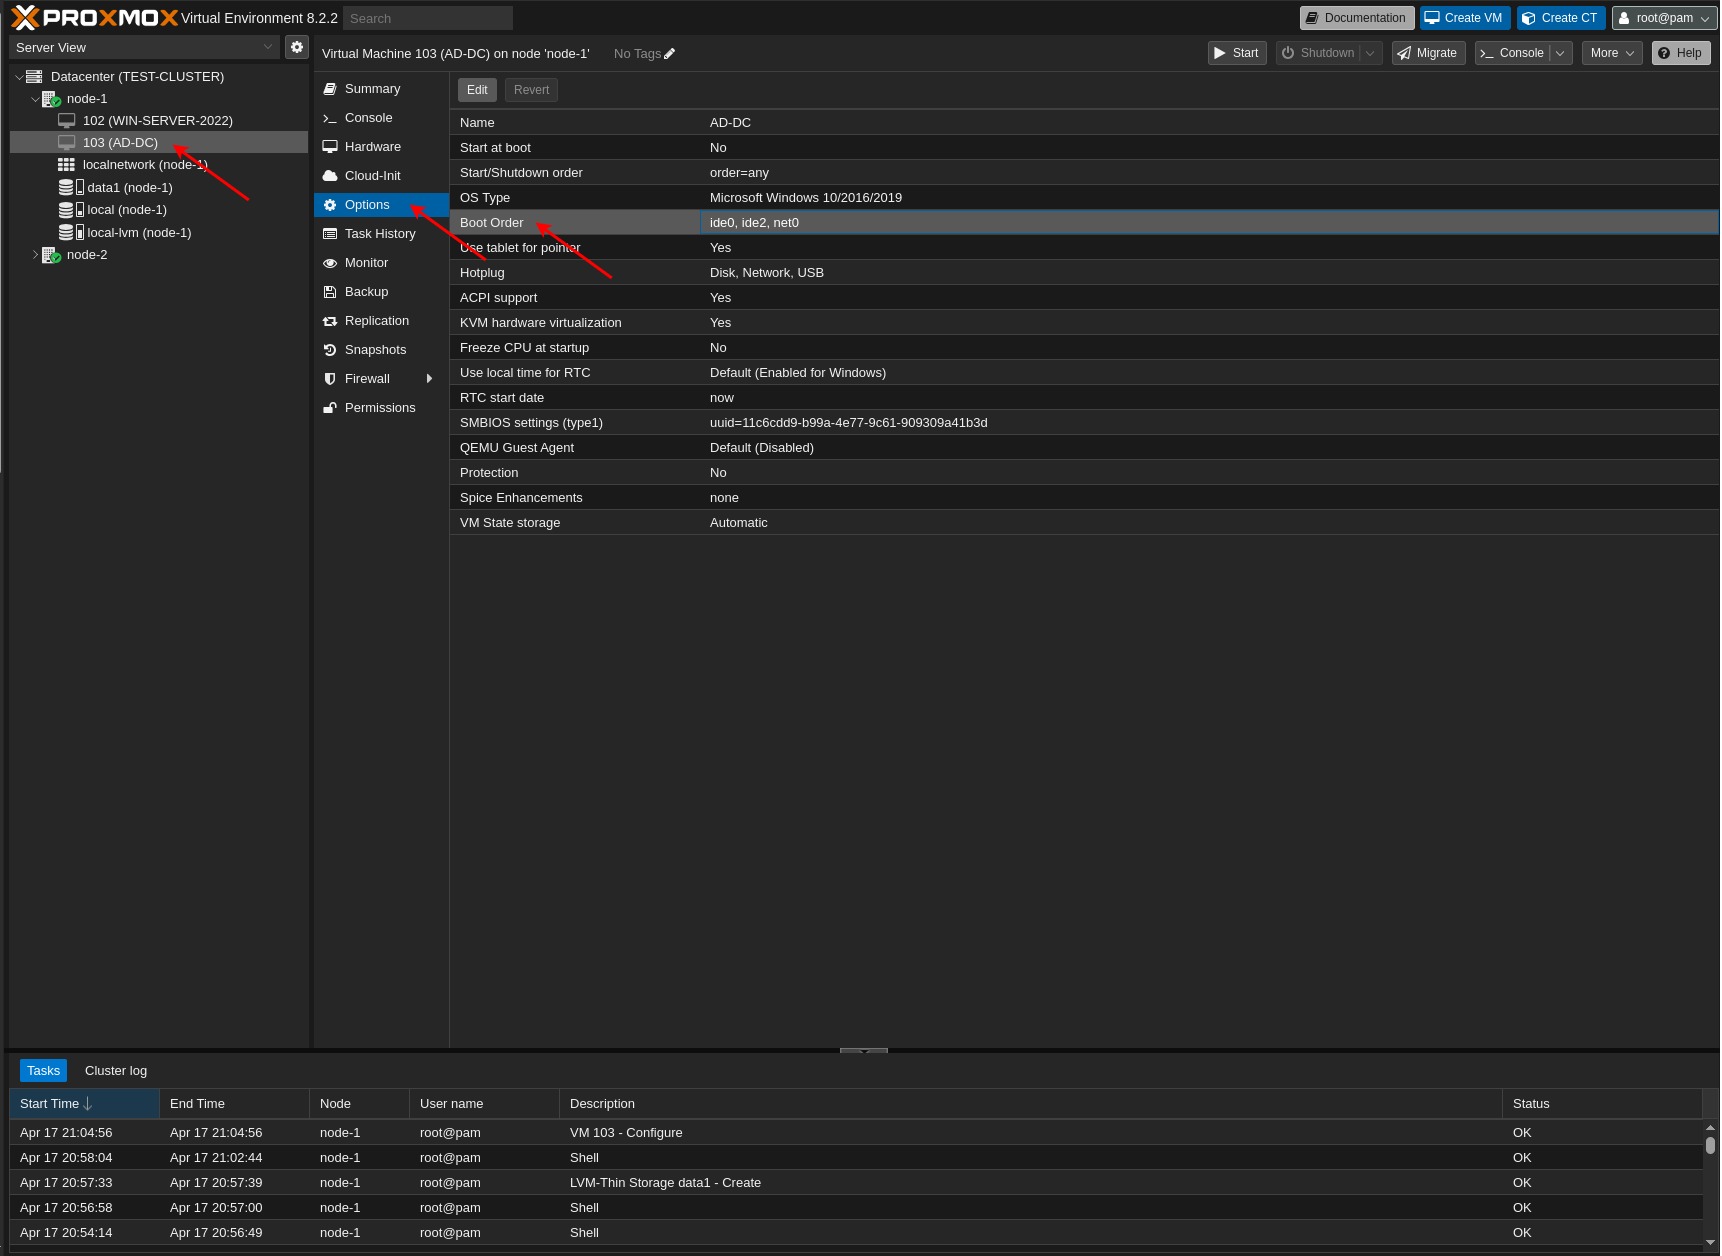
Once the import process is complete, if I navigate to the Hardware tab, I will be able to see the relevant disk listed as follows:
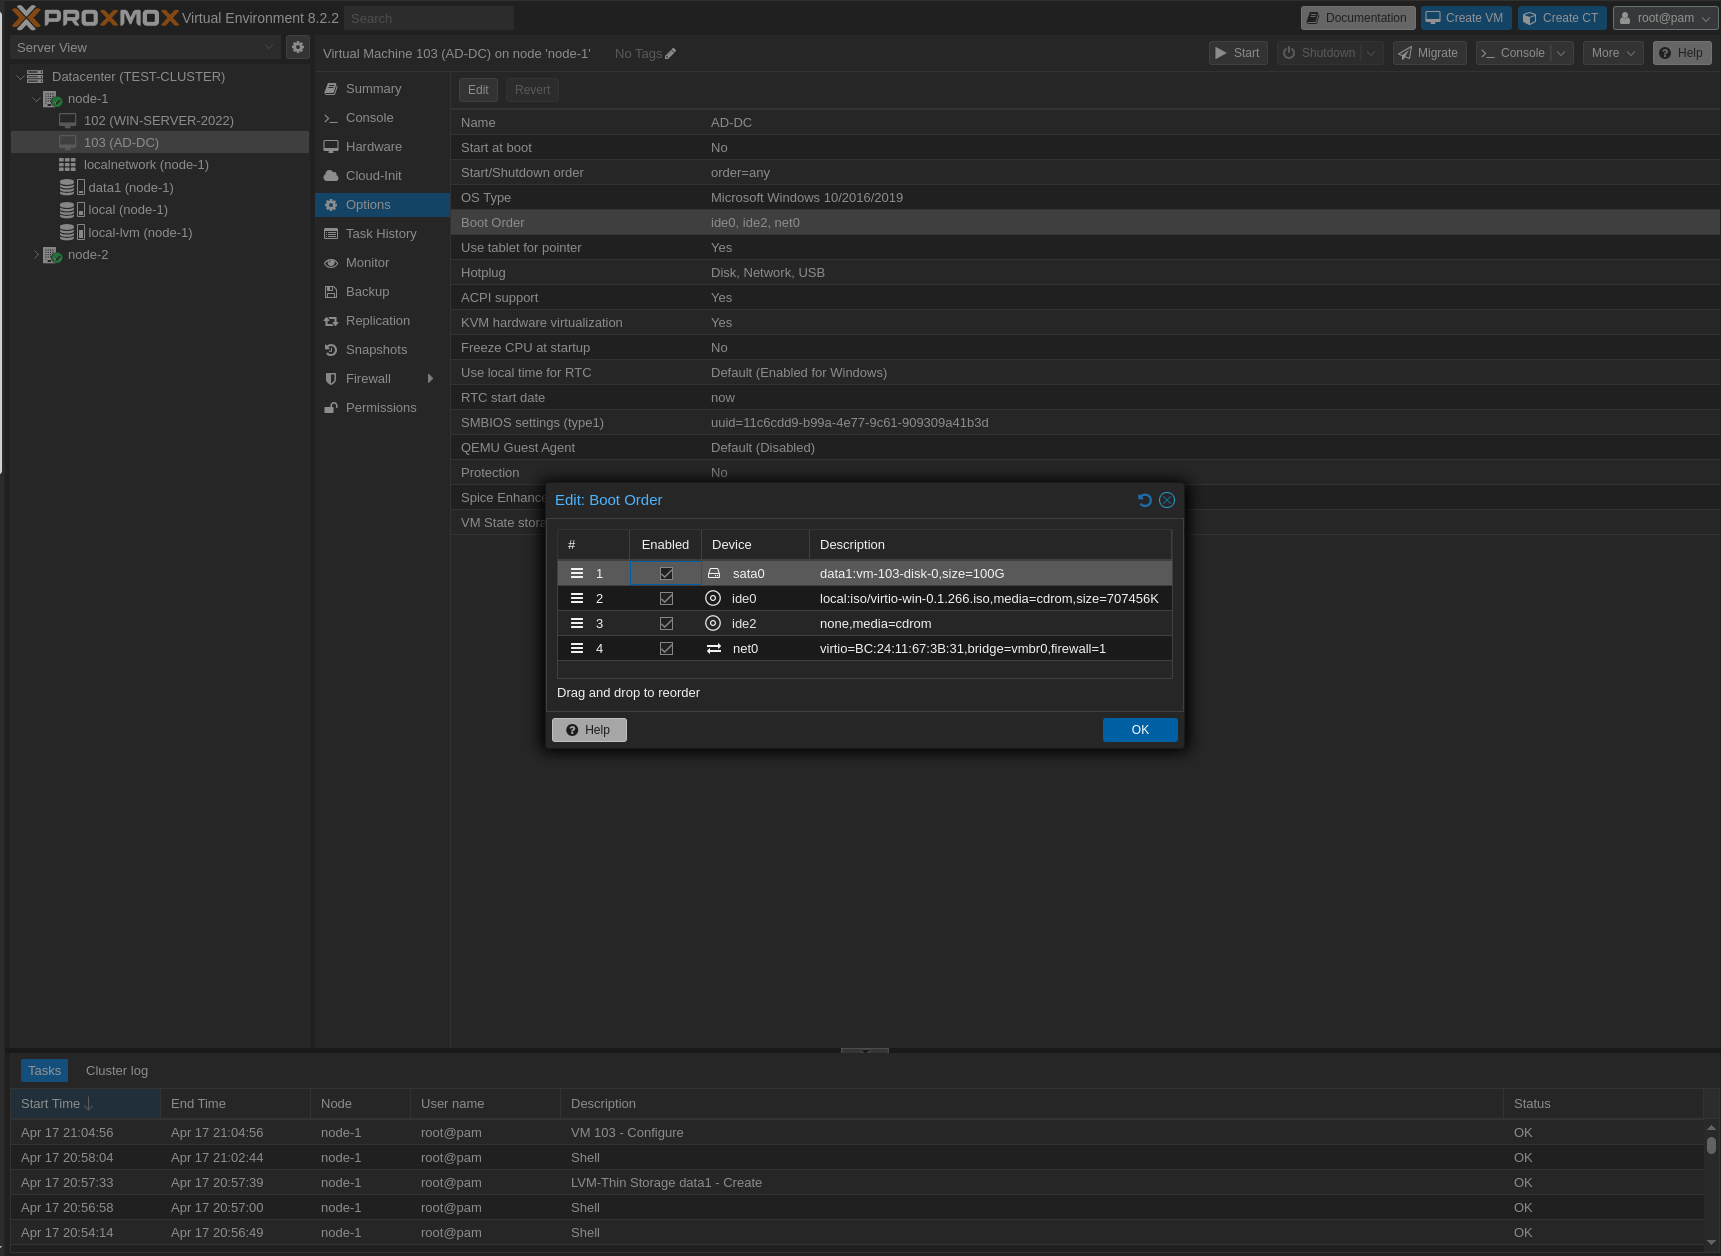
I also should enable sata in the “Boot Order” section.
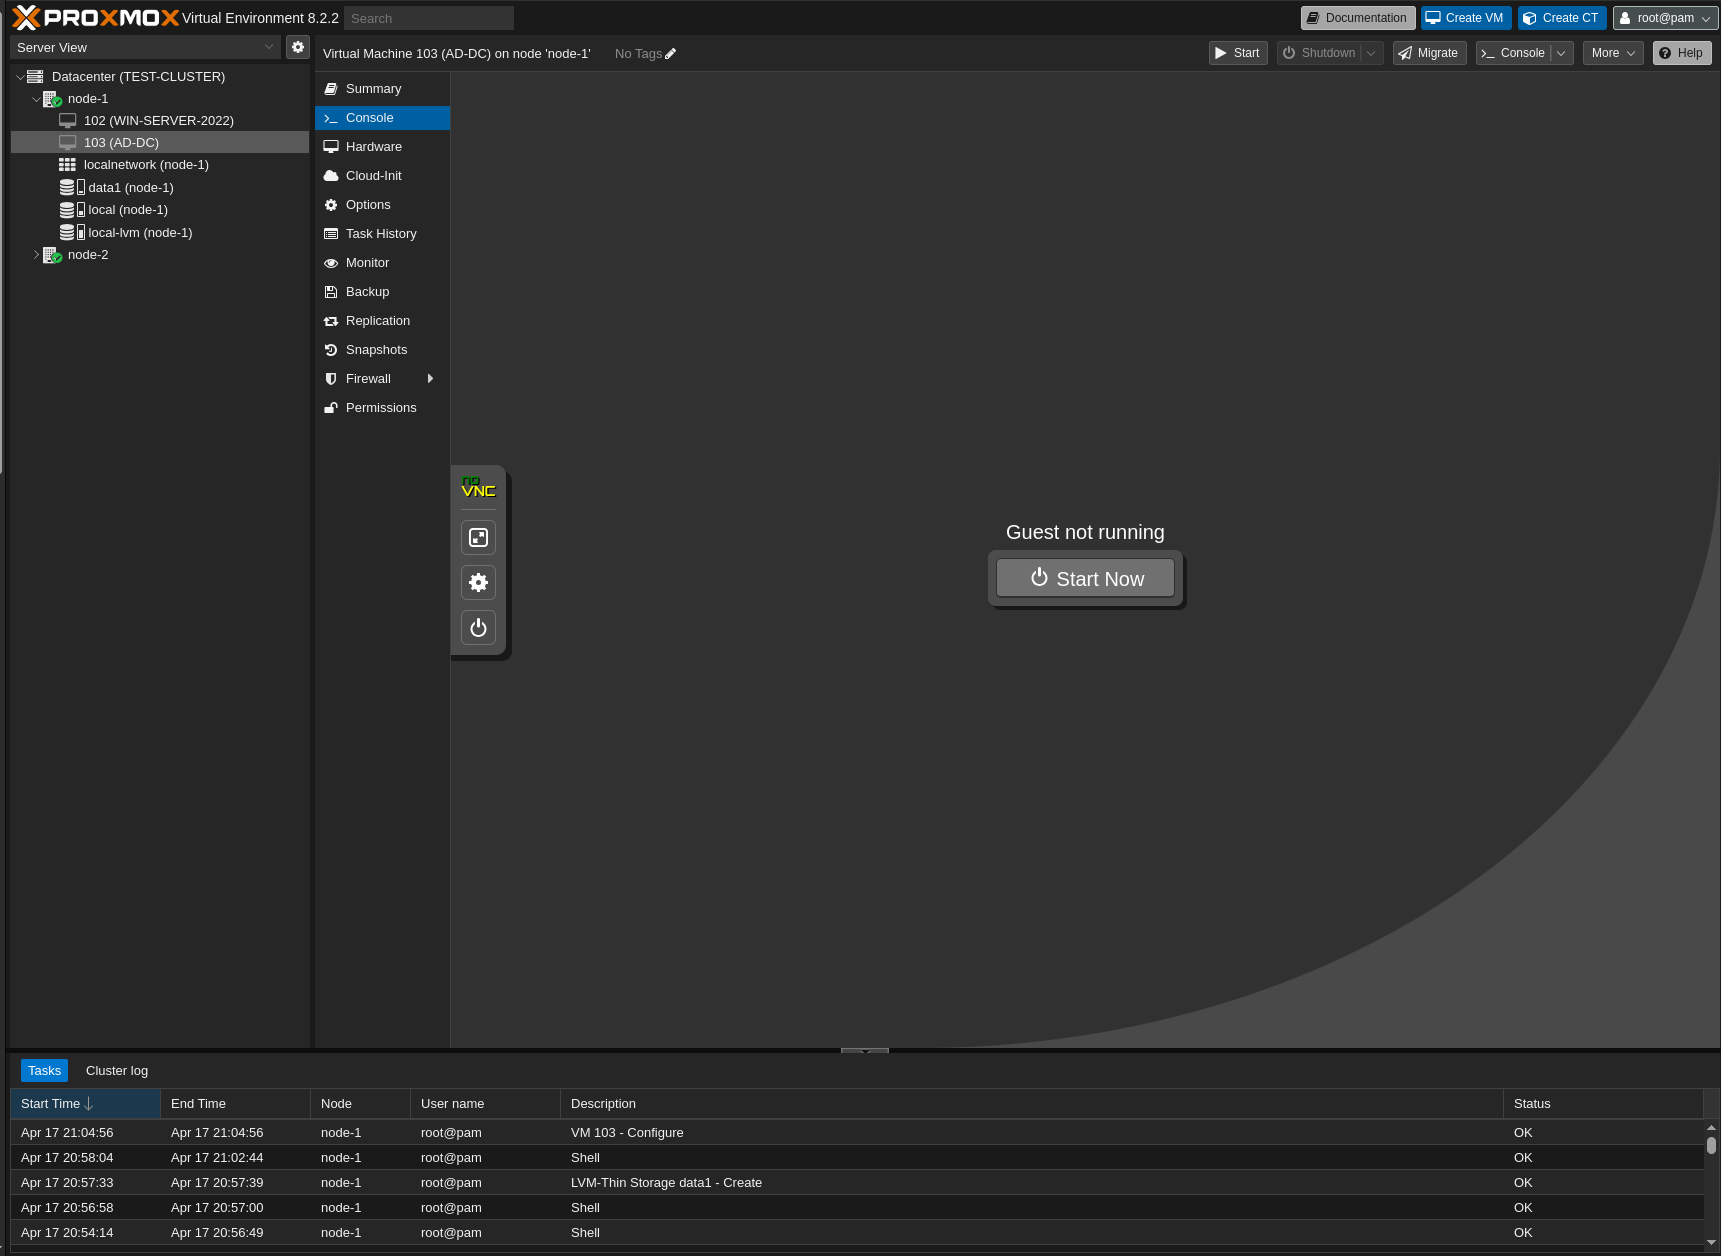
It’s time to start the virtual machine.
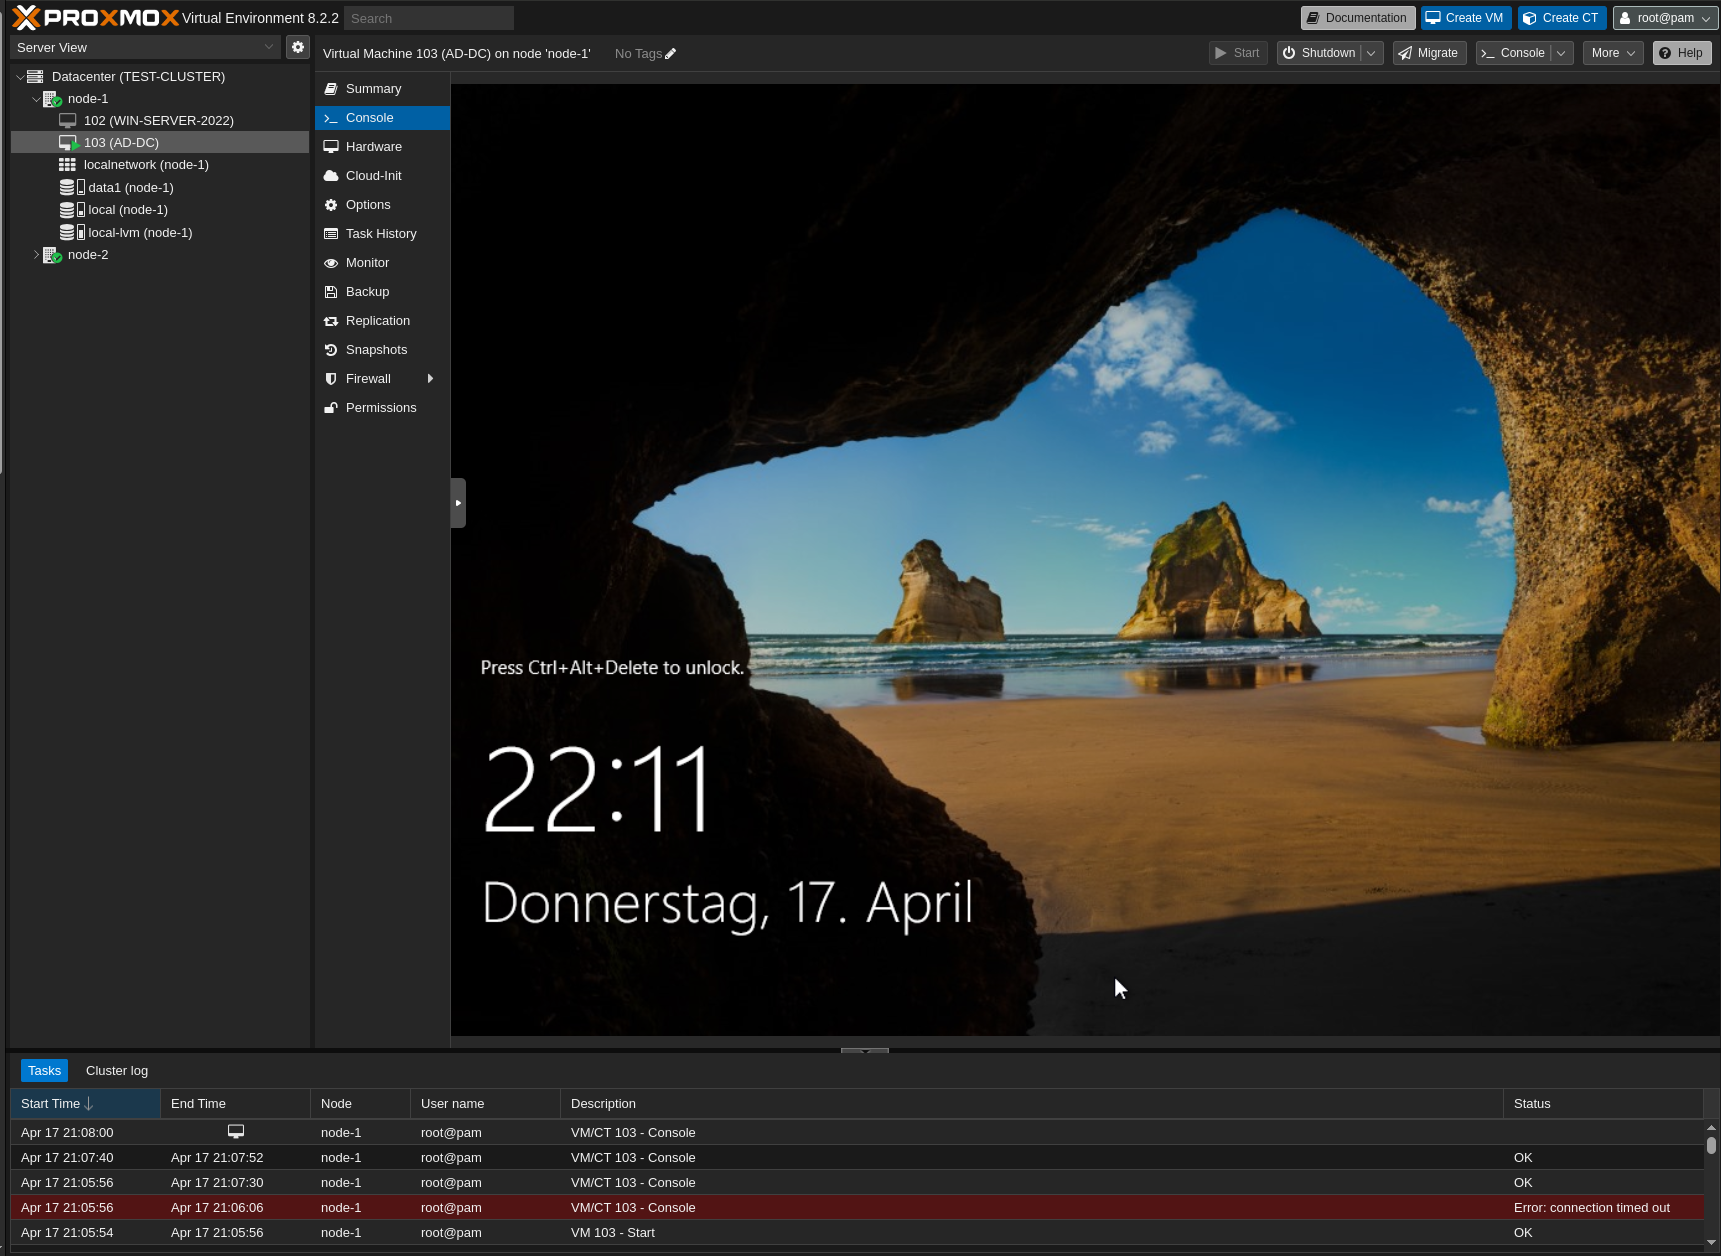
As you can see, the VM has been successfully migrated using the manual method. However, you should install the necessary drivers and remove VMware Tools from the VM.
Thank you for taking time to read this article. I hope you found it helpful.
Keep up the great work.