[EN] ESXi Installation
In this article I will show you how to install ESXi that a commonly used virtualization software in the industry providing lots of feature to solve issues that help IT guys quite a lot.
ESXi is one of the famous virtualization software used on servers. When it comes to talking about virtualization software, it is like a cornerstone because virtualization software helps us to virtualize our hardware, easy management, efficiency, cost benefits, isolation, fast deployment and more.
Here is a brief information about the types of virtualization.
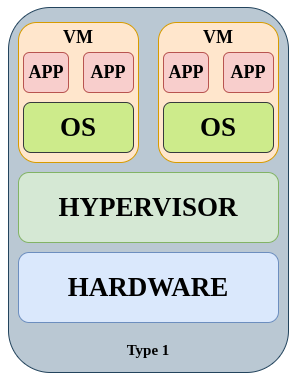
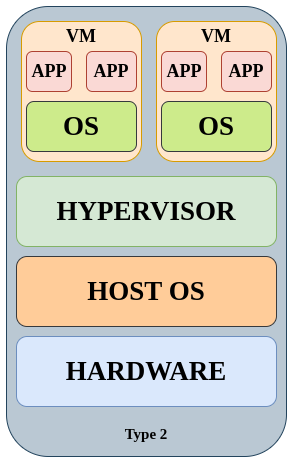
There are 2 types of virtualizations called “Type 1” and “Type 2”.
Type 2 is installed on Servers as seen in the image below. This type of virtualization softwares are used for Servers. Here is some common Type 1 virtualizations softwares: Proxmox, VMware, KVM, Xen, Citrix, RedHat, XCP-ng, HyperV.
Type 2 is installed on Operating System as seen in the image below. This type of virtualization softwares can be used for everyone. Here is some common Type 2 virtualization softwares: Vmware Workstation Pro (Free), Virtualbox, QEMU, Parallels.
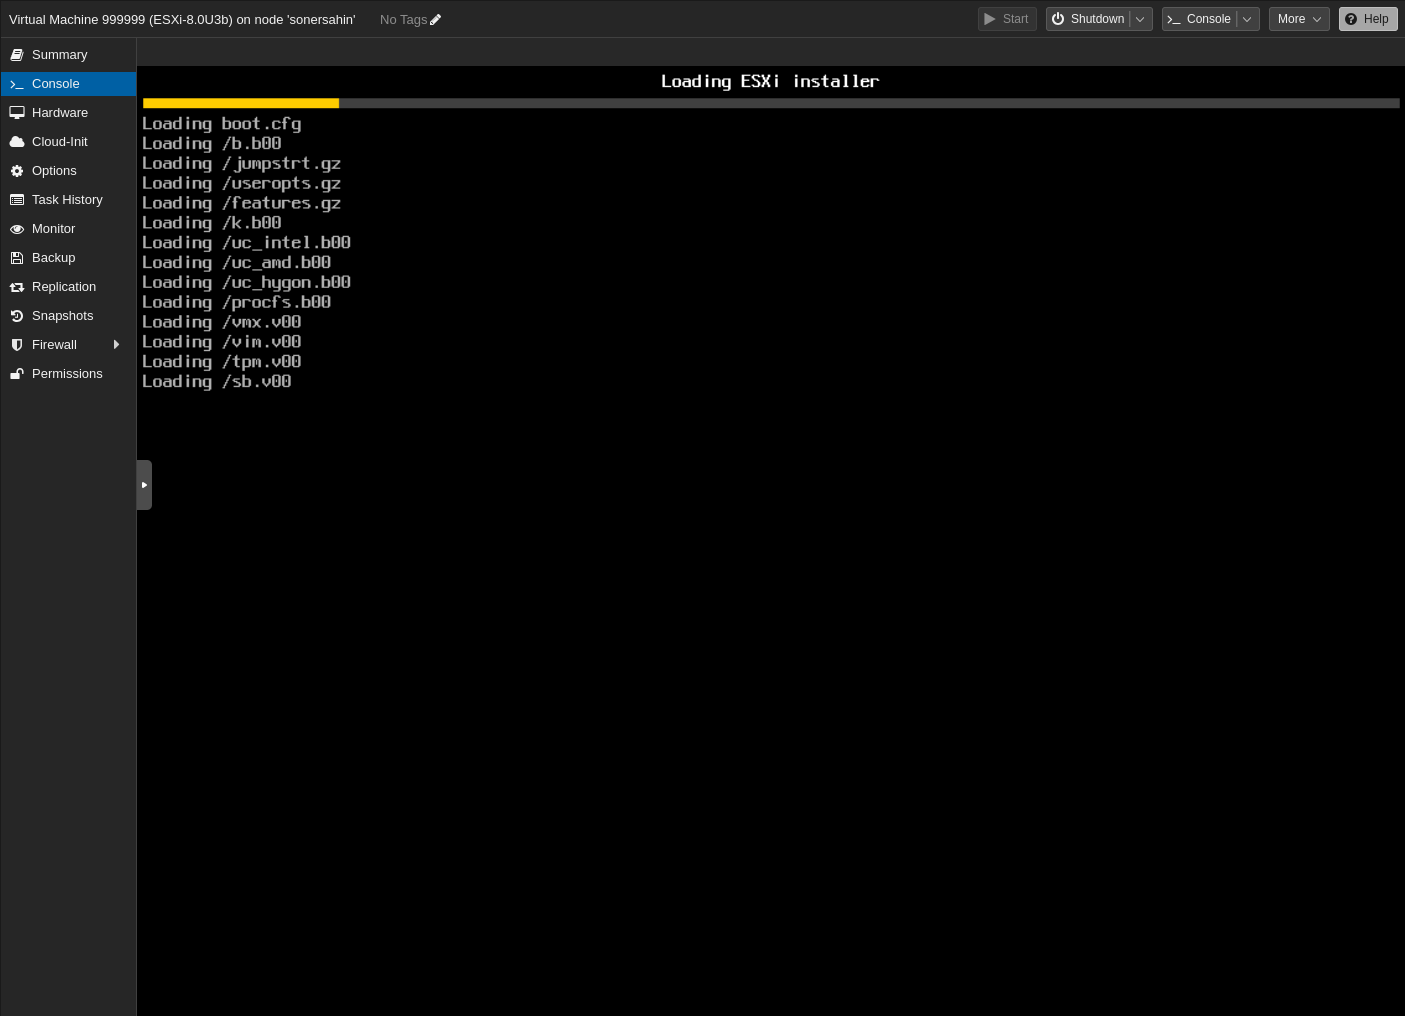
After quick info, let’s get installation.
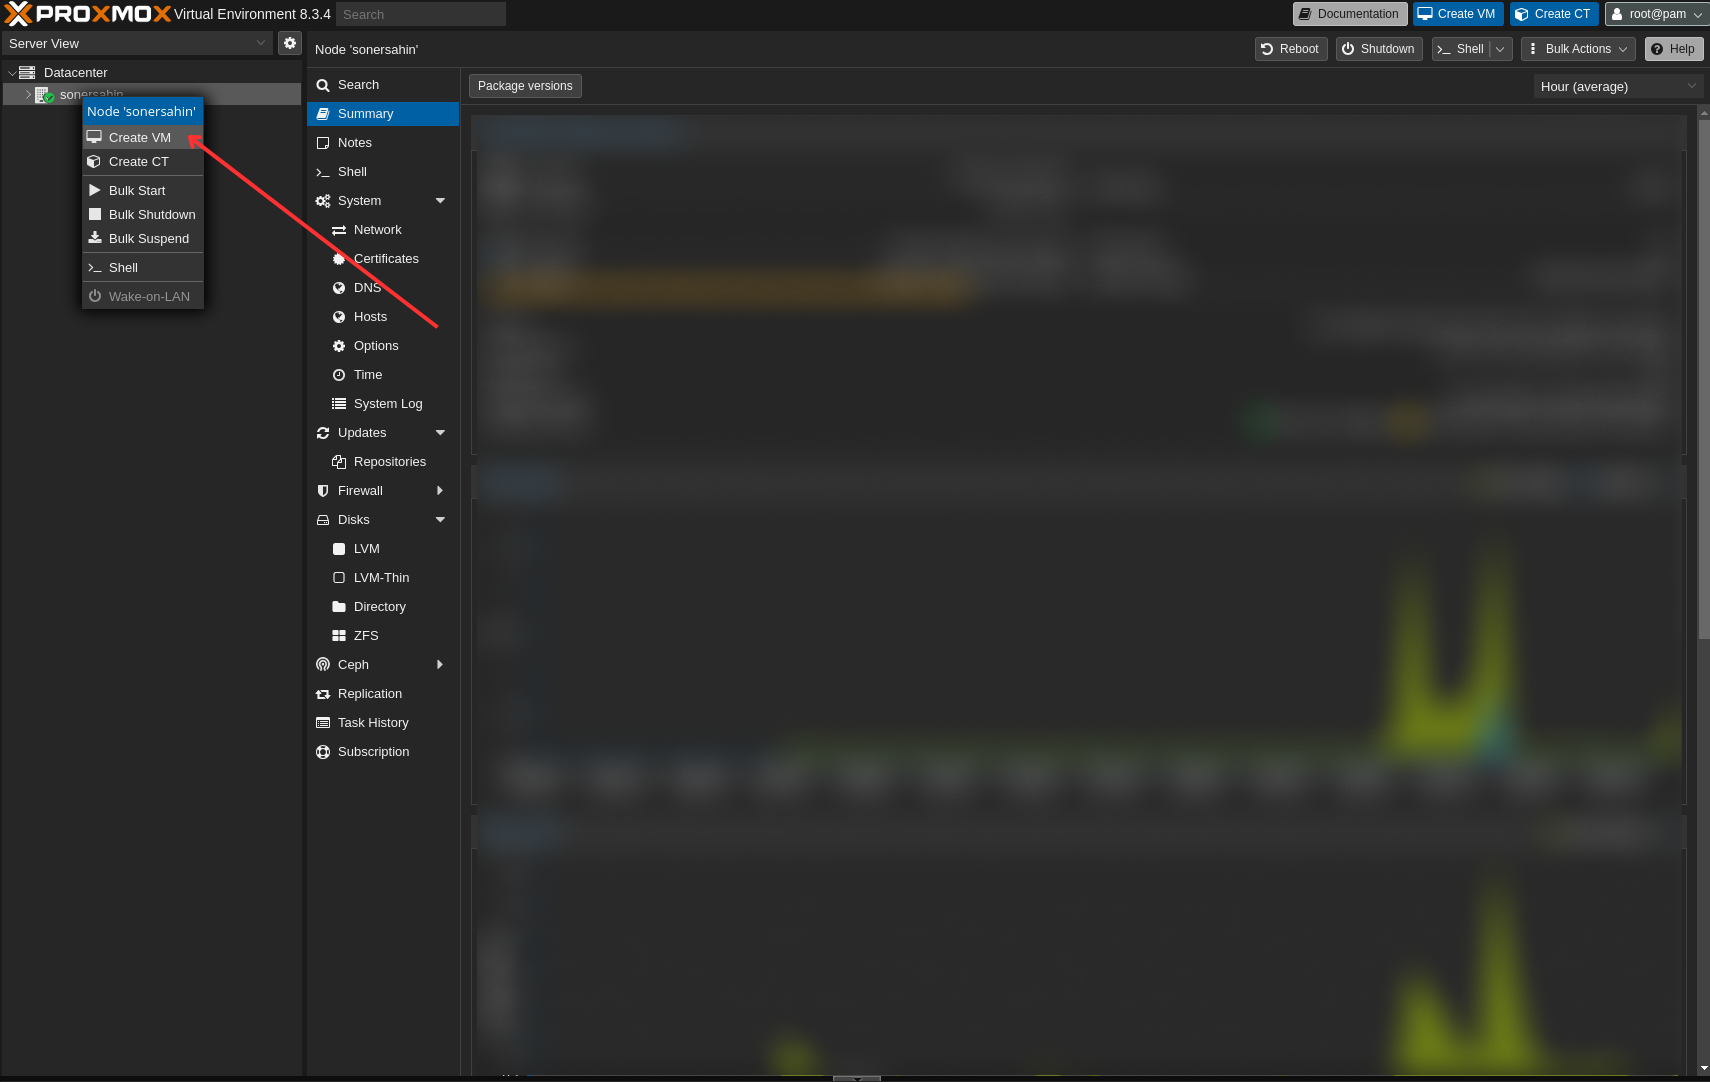
I will install ESXi on my Proxmox Server :) as a virtual machine. Probably you will install it on a bare metal server then put the ISO file into USB and plug it into the server. Afterwards boot the server with USB. The remaining process will be the same.
First, we need to have an ESXi ISO image. Before got to the relevant download page, we need to ensure that what version of ESXi is best for our server. Because every server has its different features and every ESXi version is not compatible for every server. You will find useful information and instructions on your server manufacturer’s website.
Pay carefully attention this part and please note that you can also take a look some social media communities to see any experiences. You can download the ISO image and get a licence in Broadcom Website.
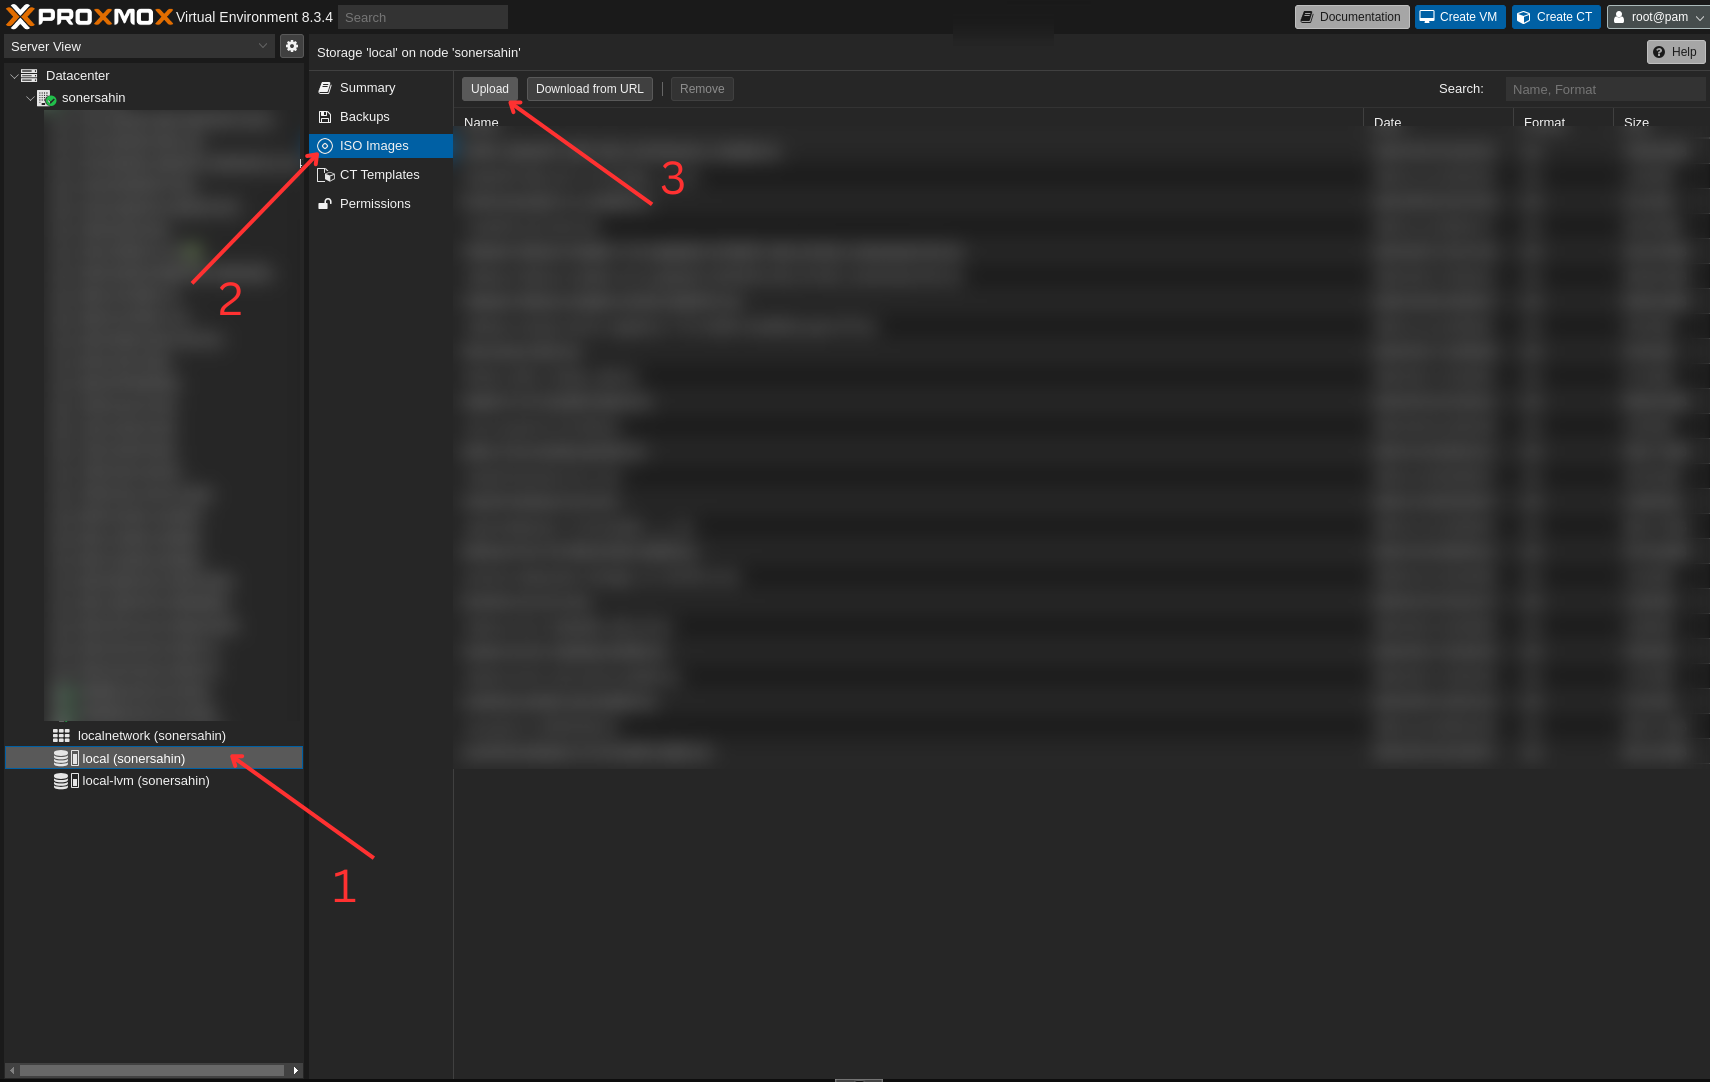
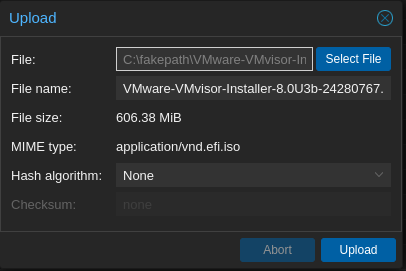
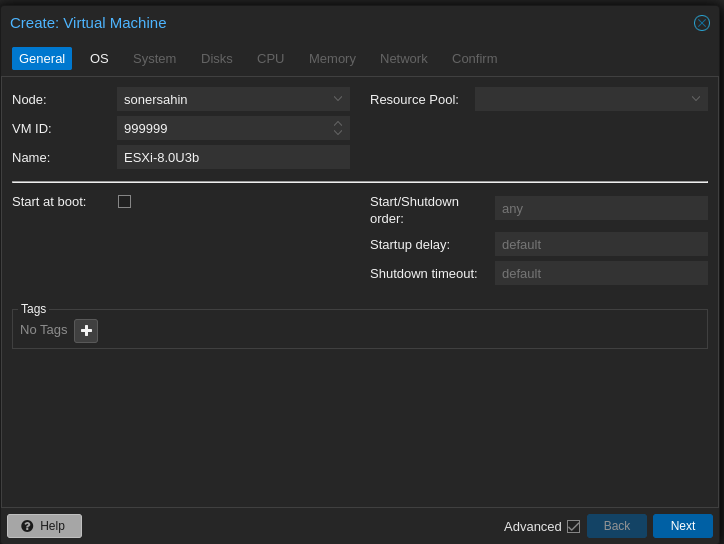
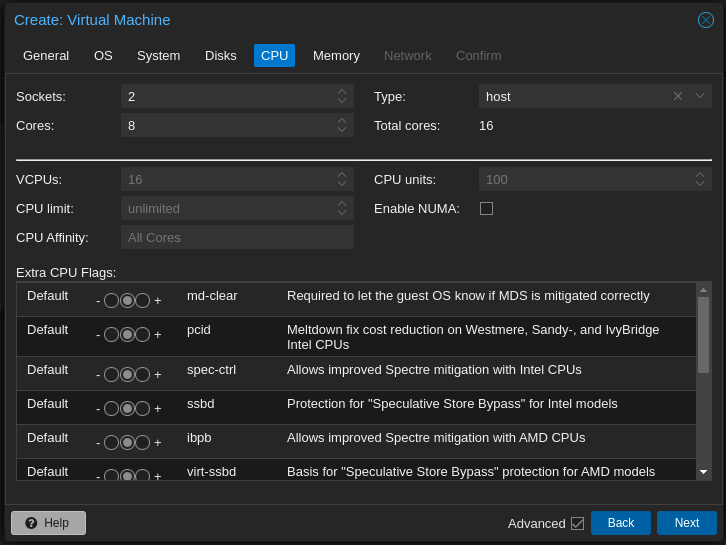
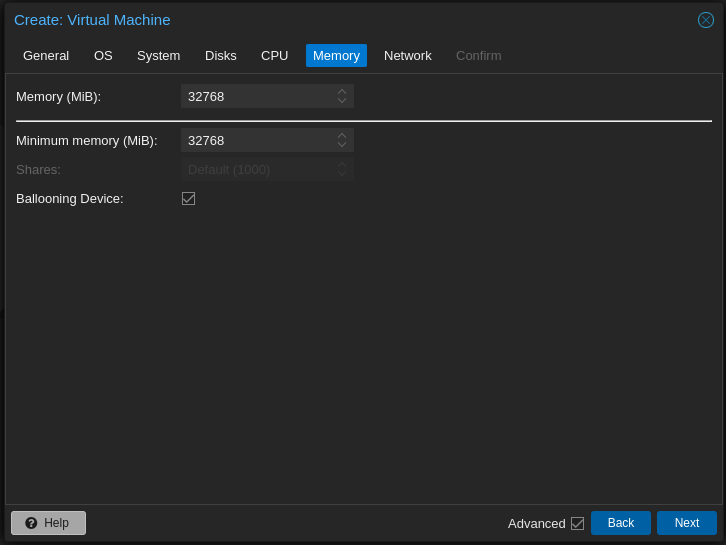
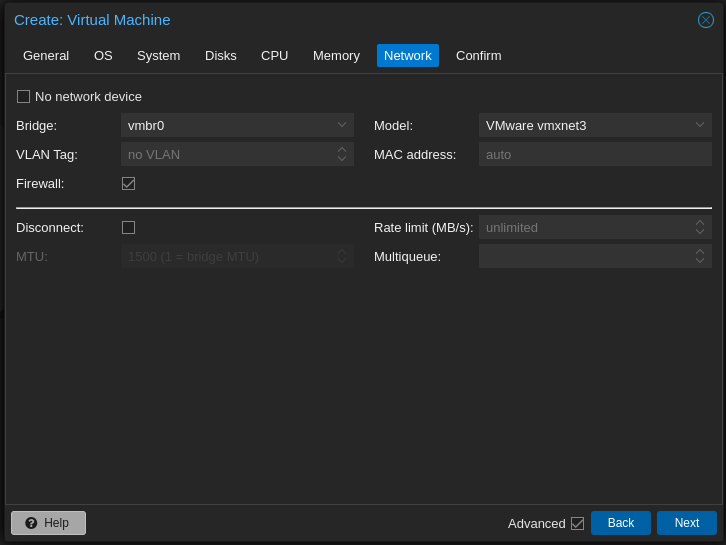
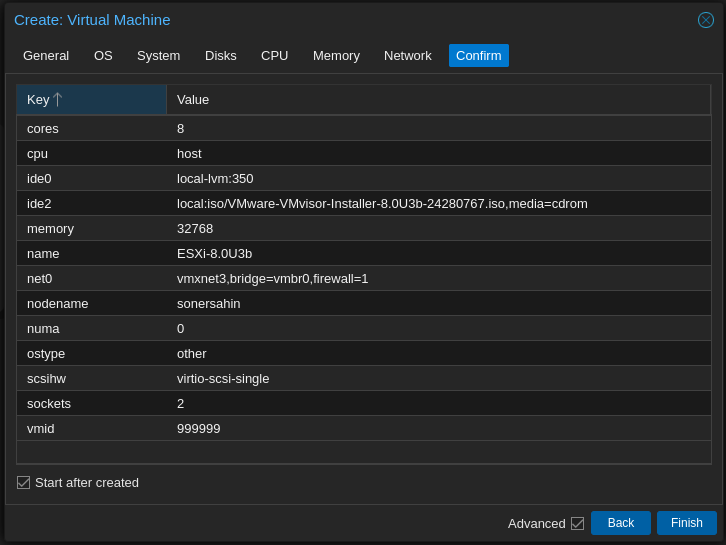
I will use 8.0U3b version in my case. If you use Proxmox as virtualization software like me, you know we need to upload the ISO image to Proxmox first. You can see steps as follows.

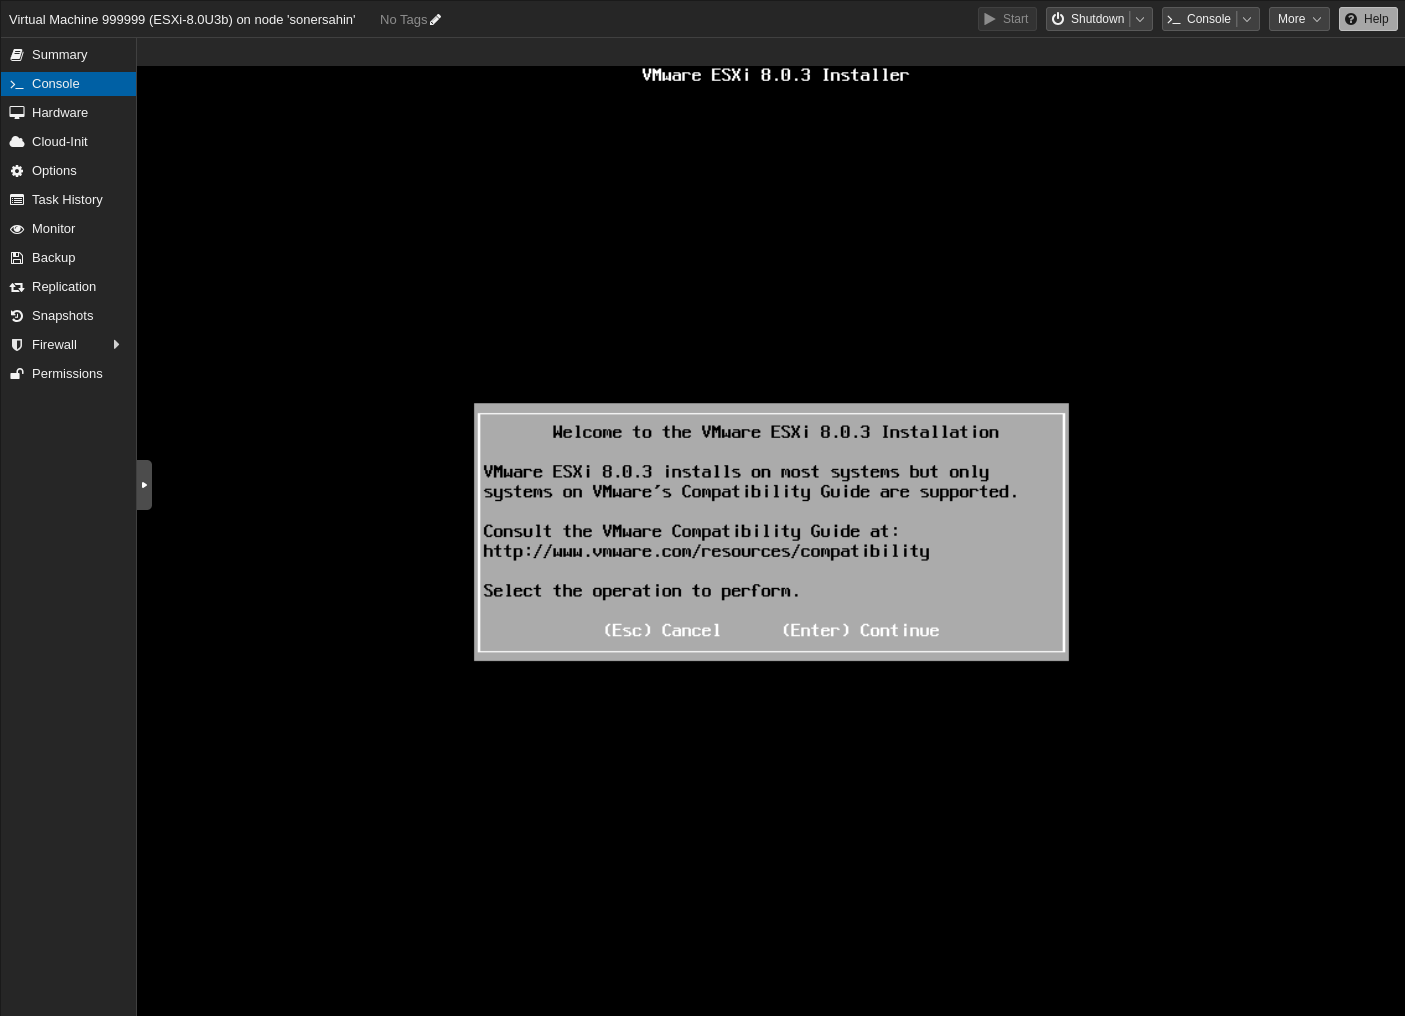
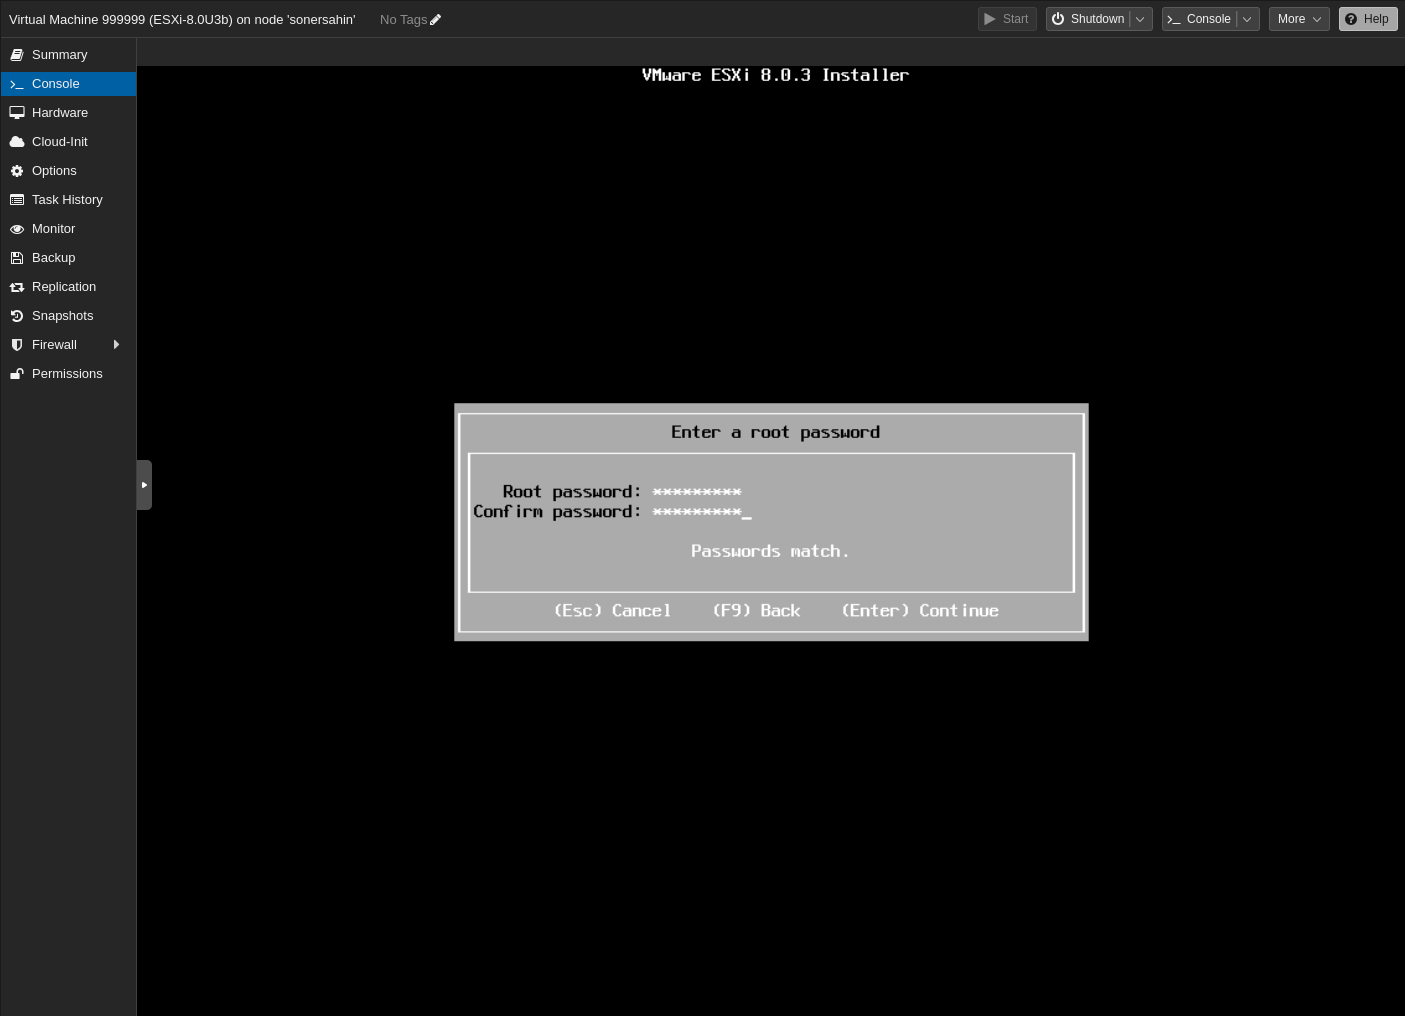
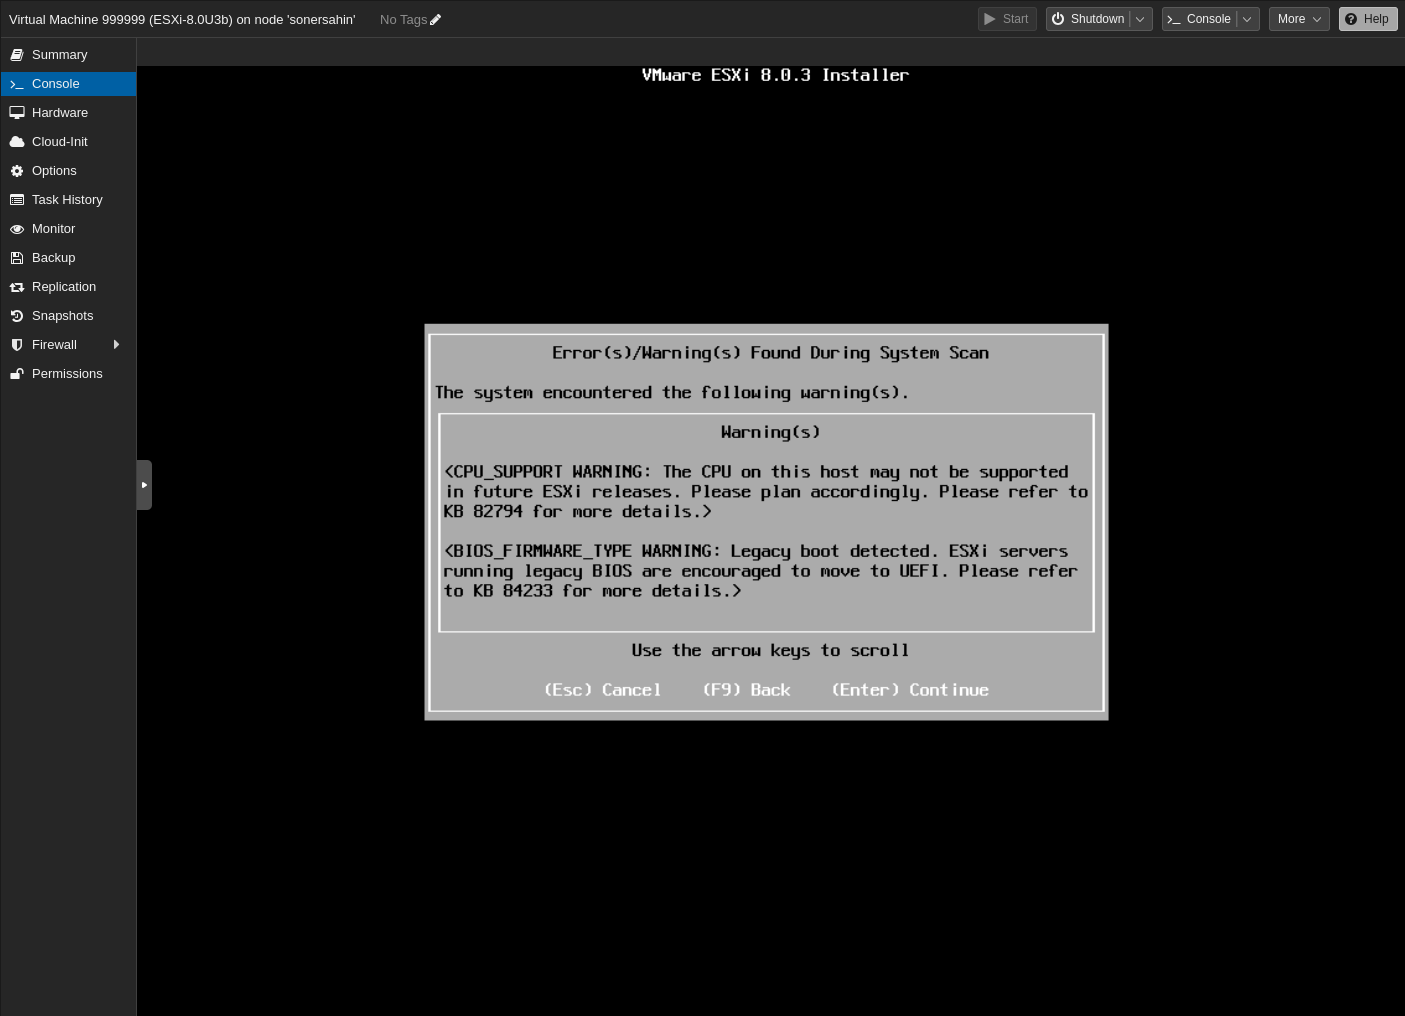
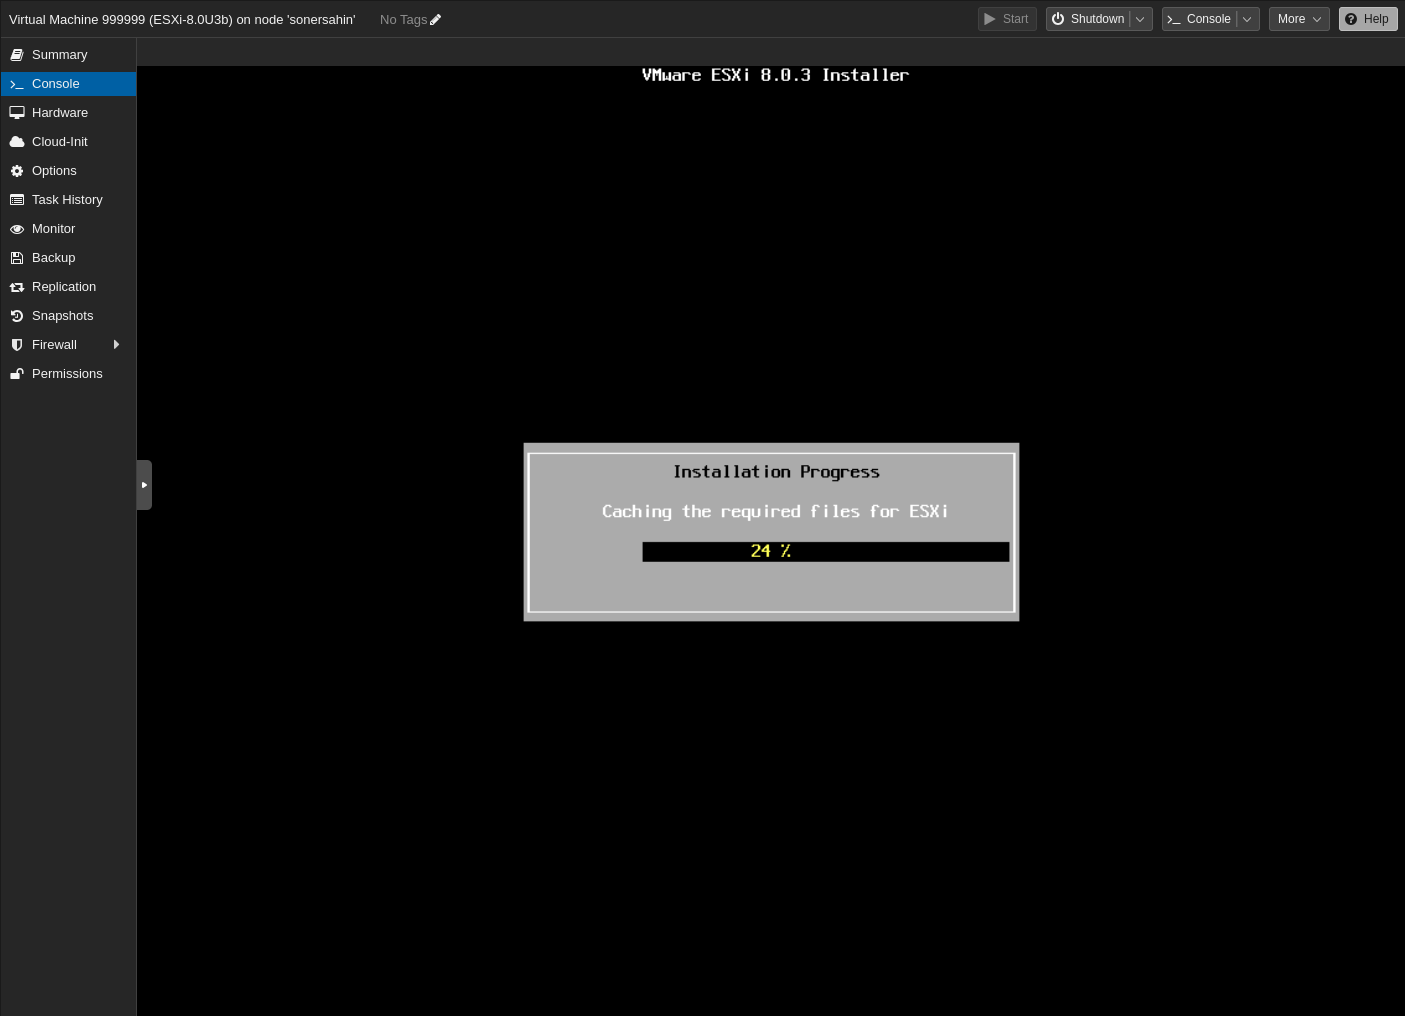
ESXi Installation:
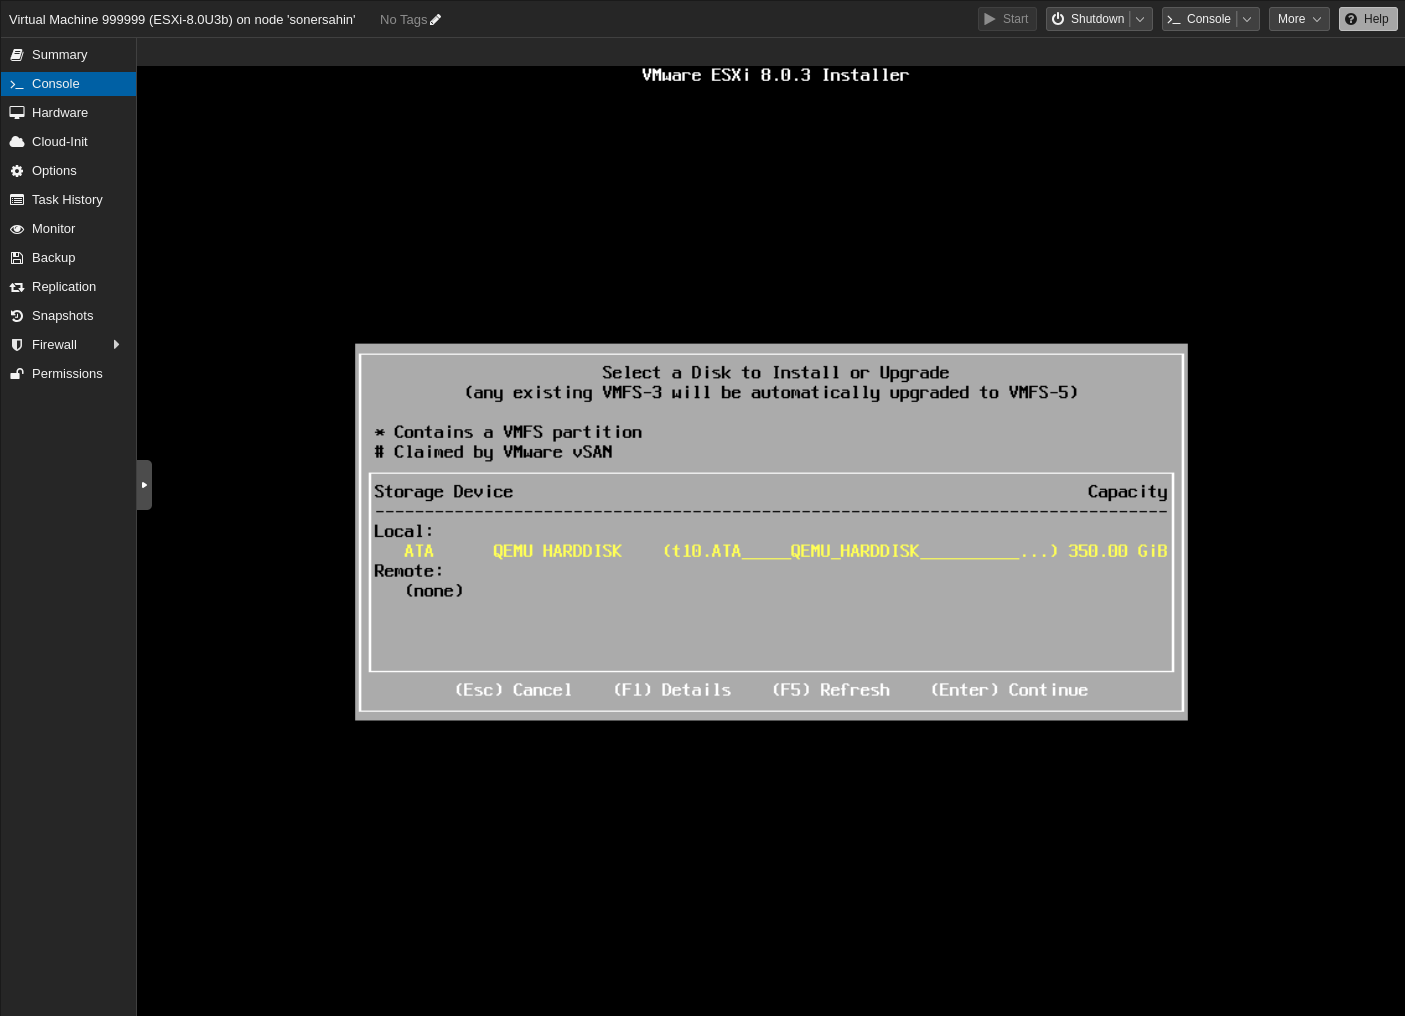
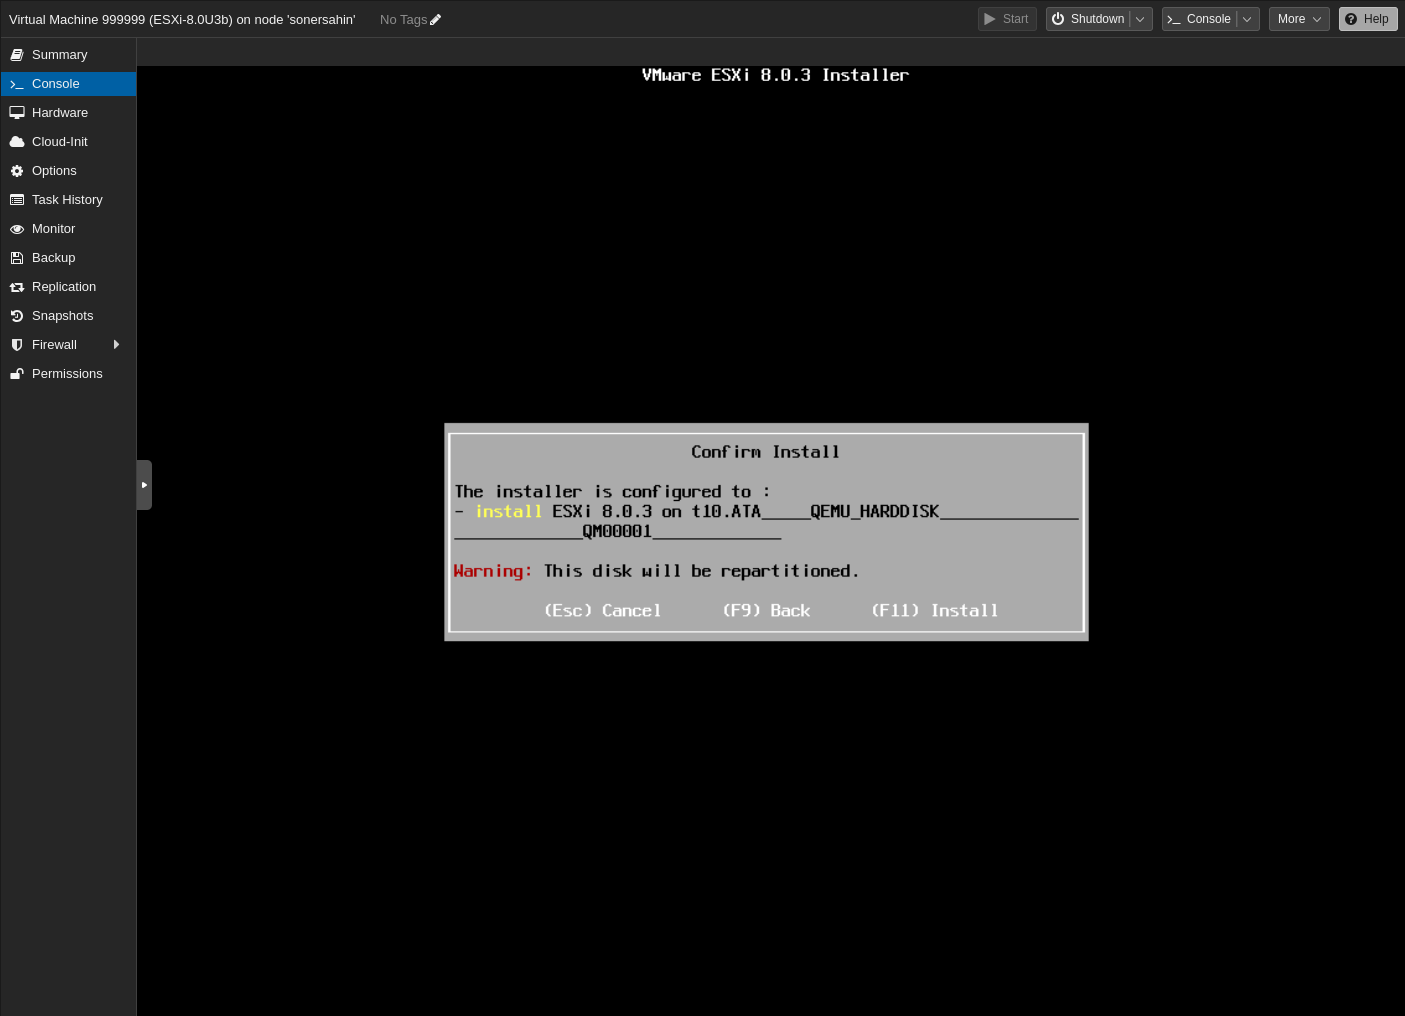
Select relevant disk
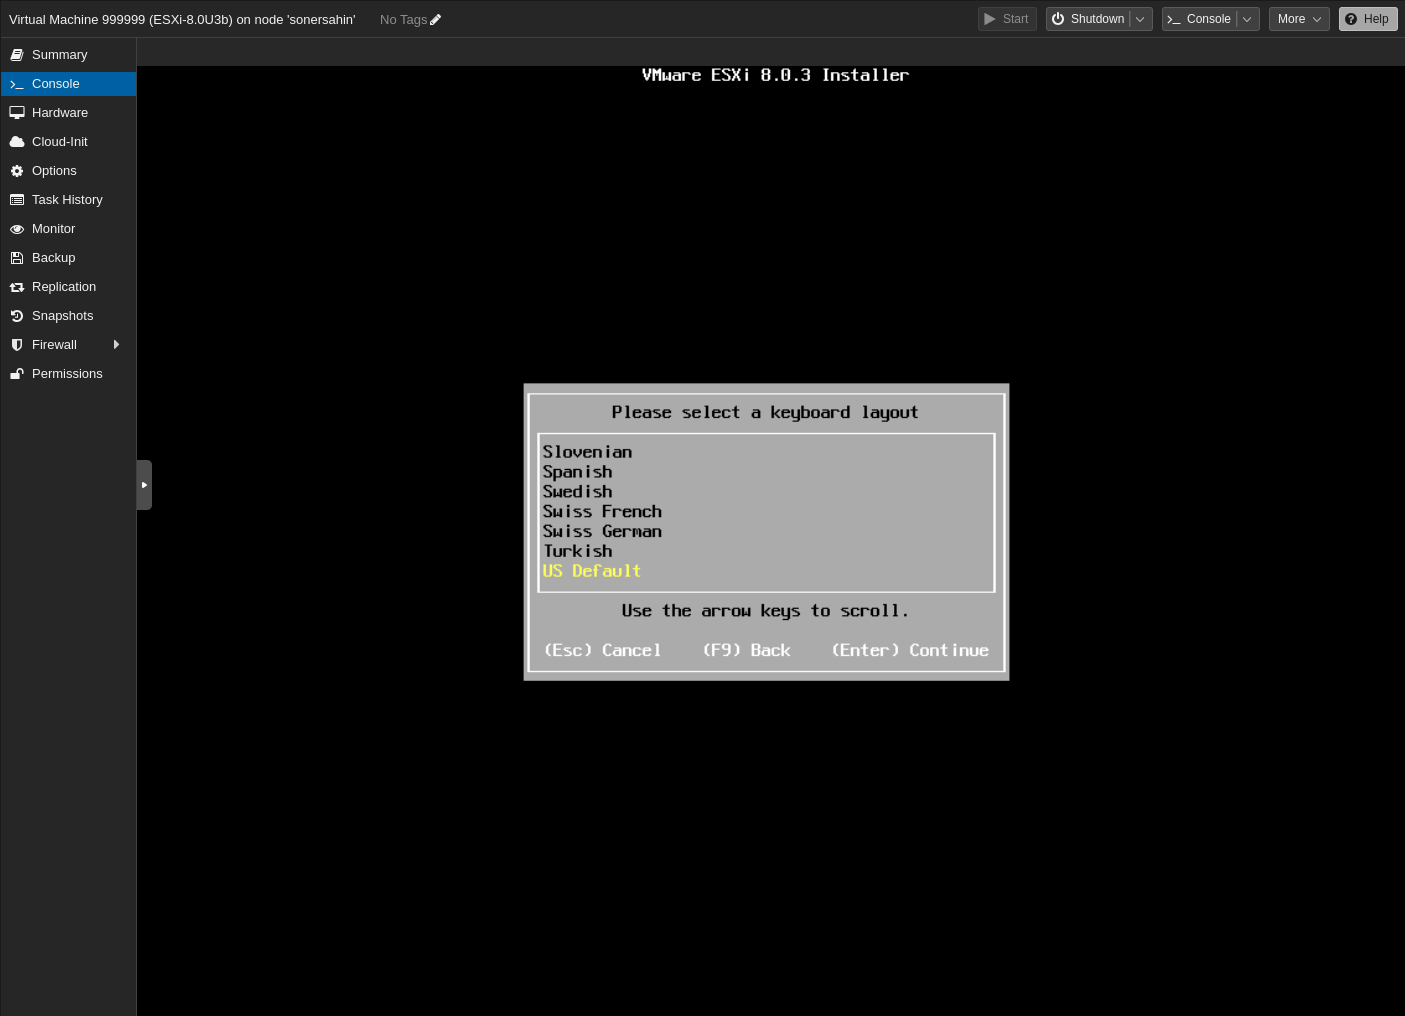
Choose you keyboard layout. Please make sure that select proper one in your case because it might bother you in the password section.
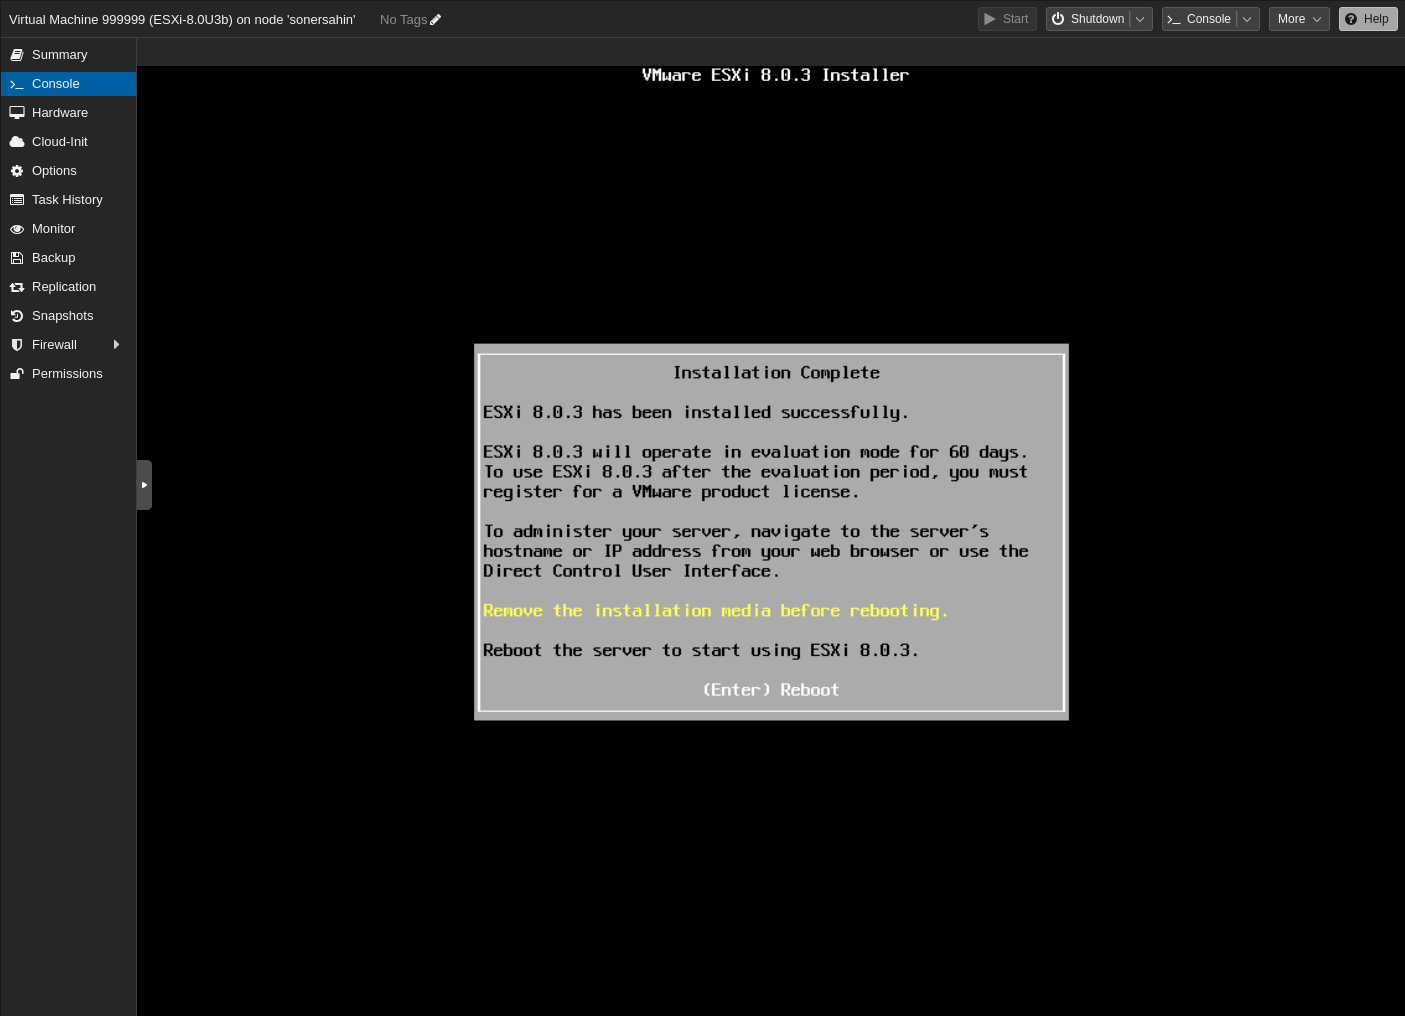
The software has been successfully installed. Remove the USB before rebooting.
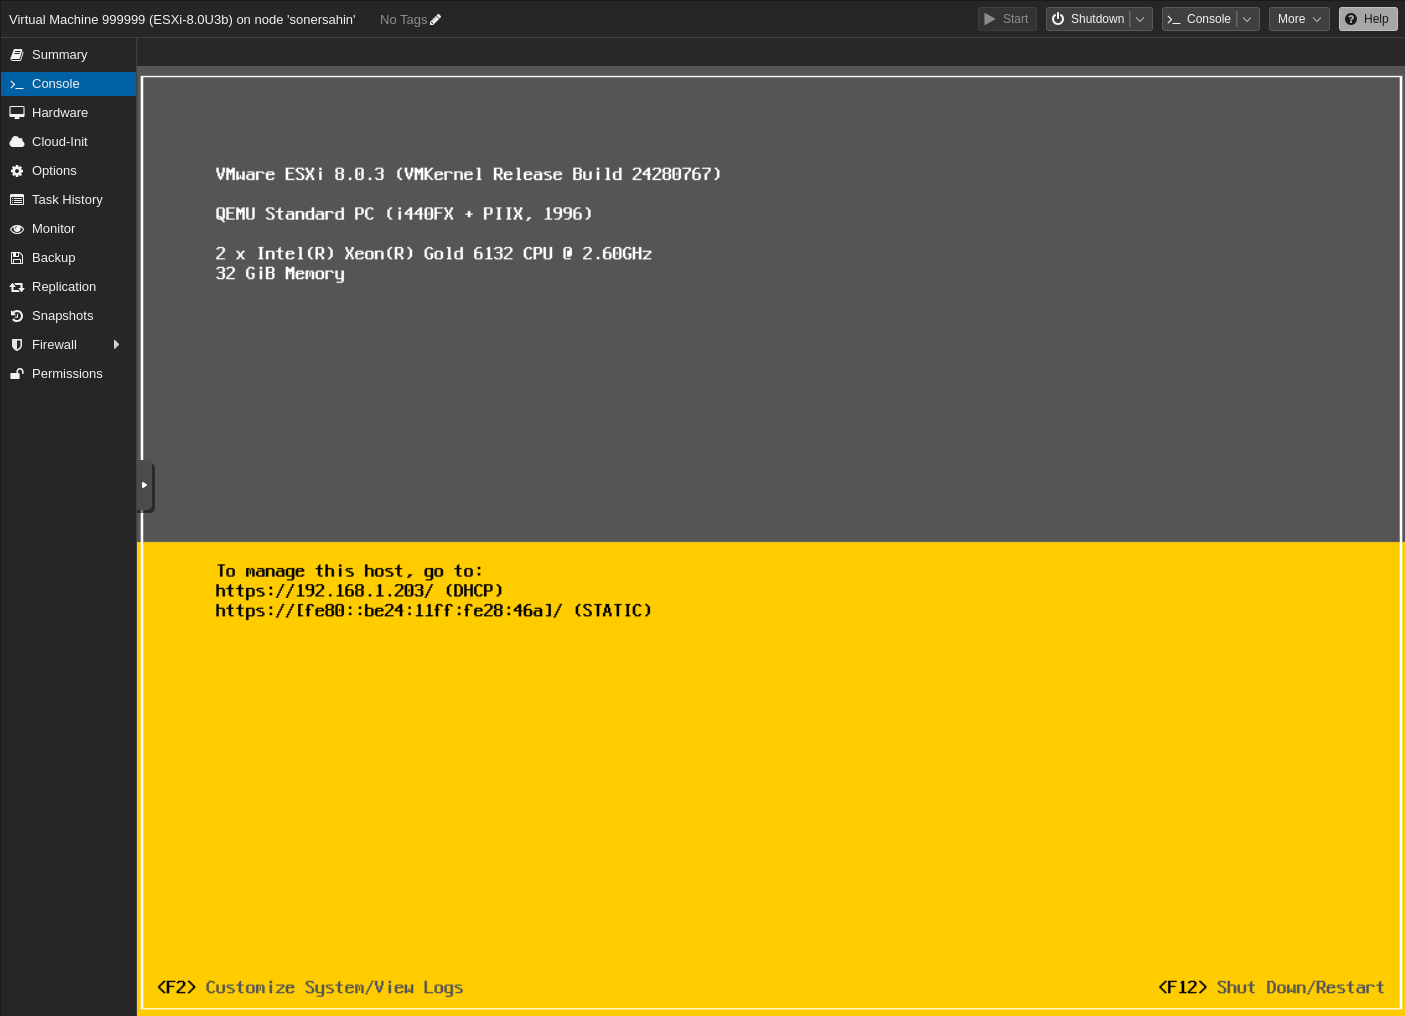
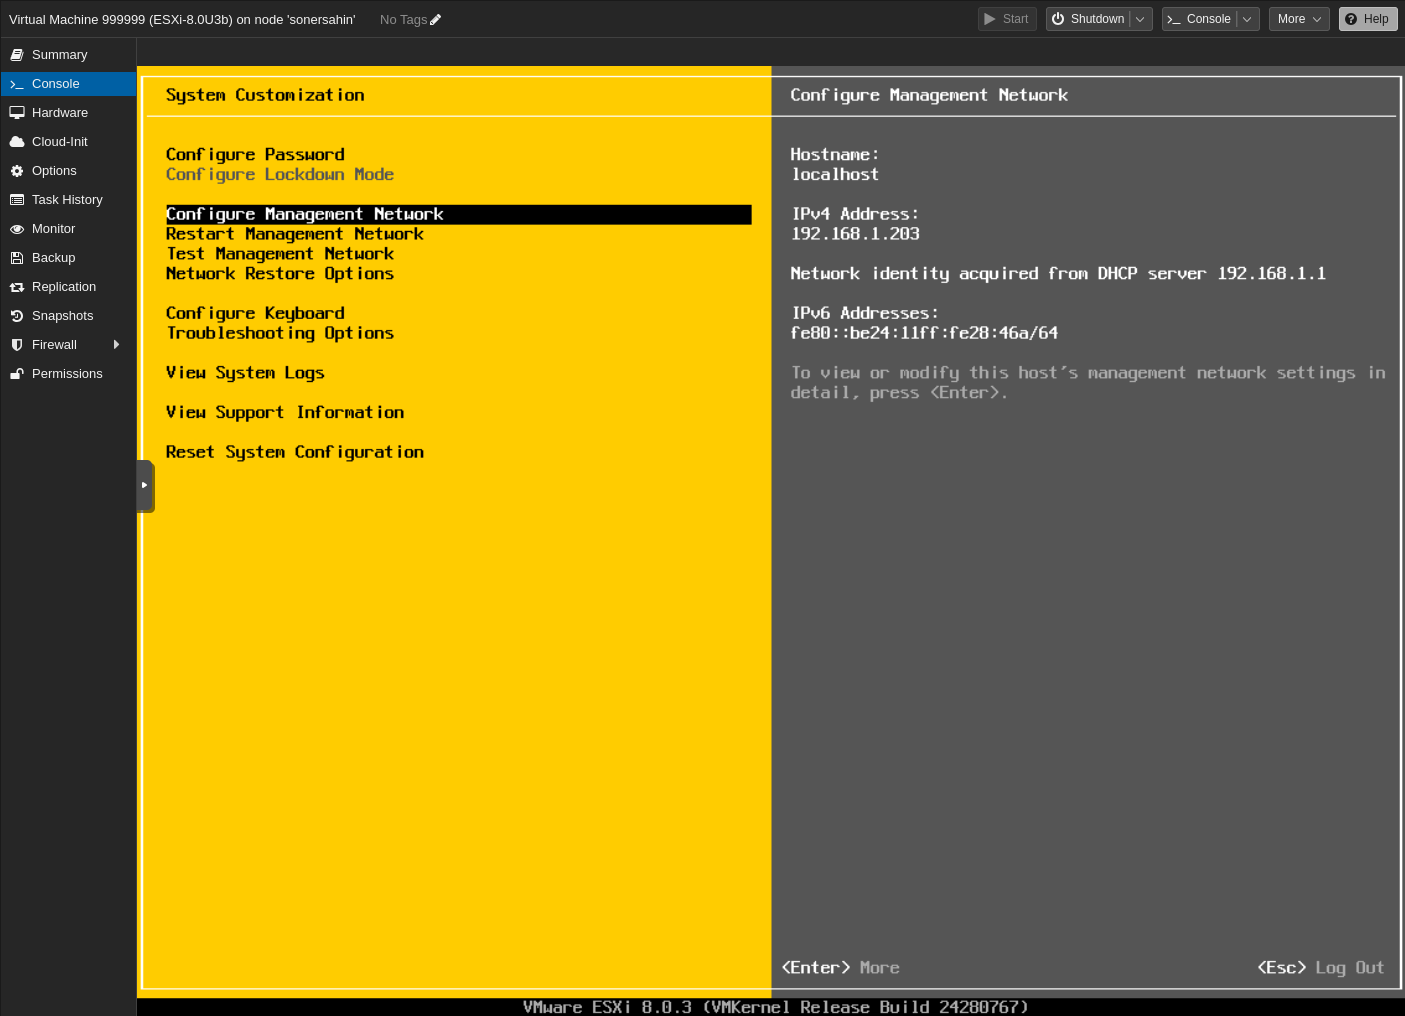
We will not work with this screen but before go to web management console, we need to set up some configurations. For this pres “F2” to go to configuration section.
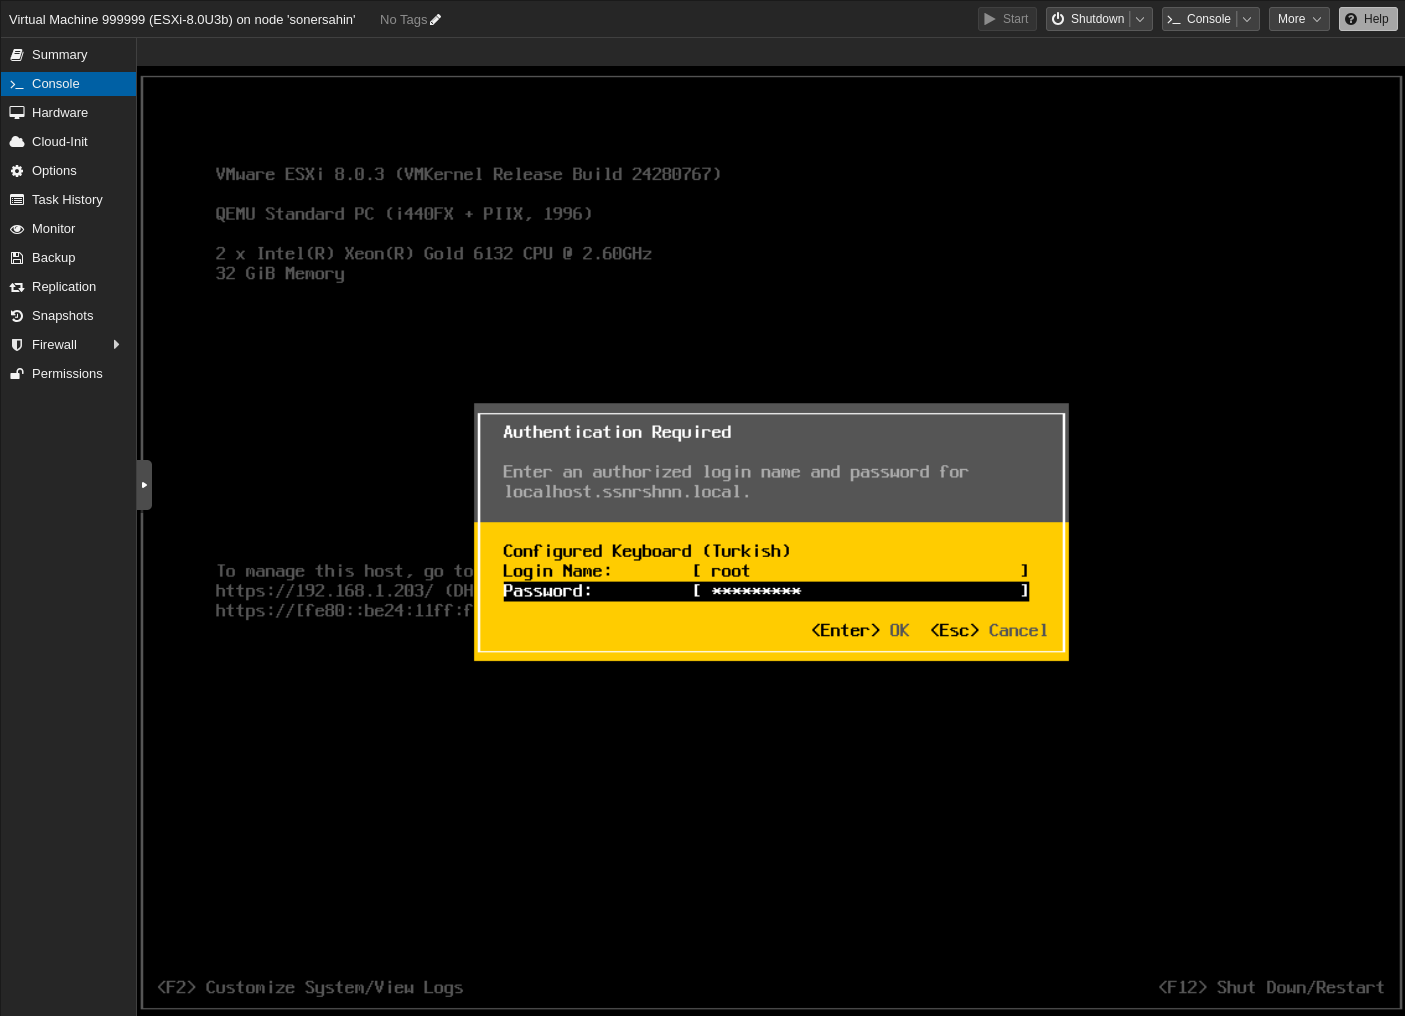
Enter the username as root and Password that we have given in the installation.
You can set some configuration in this section. If there are no problem, you will not see this screen very often.
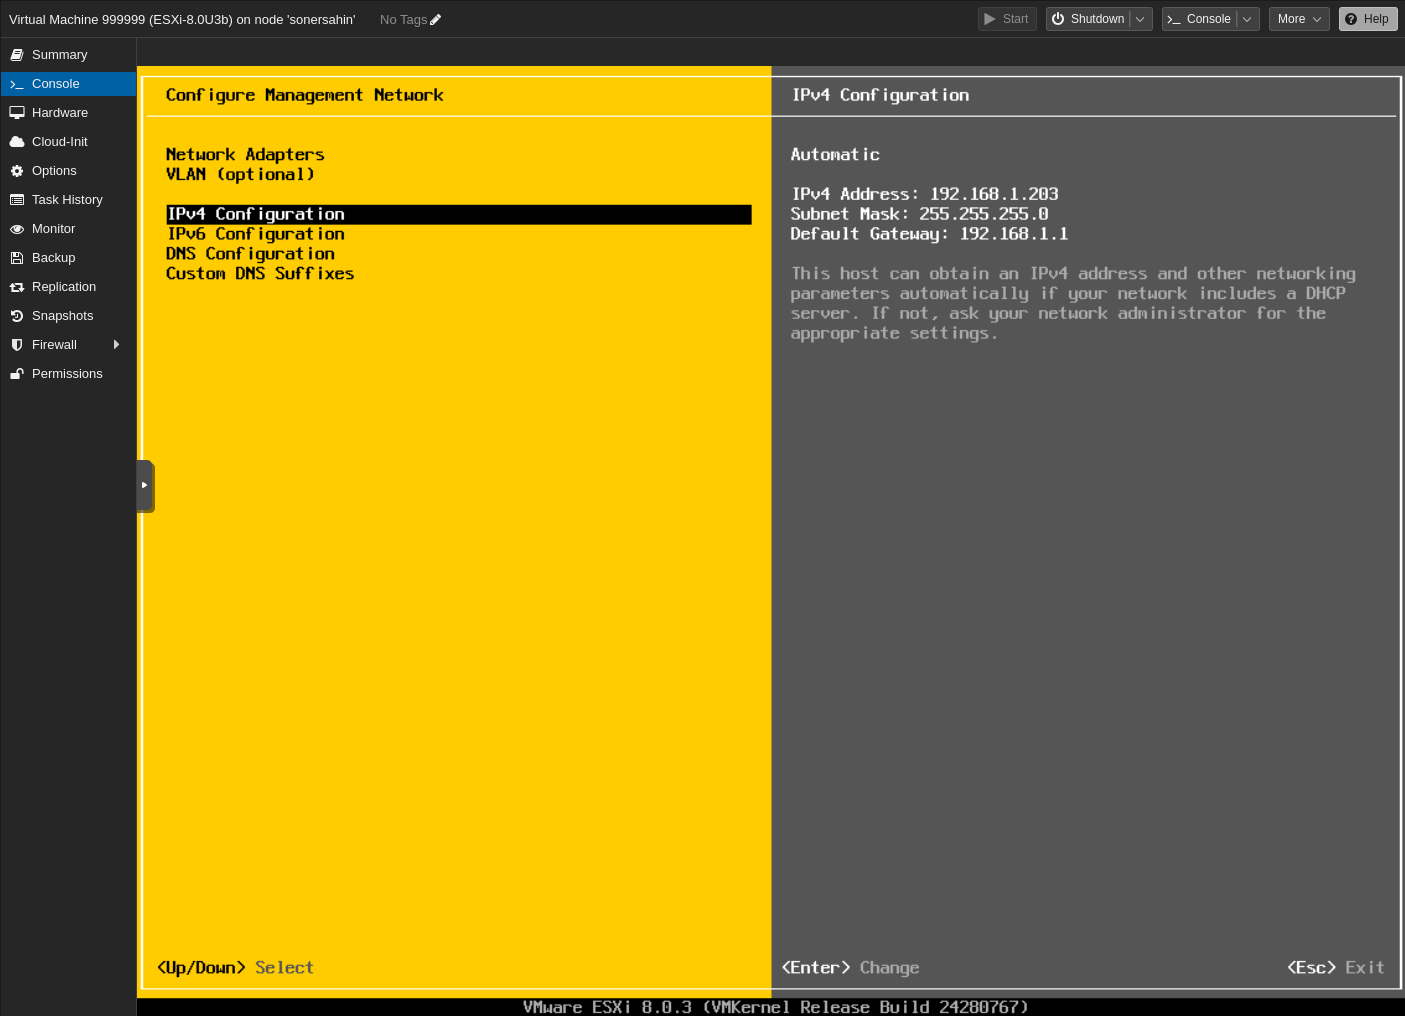
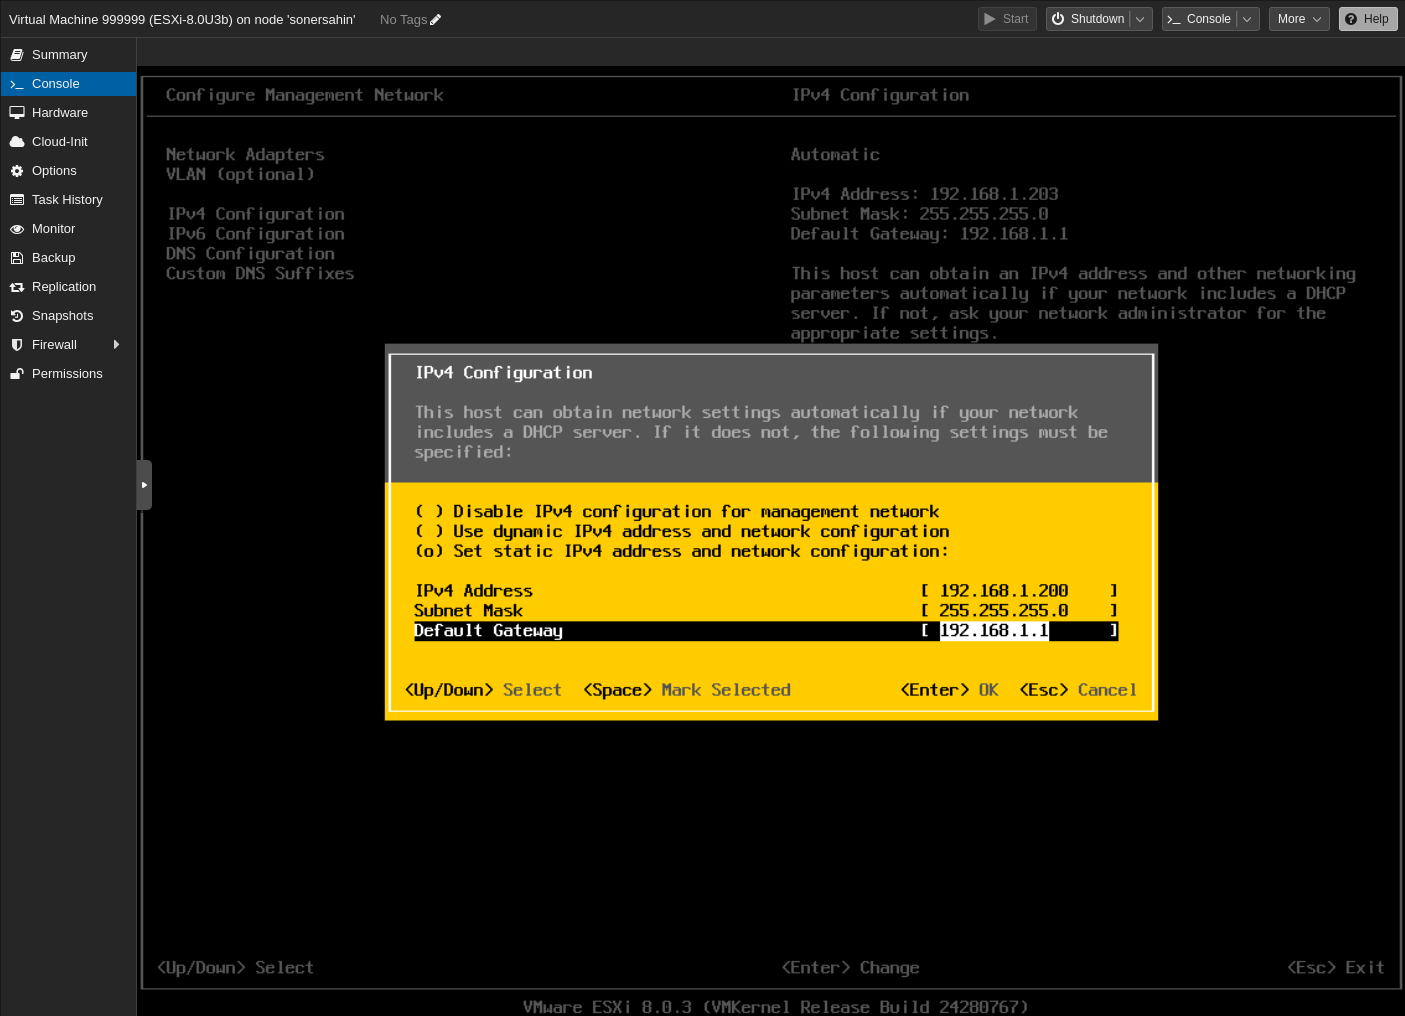
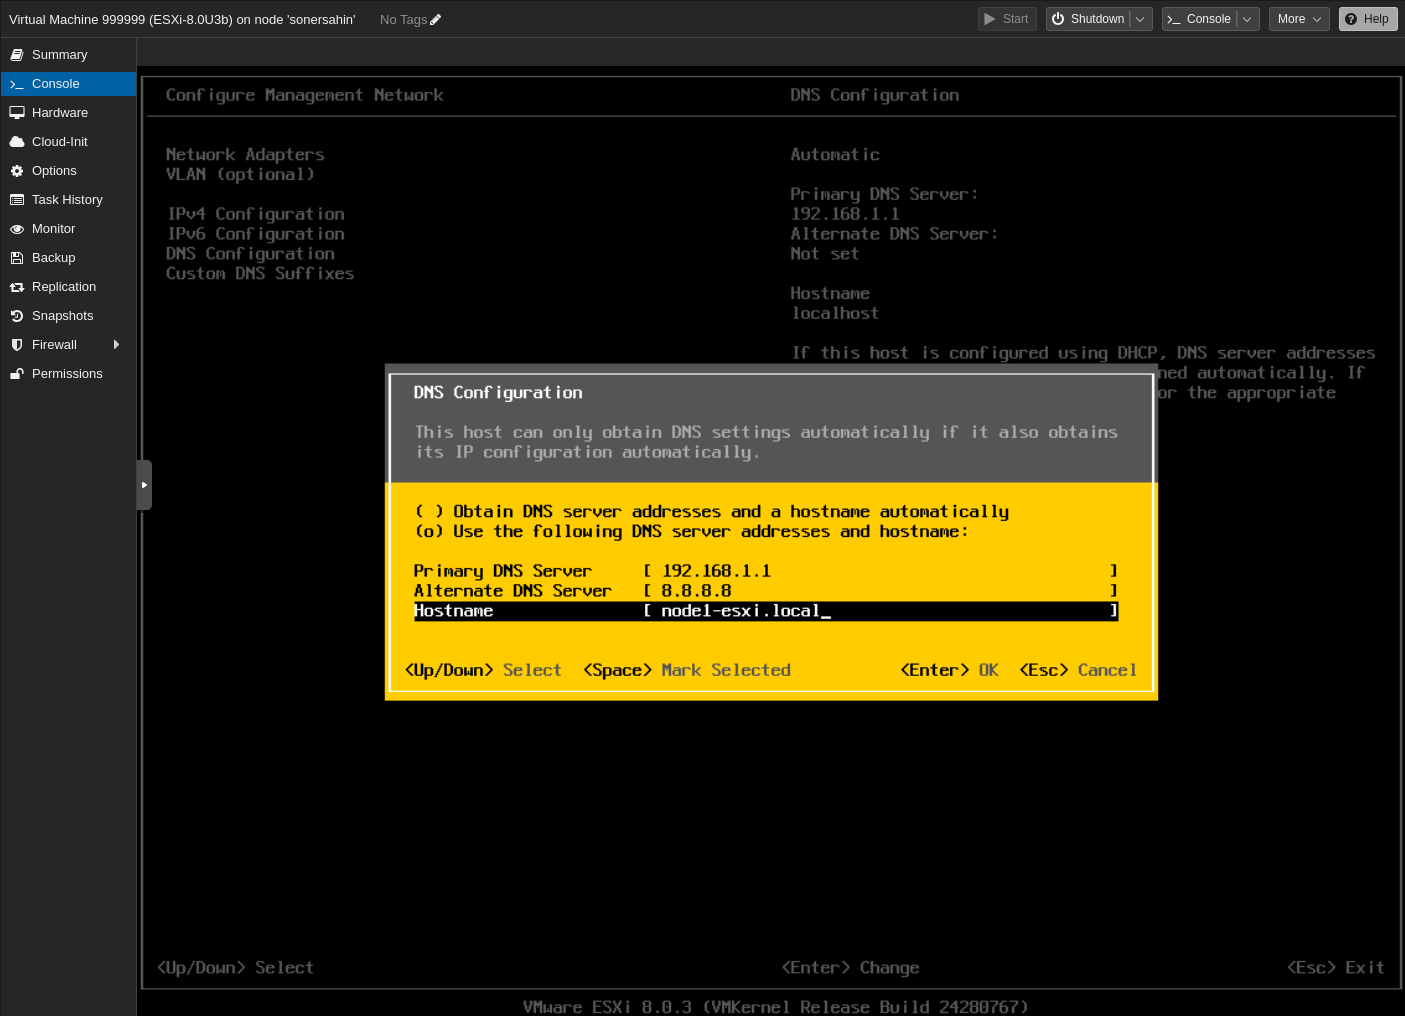
This node gets its IP from a DHCP server. This is an undesirable situation. Let’s give it a static IP, DNS and hostname as follows.
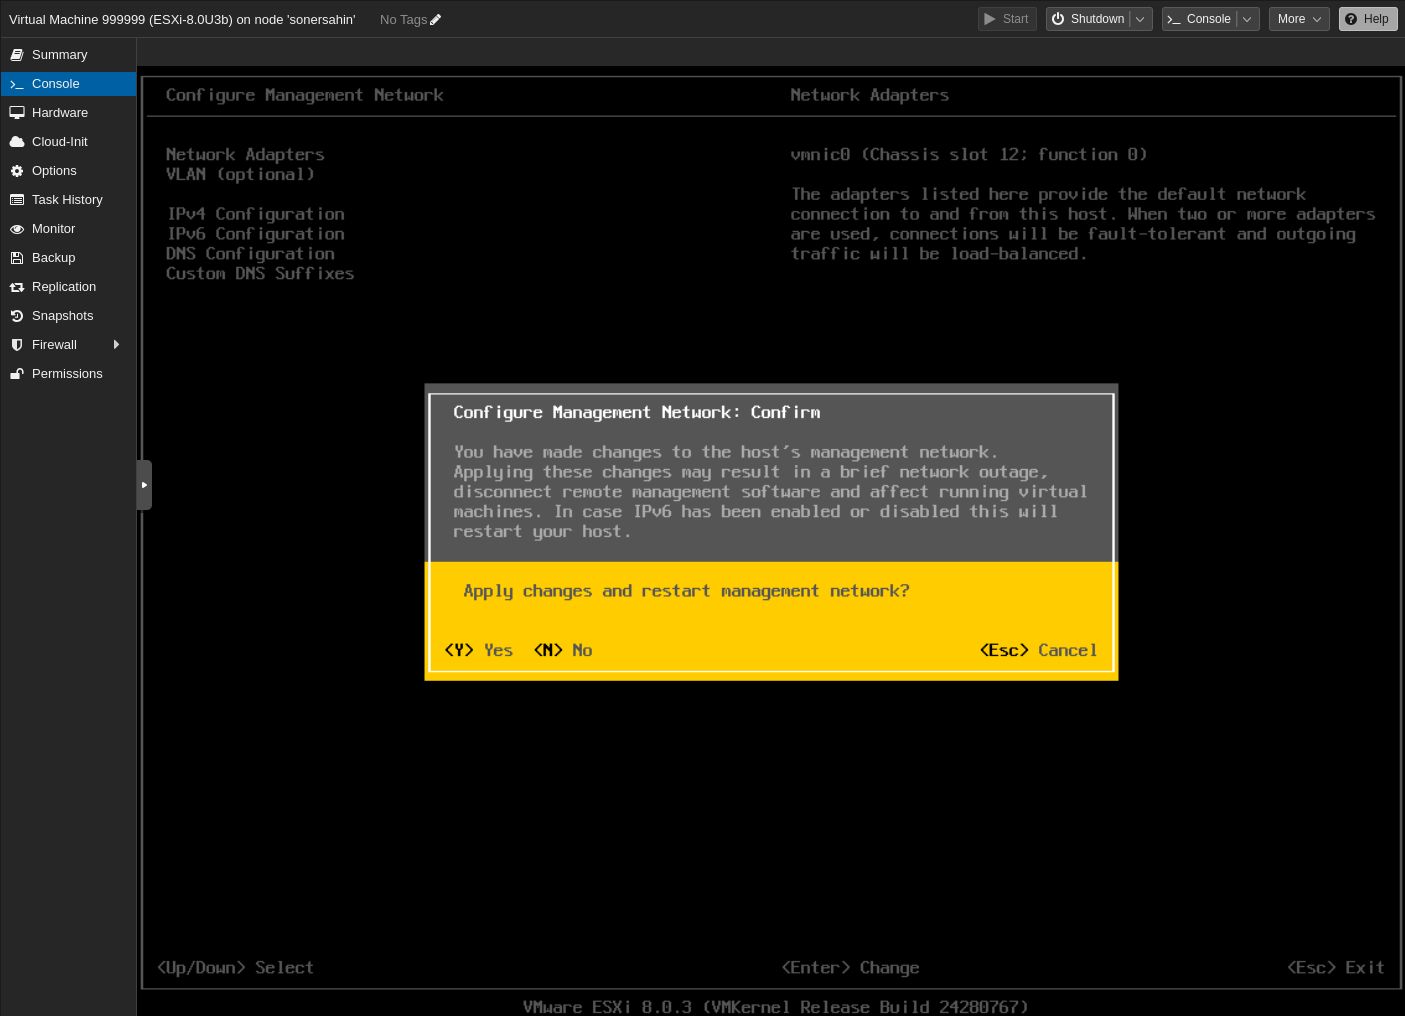
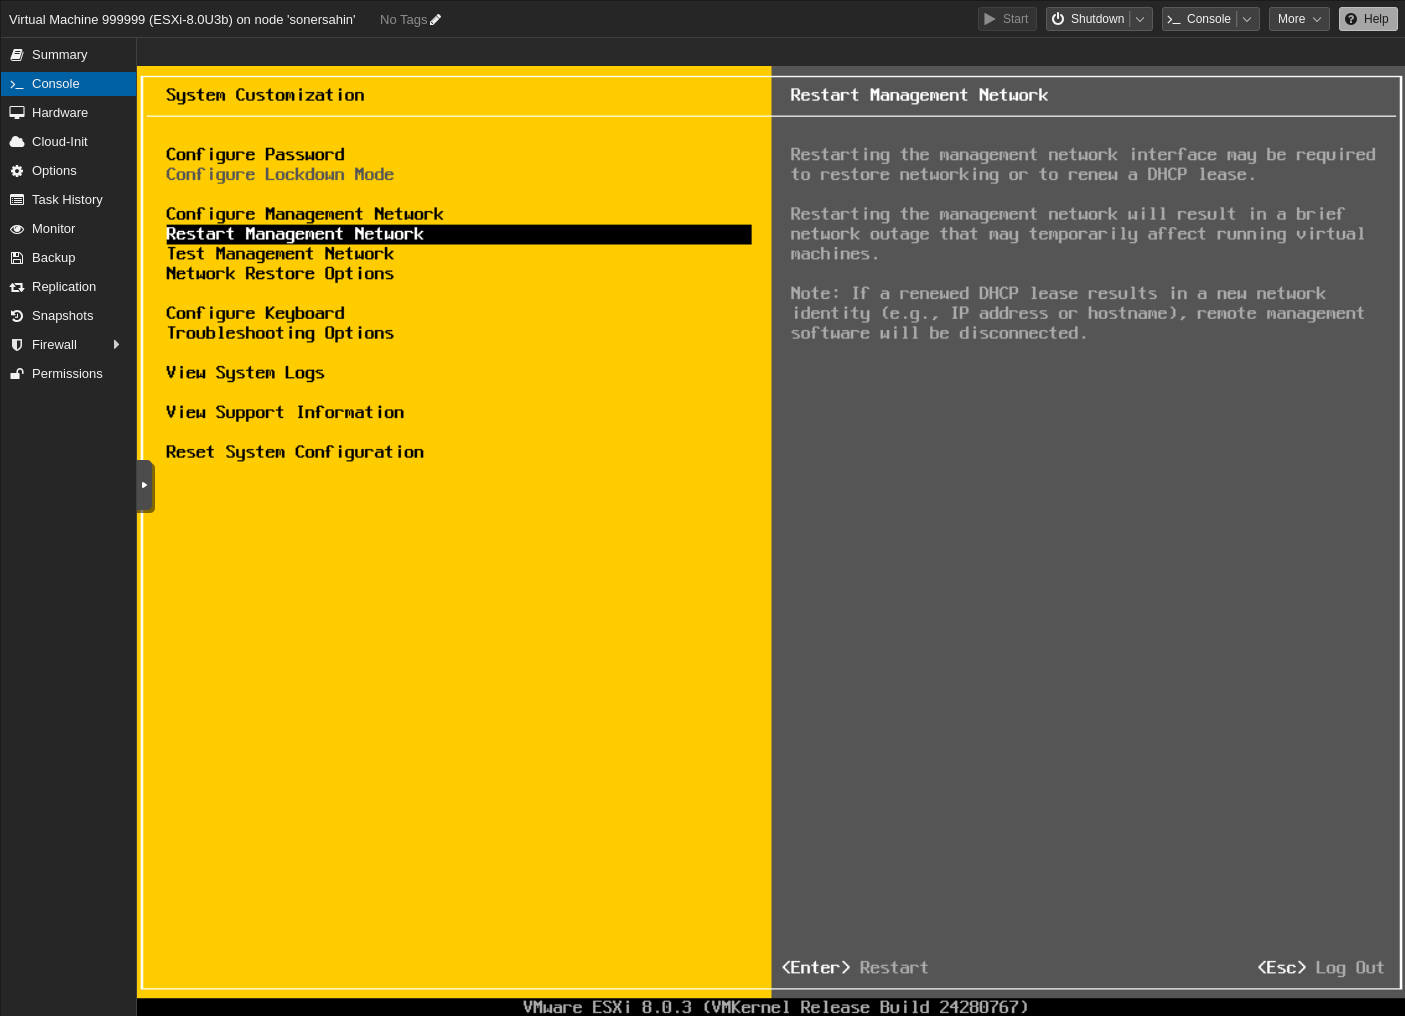
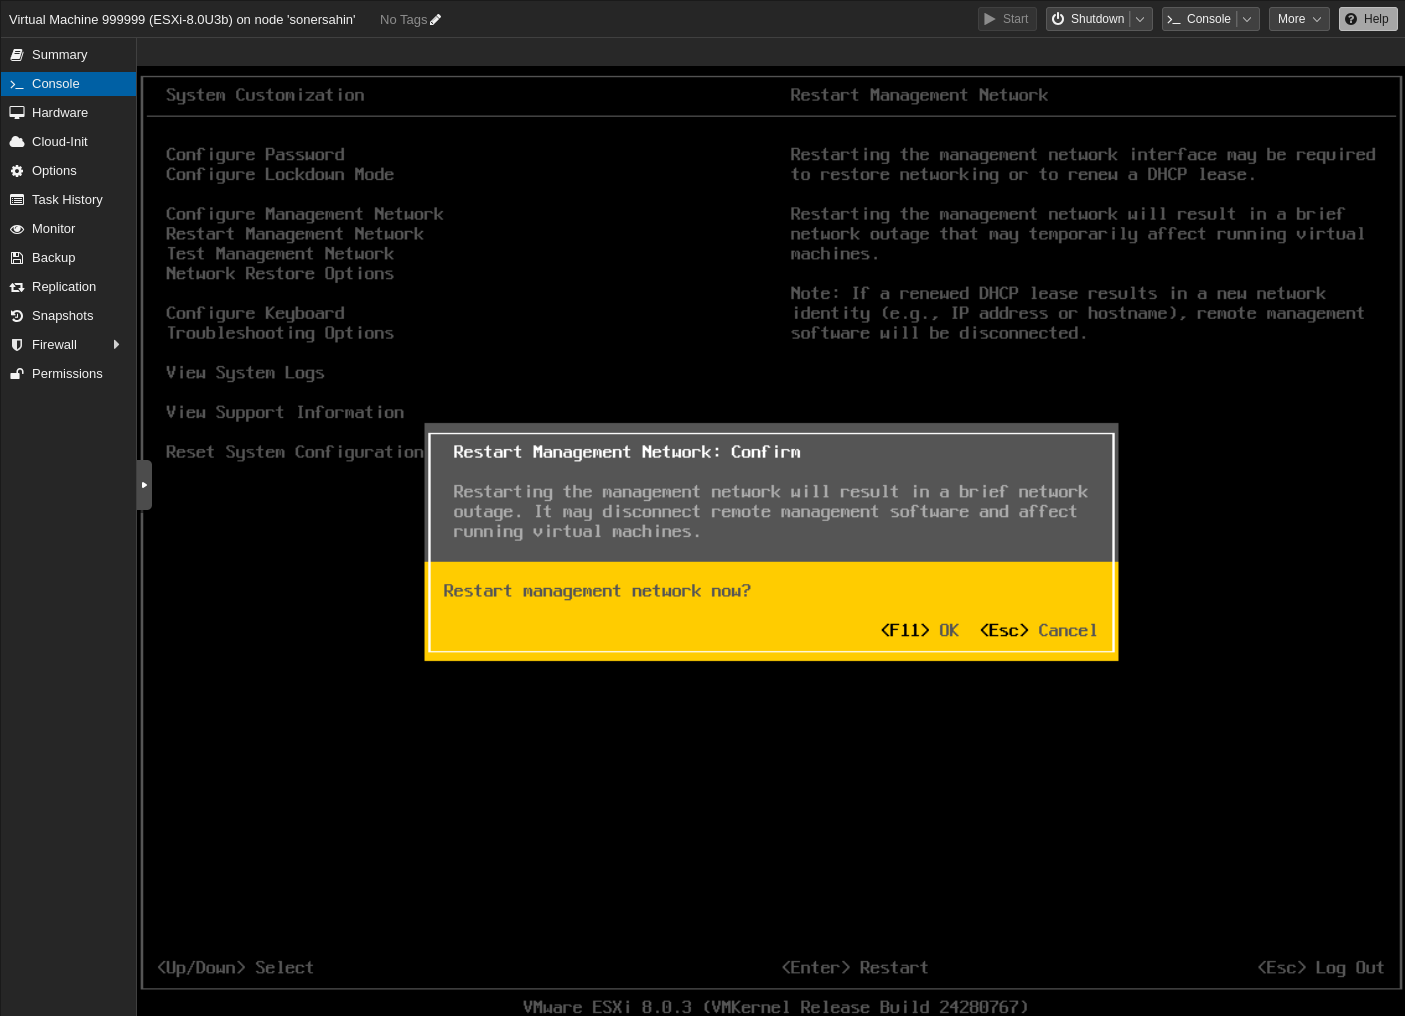
After configuration, restart the management network.
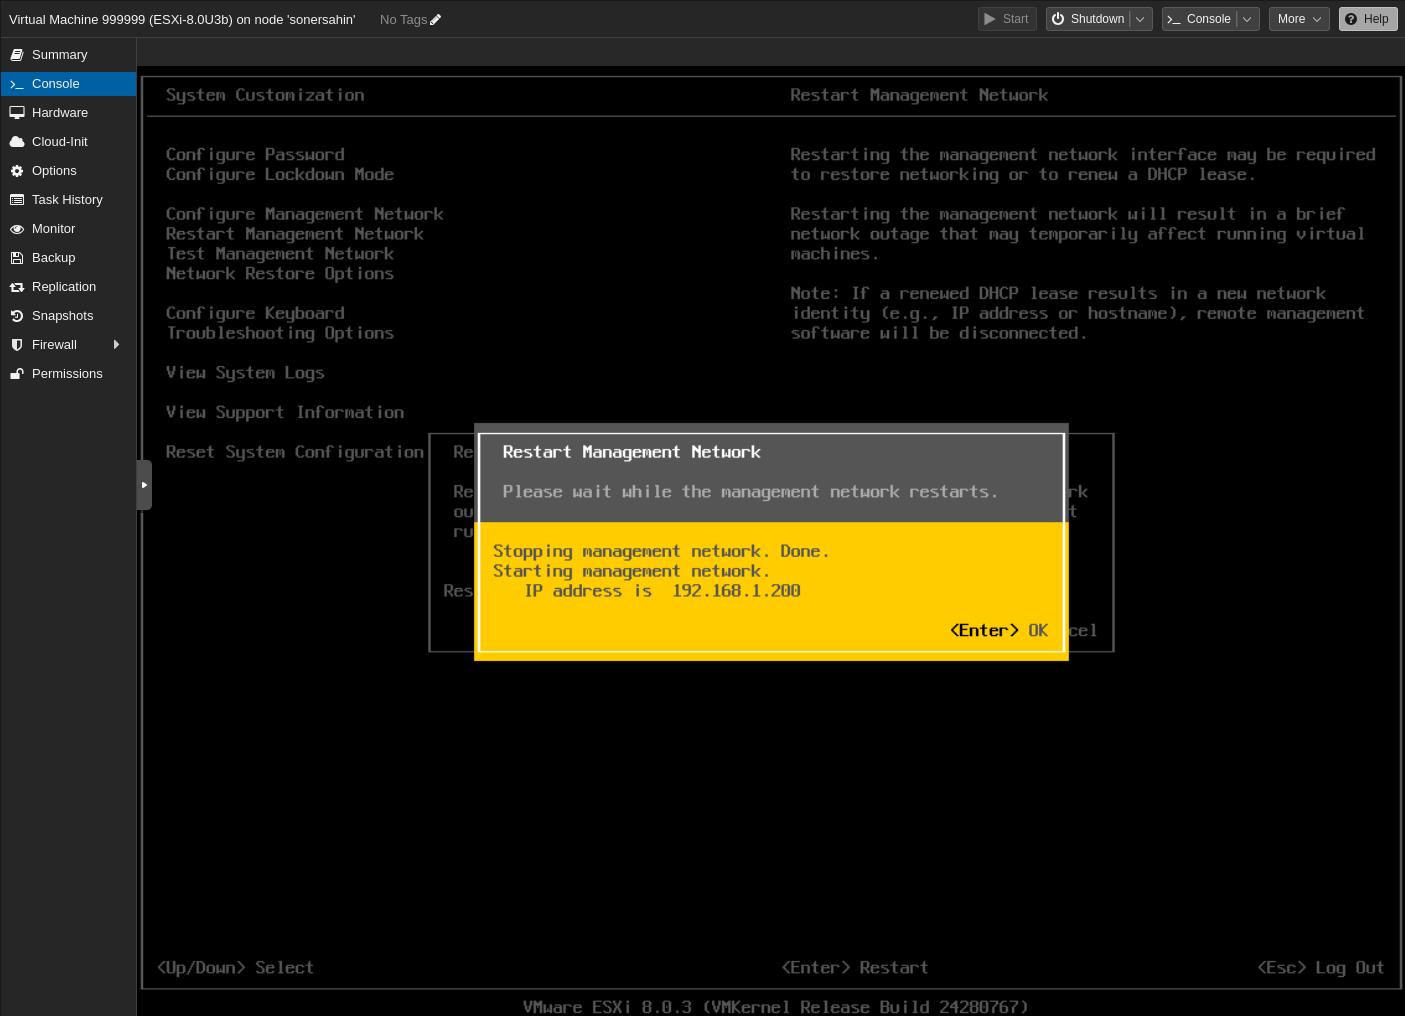
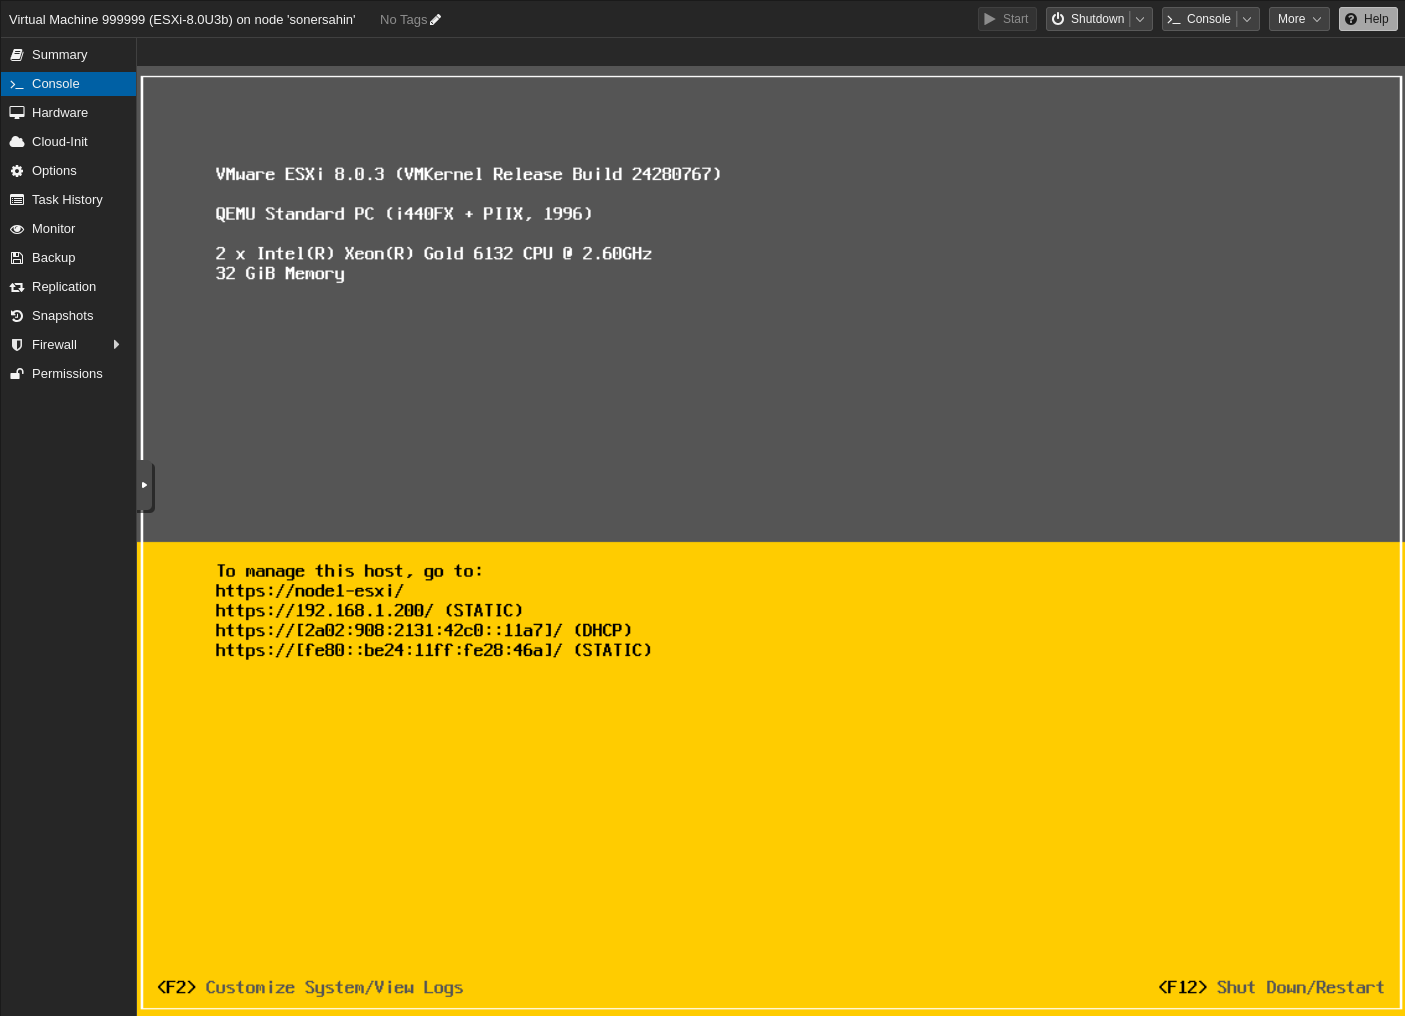
Now as you can see in the picture below, Our ESXi node has been successfully configured for our case.
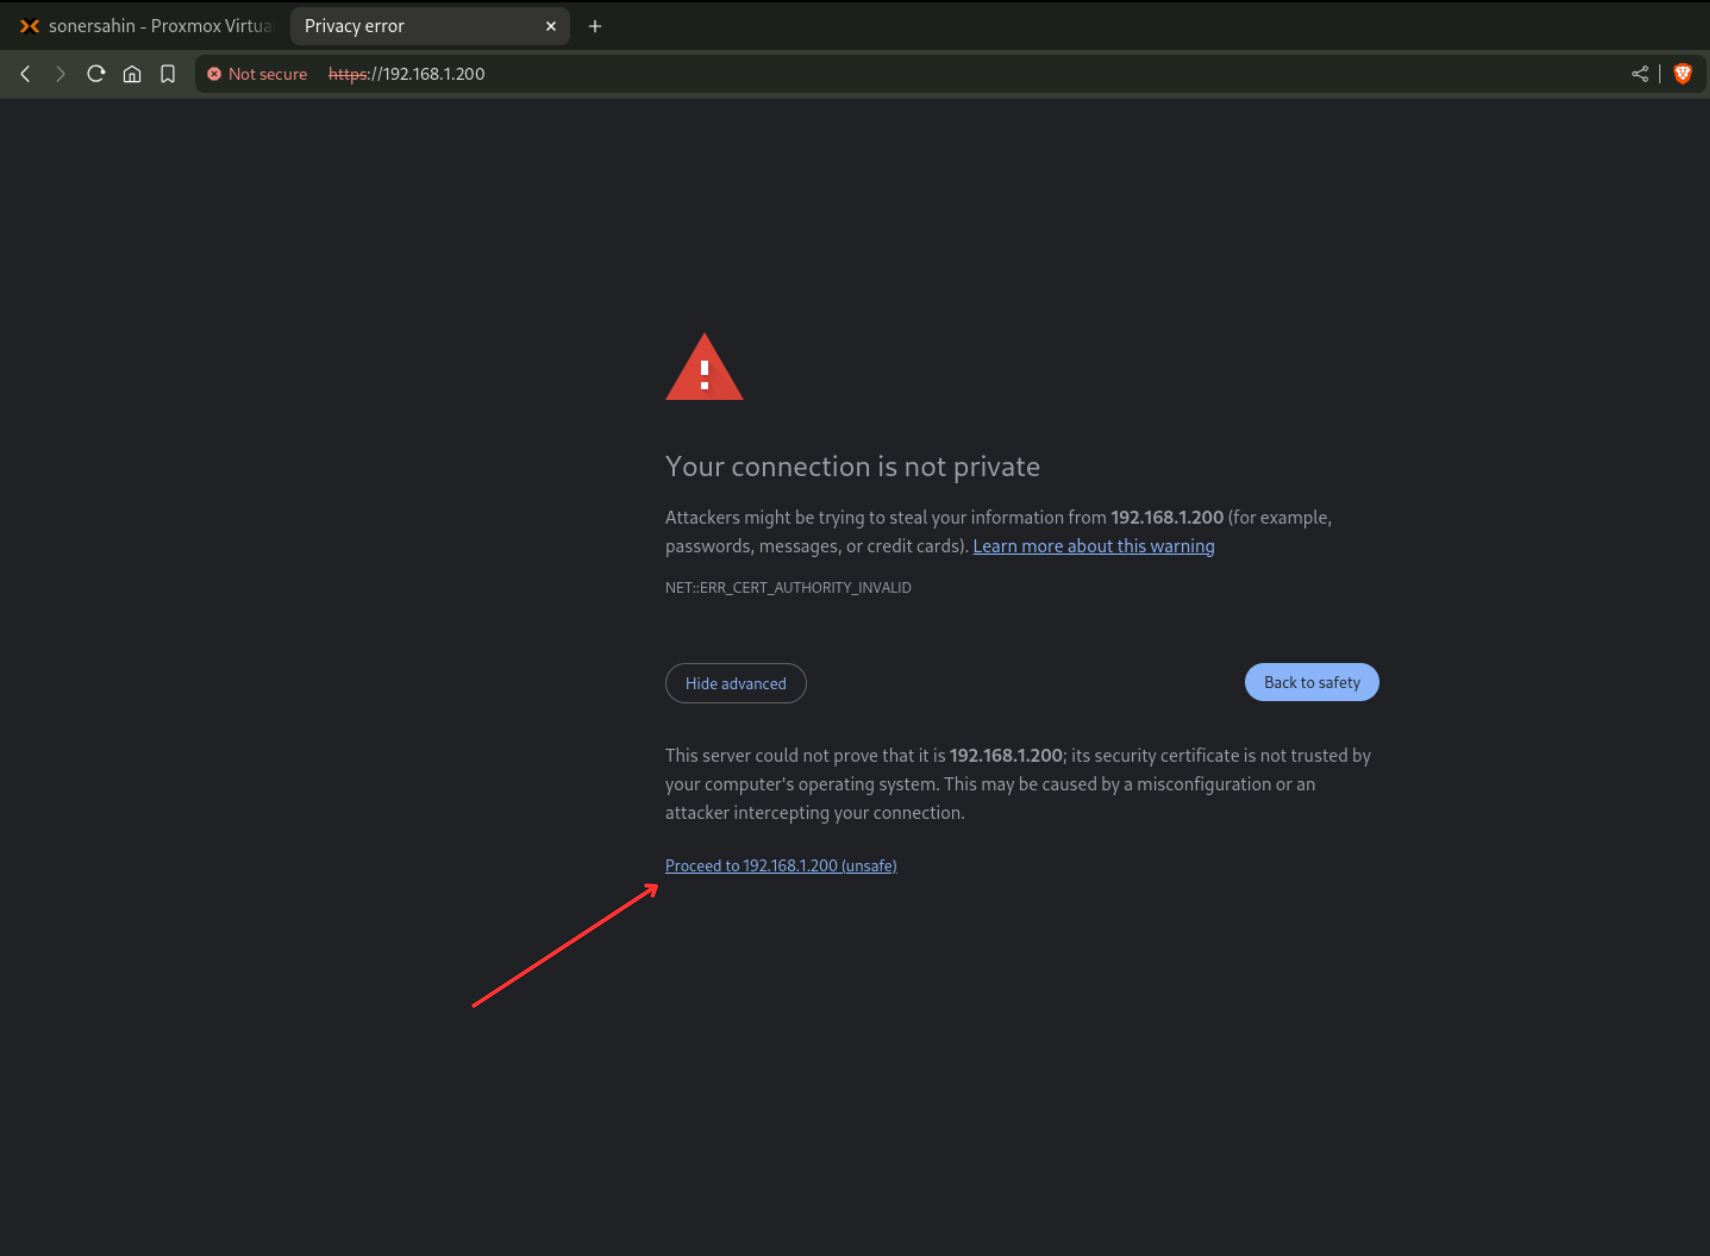
Let’s go to the ESXi web management console. Enter the IP address of ESXi node in the browser URL bar as follows.
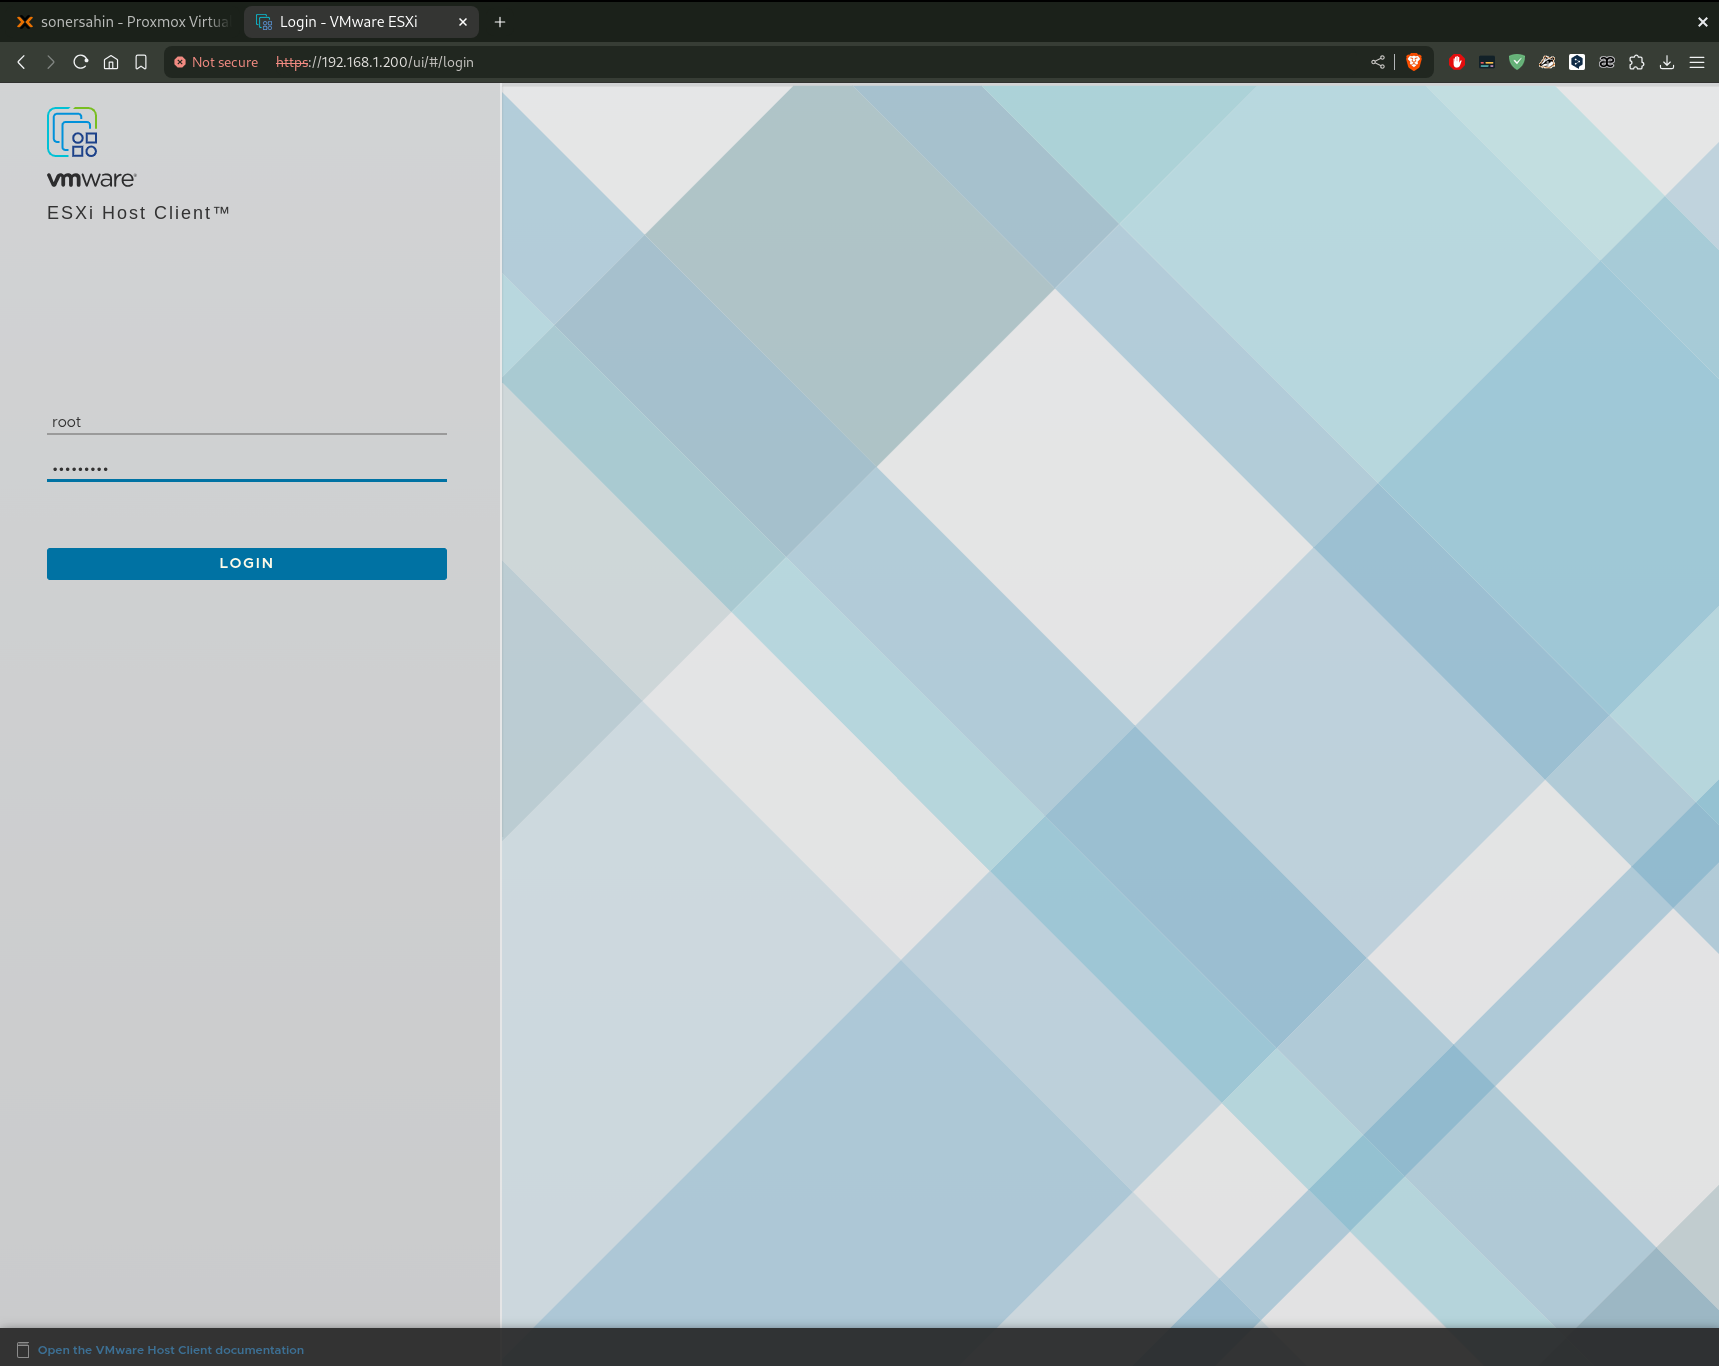
Enter the username and password.
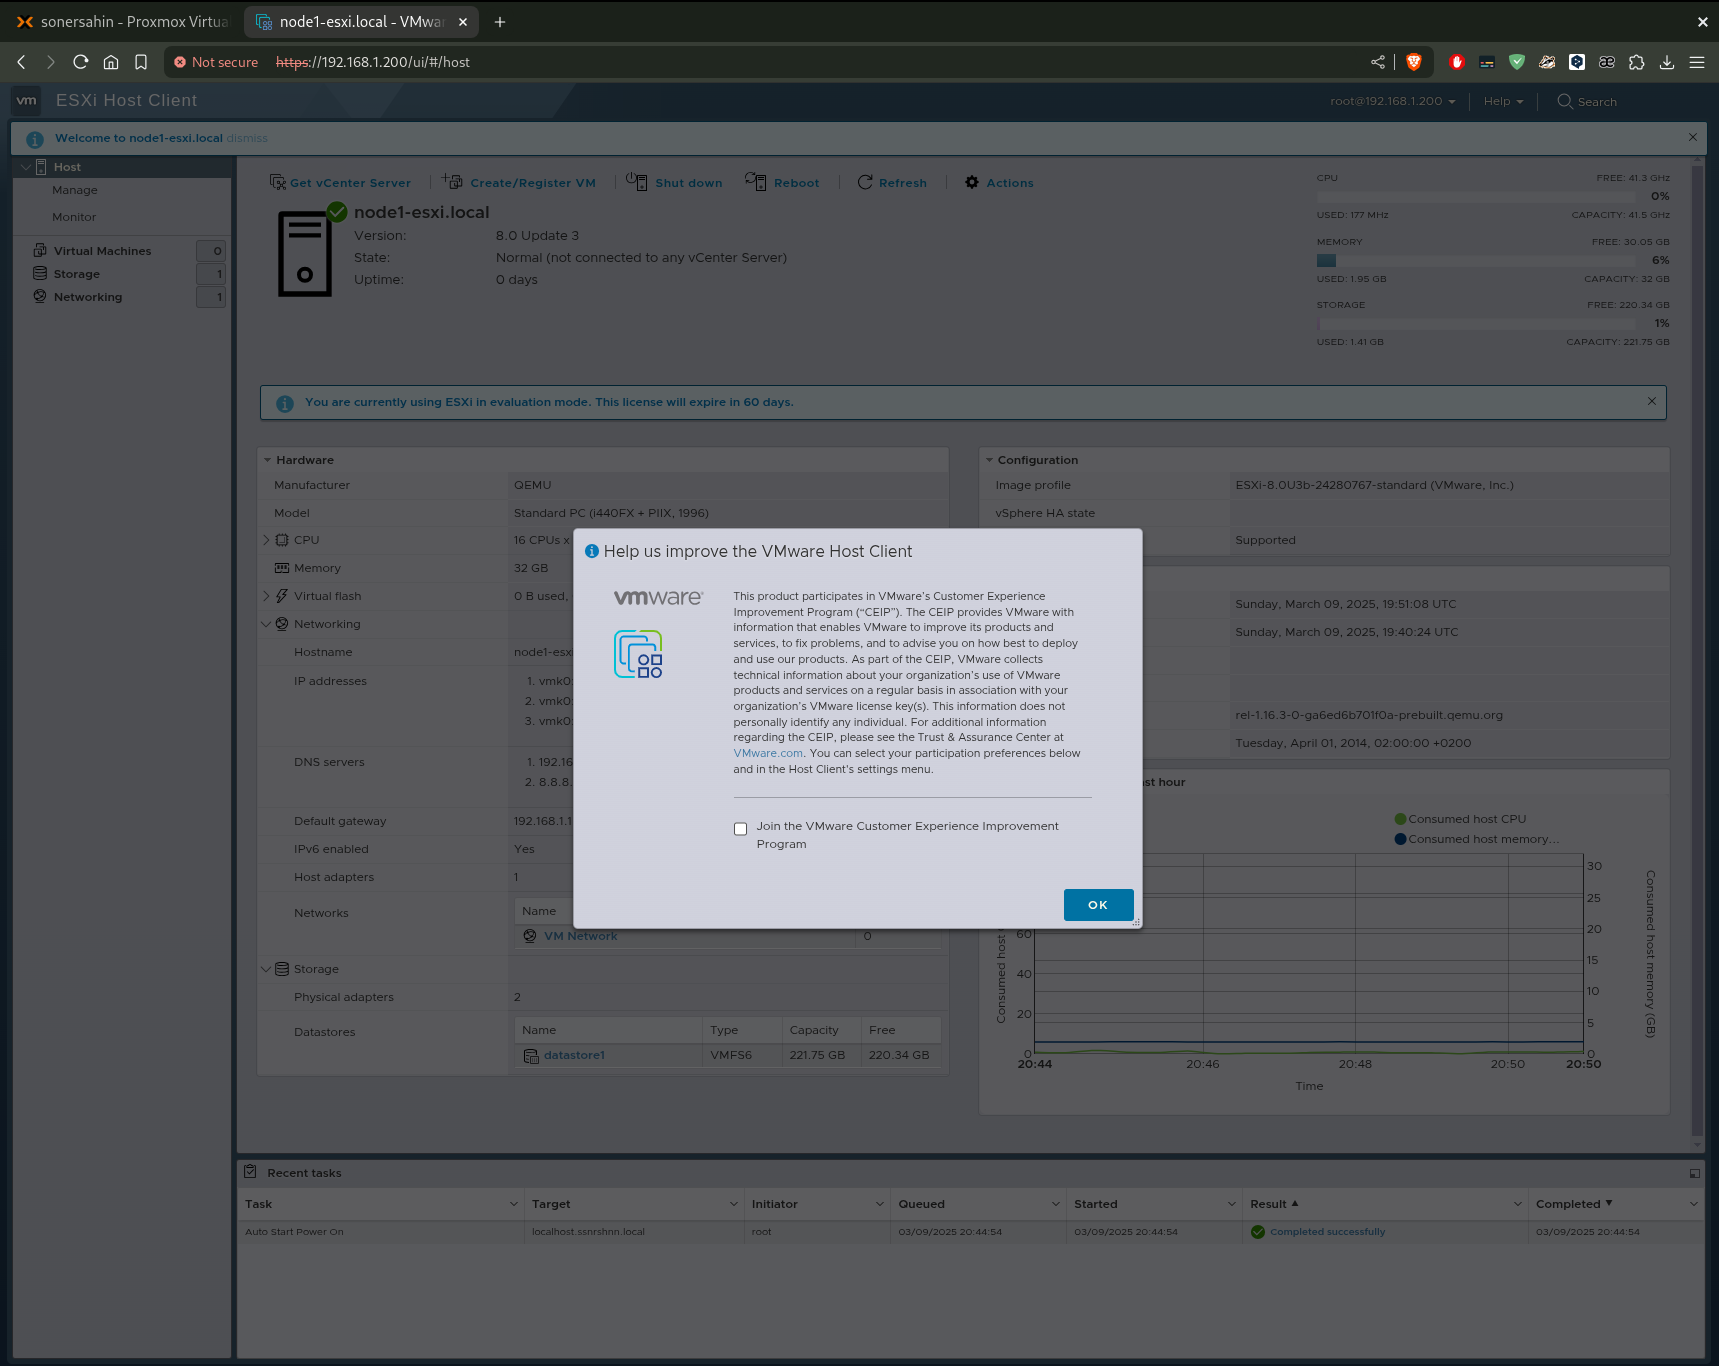
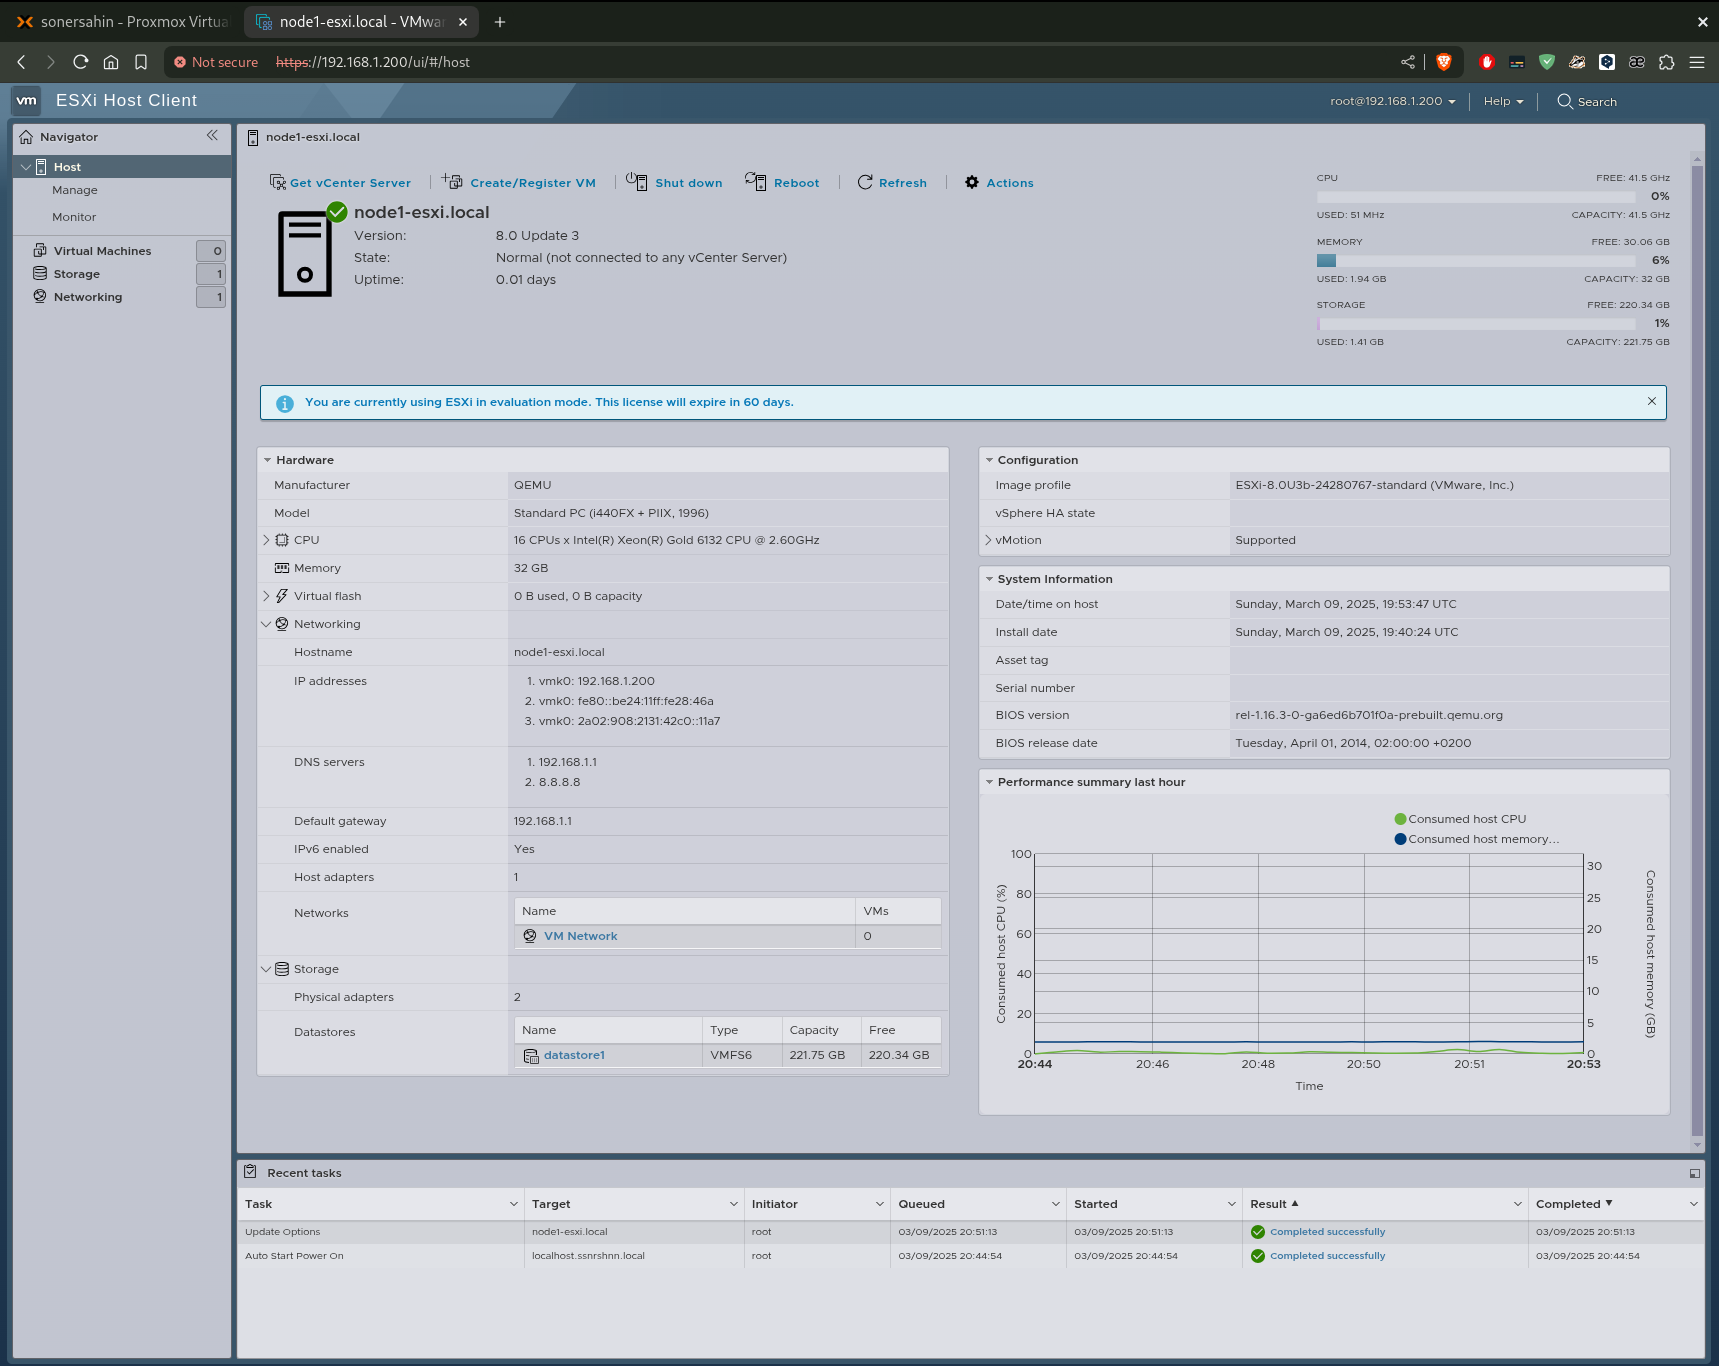
We now have a successfully installed ESXi node.
You can configure it according to your structure. But it is not usually used as a standalone in this way.
What about you have 5, 50 or more ESXi nodes?
I will cover on this topic in the vCenter article in the future.
Thanks for taking the time to read this article. I hope you find this article useful.
Keep up the good work!