[EN] ESXi Initial Configuration
Hi everyone, in this article I will show you ESXi initial configuration and demonstrate how to install Windows Server 2022 as a virtual machine.
After installing ESXi, we need to configure some essential things such as NTP, Licence, Users, Roles etc.
Additionally, I will show you how to upload an ISO image and how to install a virtual machine.
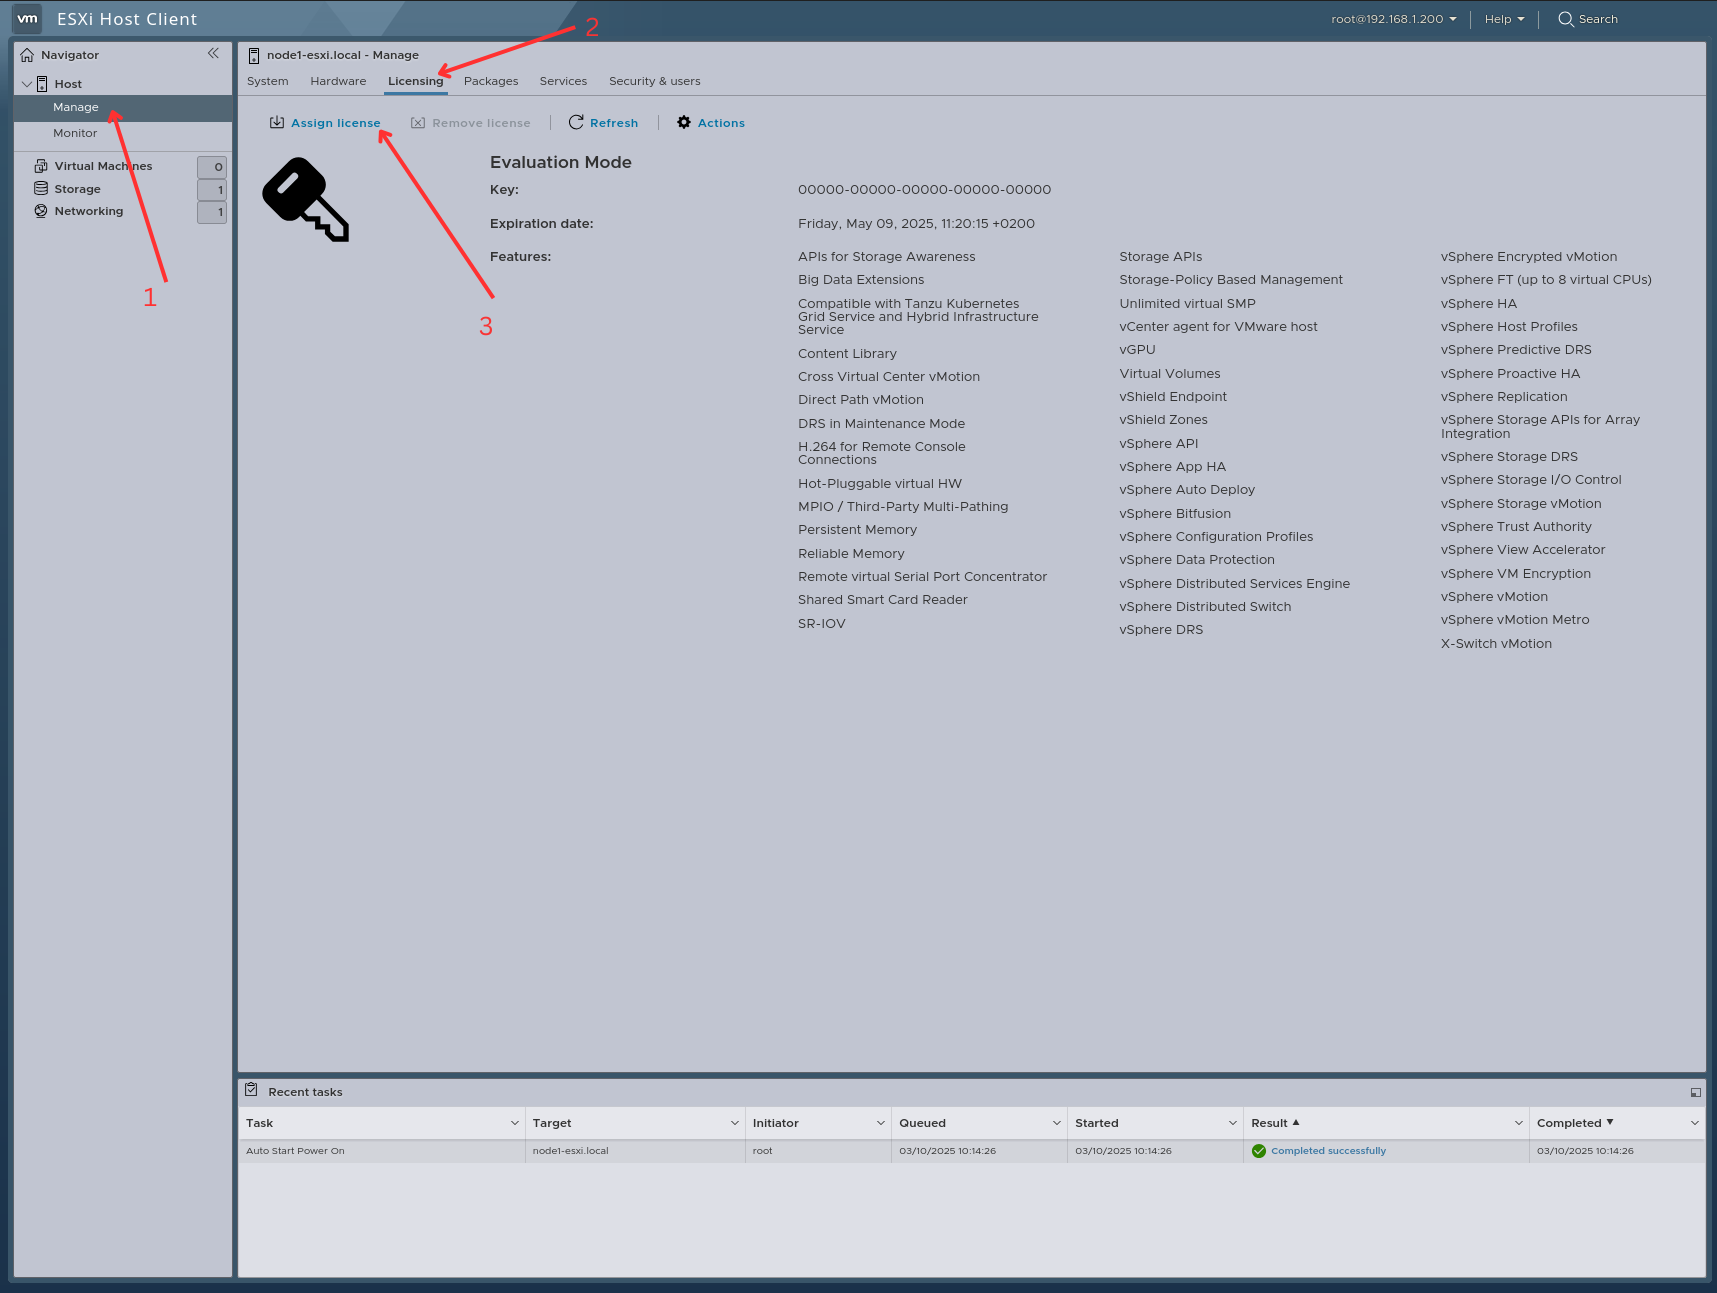
License:
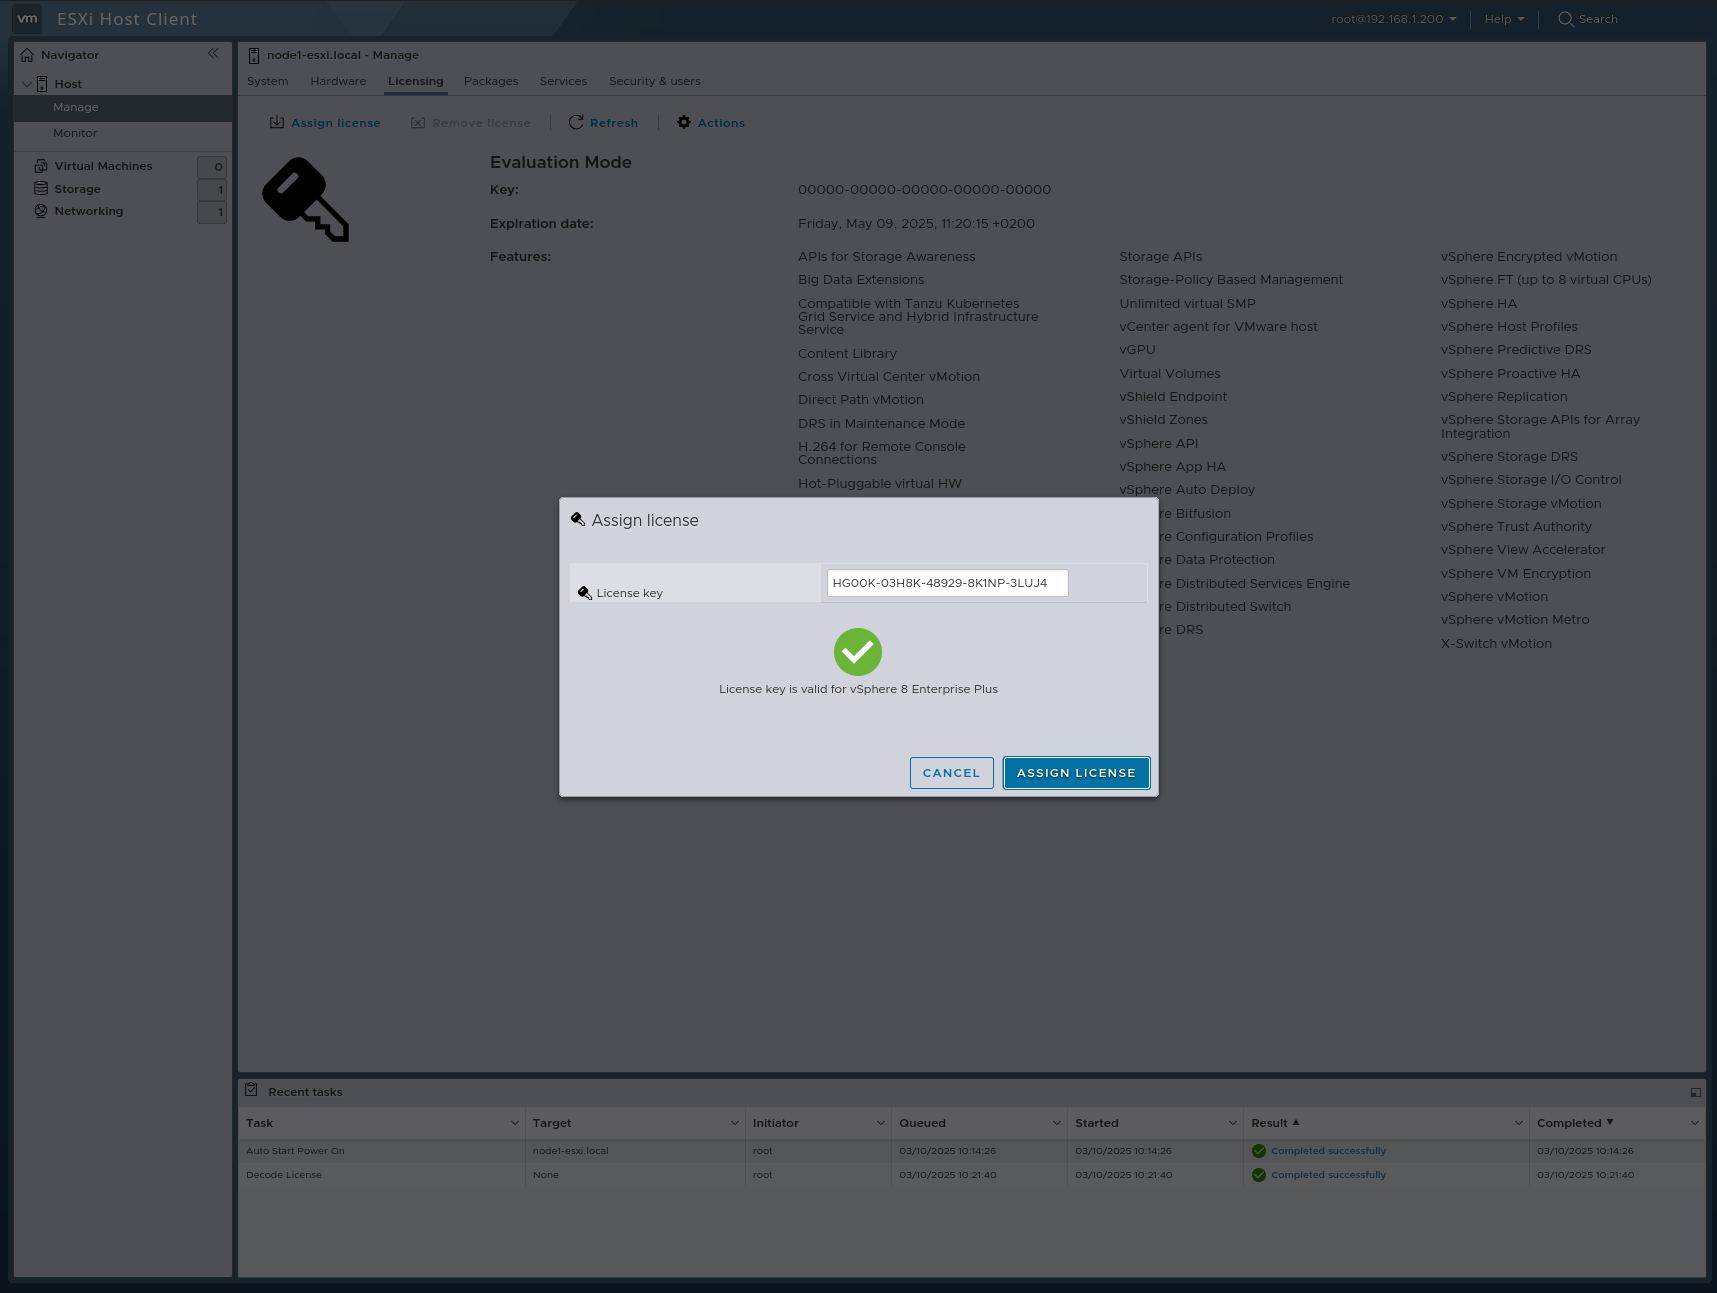
First, I will show you how to assign a license to an ESXi node. To obtain a license, you can visit the Broadcom Website. I will use a license that you will find with quick searching. But never use this license in the bussiness. I’m just labbing therefore I’m using this license. The steps are as follows:

NTP:
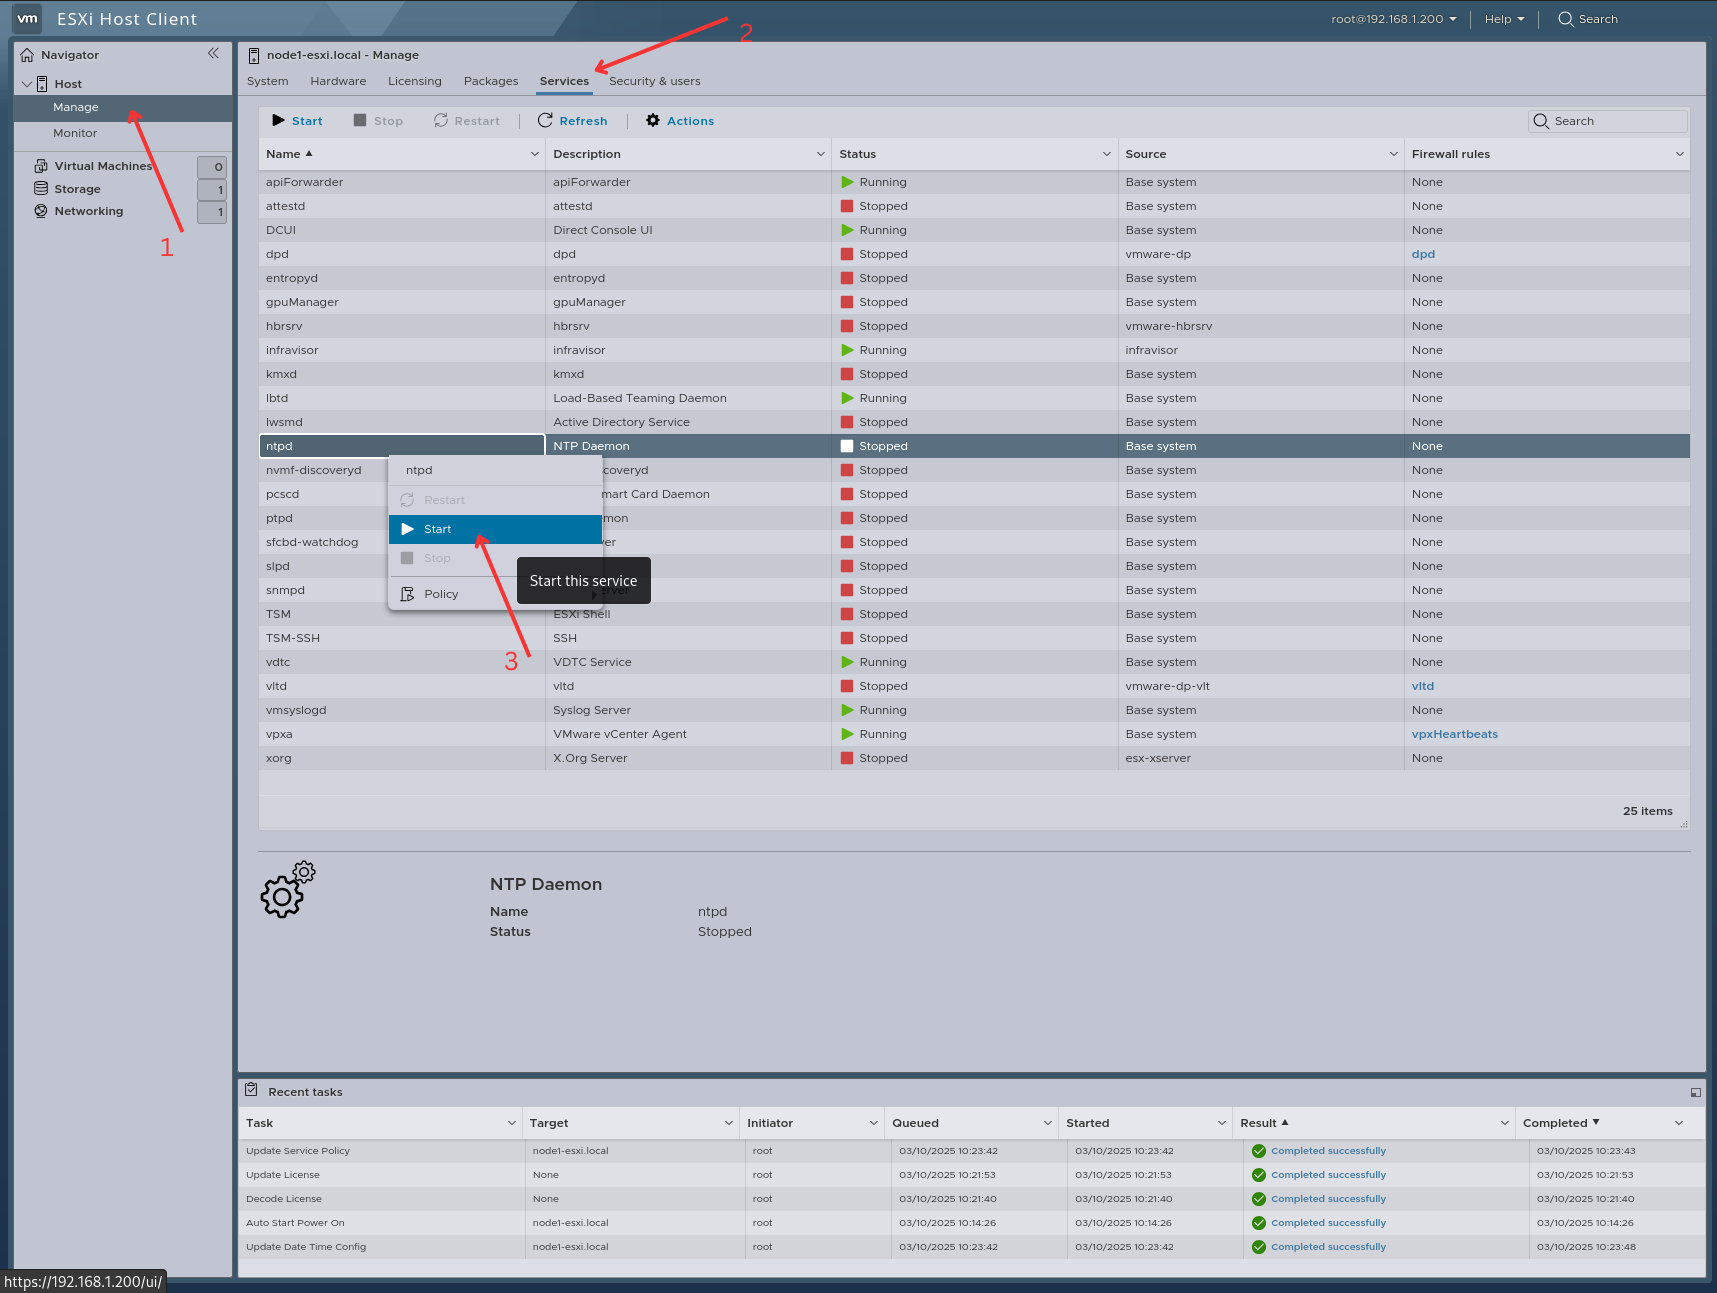
NTP is one of the most important services, as it ensures accurate time synchronization. It must always be configured correctly.
If you have a local NTP server, you can set it up accordingly. However, if you don’t, you can check out this website for public NTP servers.
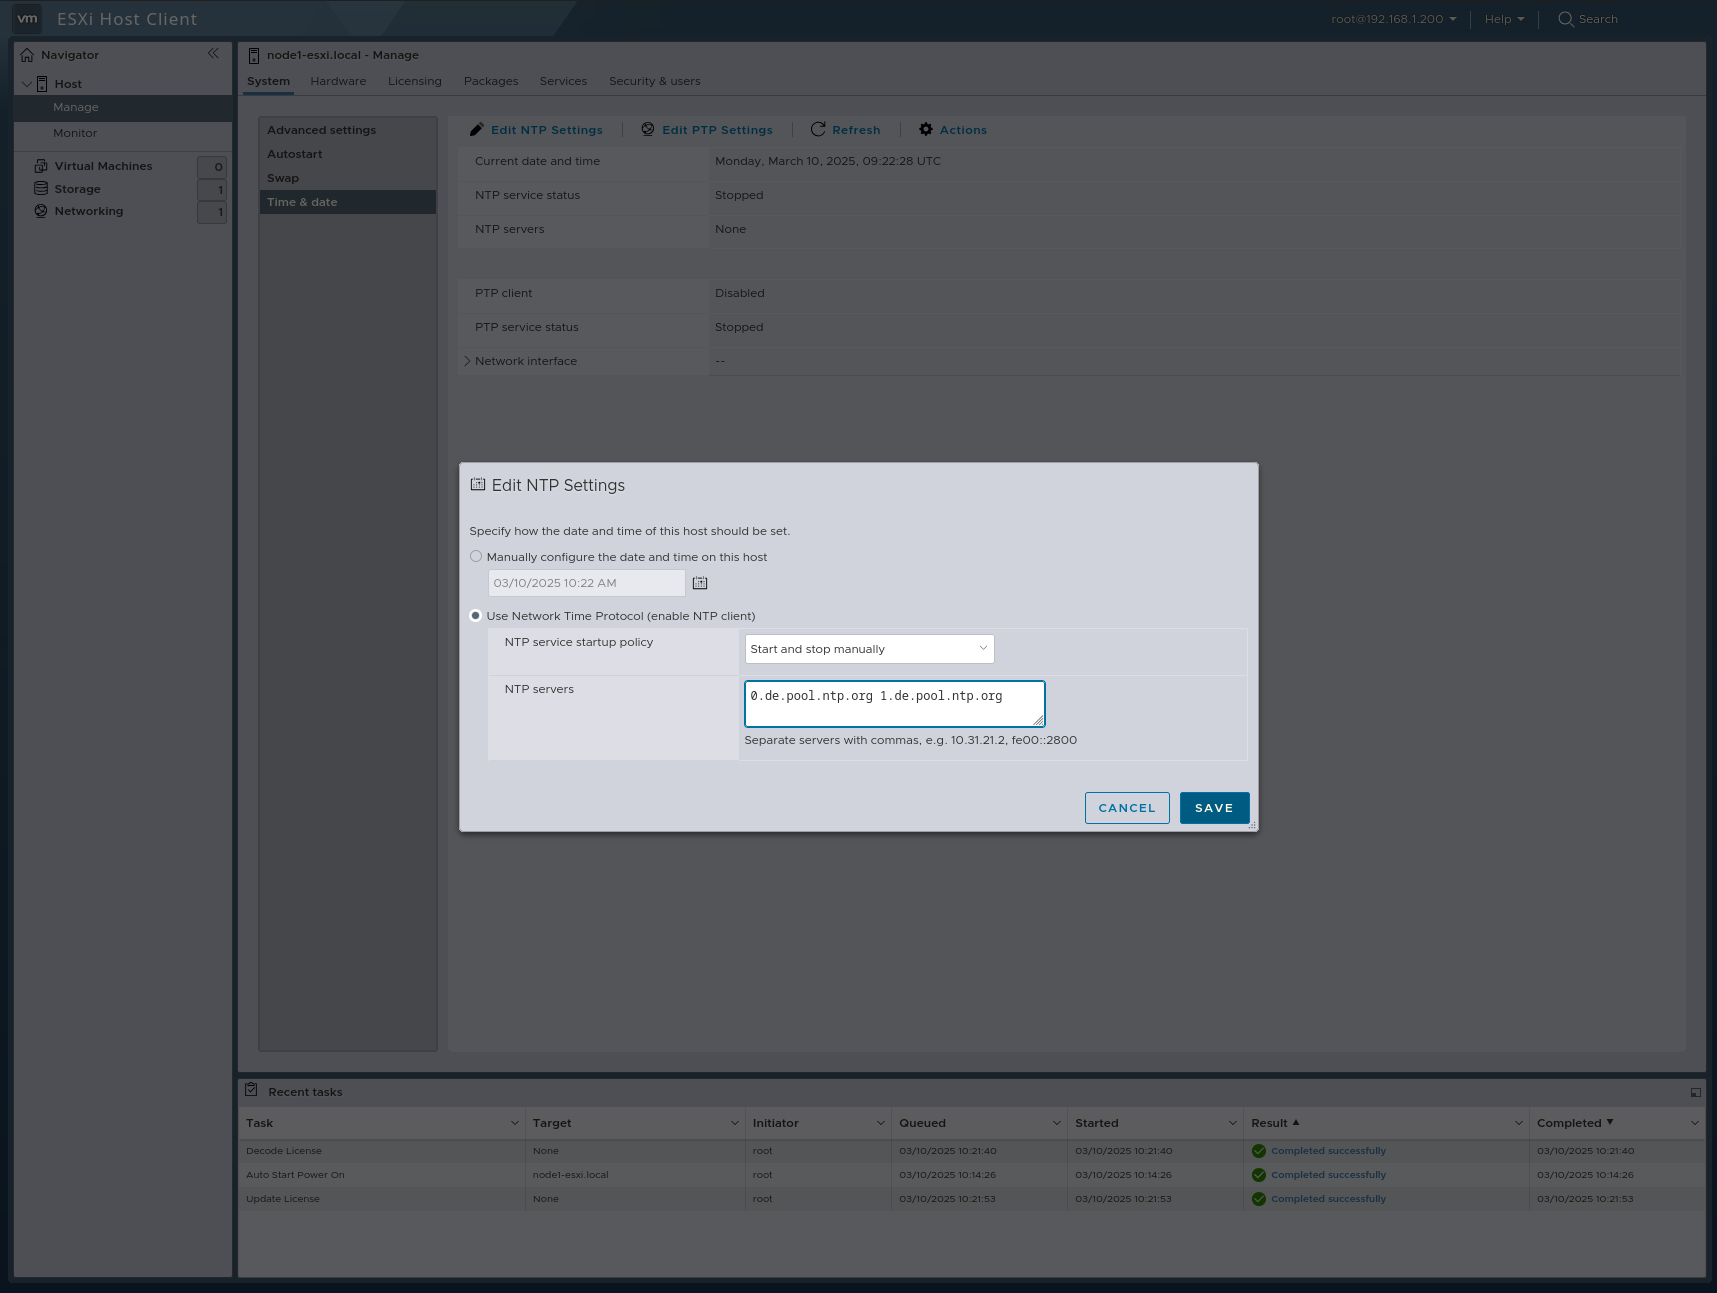
After setting up the NTP servers, we need to start the ntpd service, as it is stopped by default.
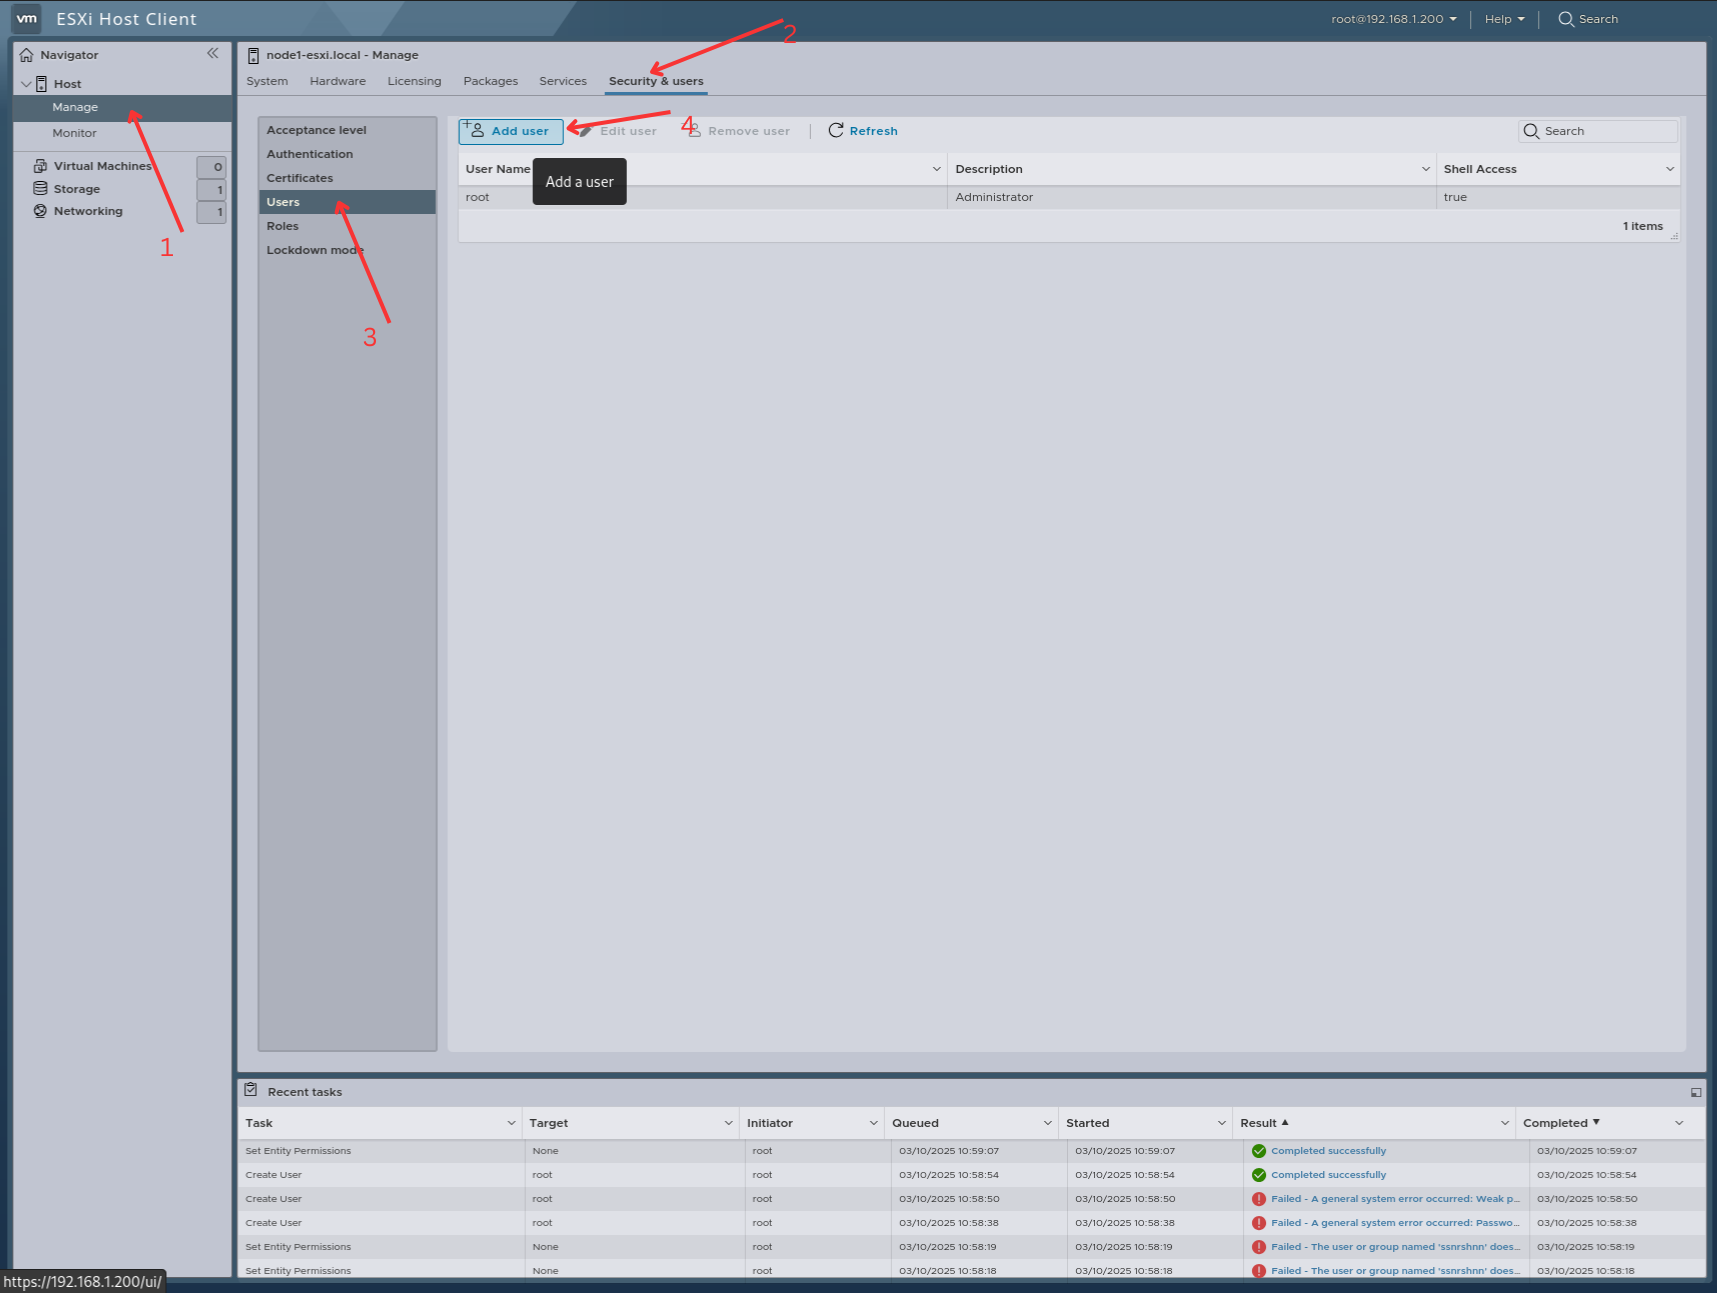
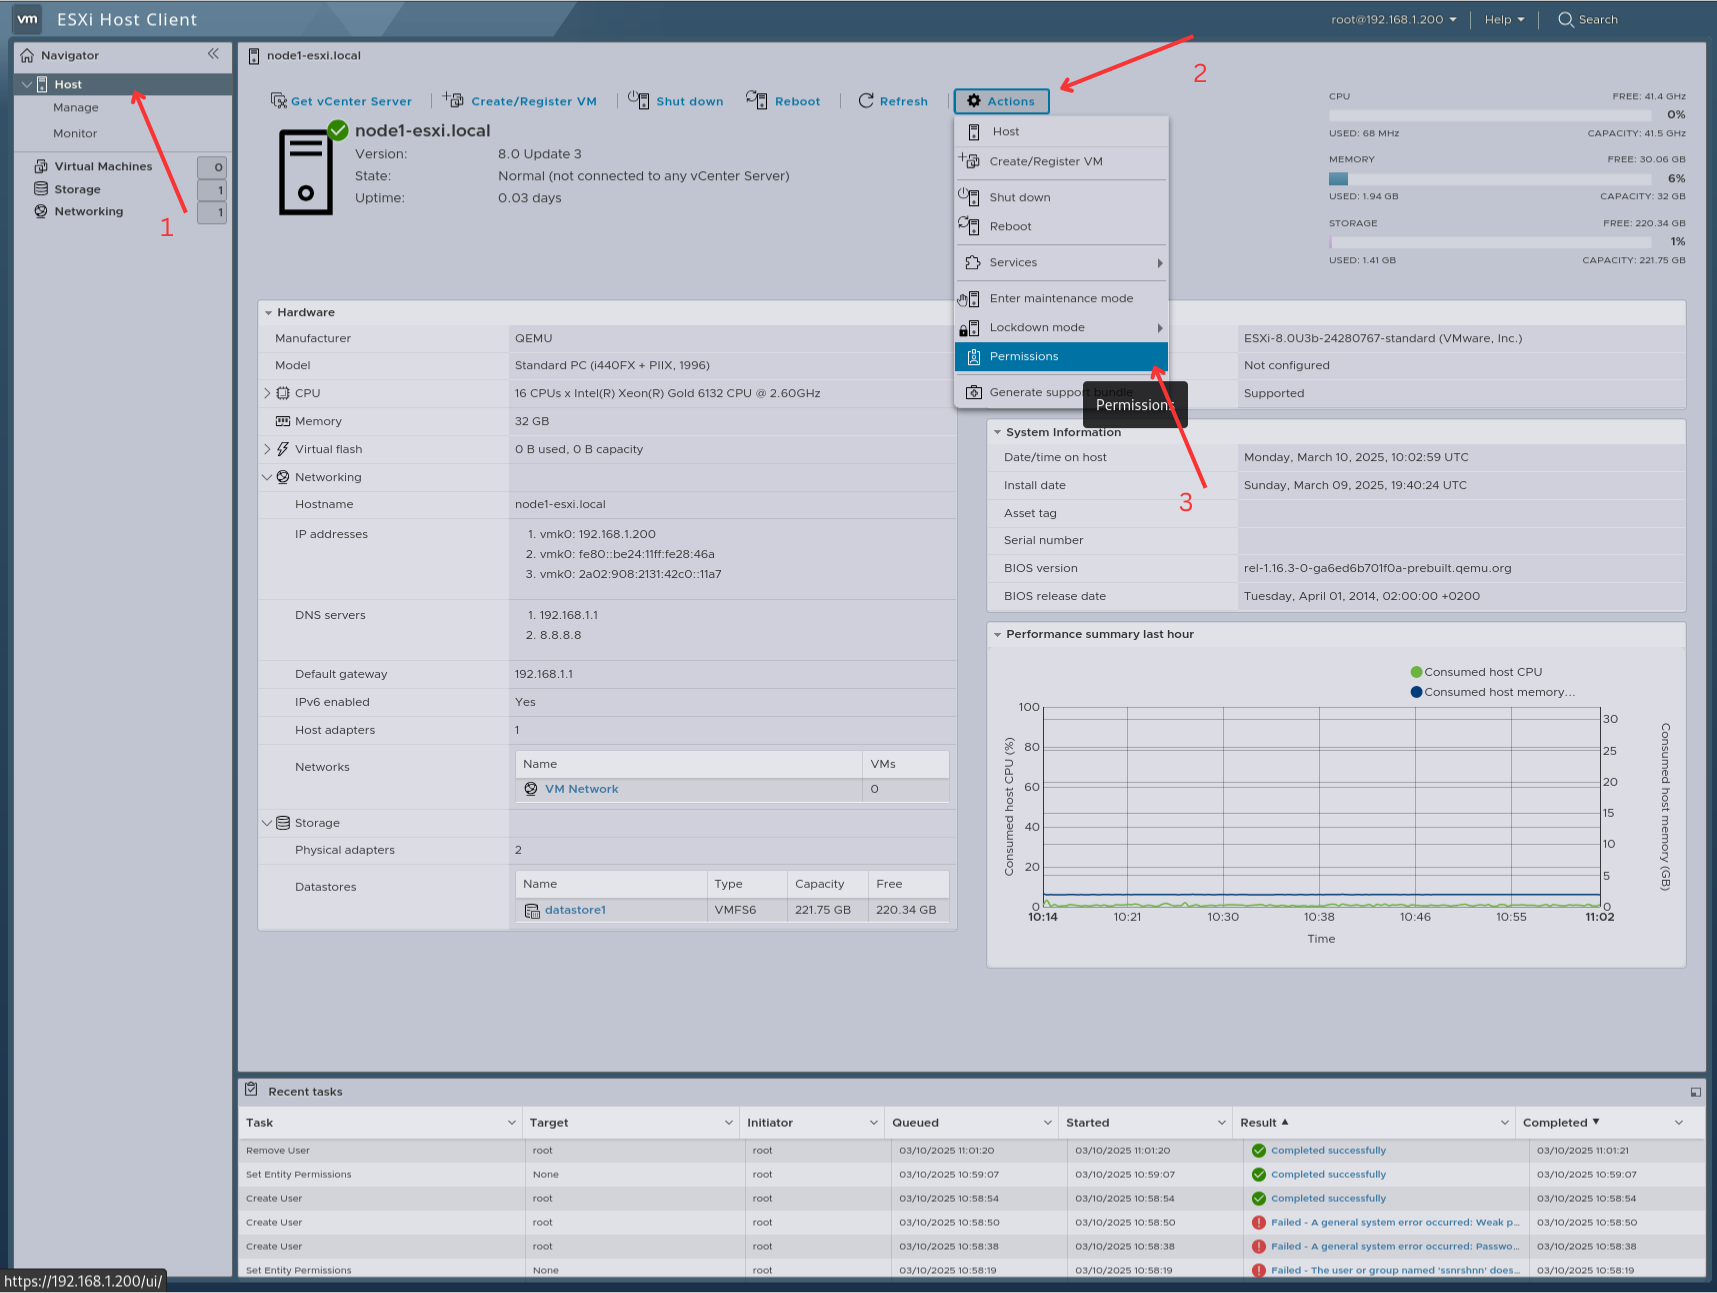
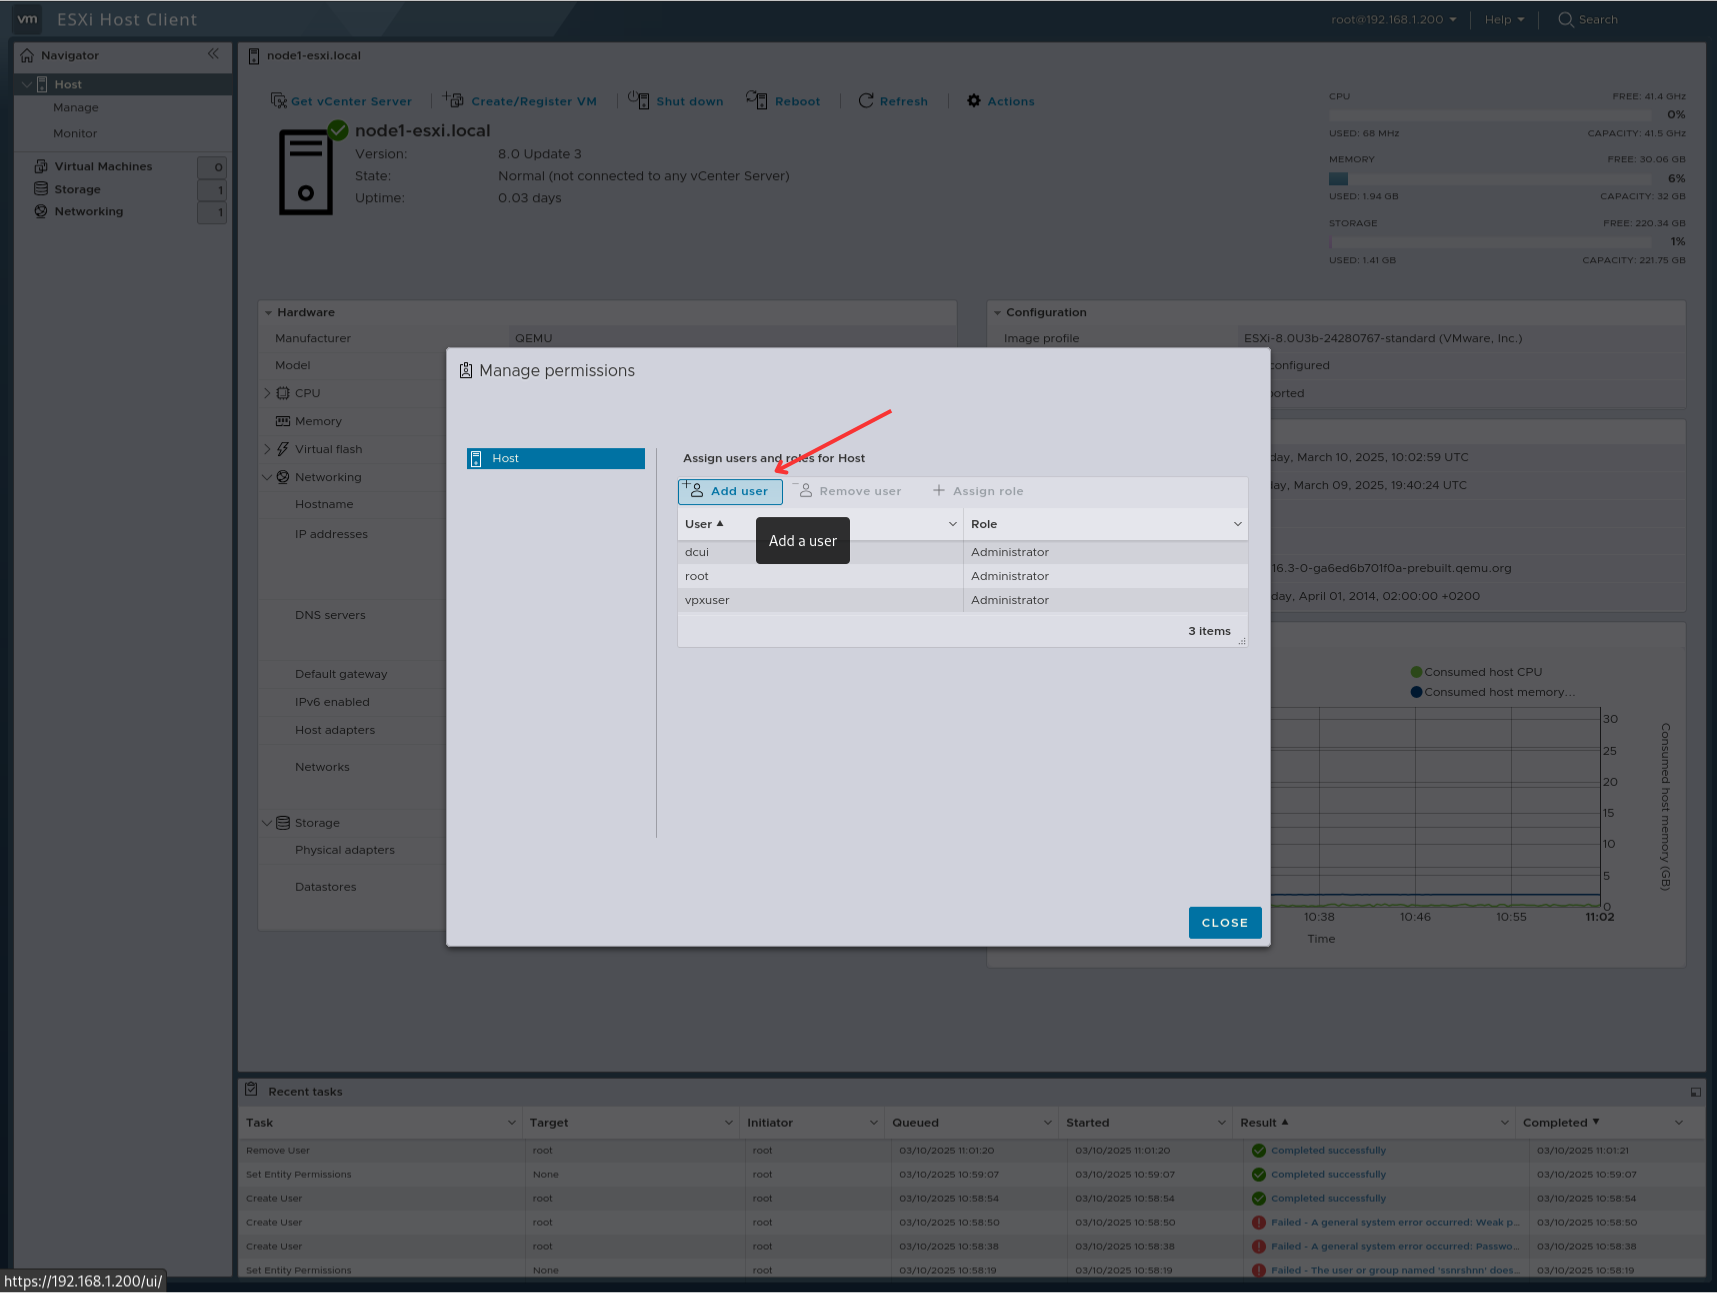
Users:
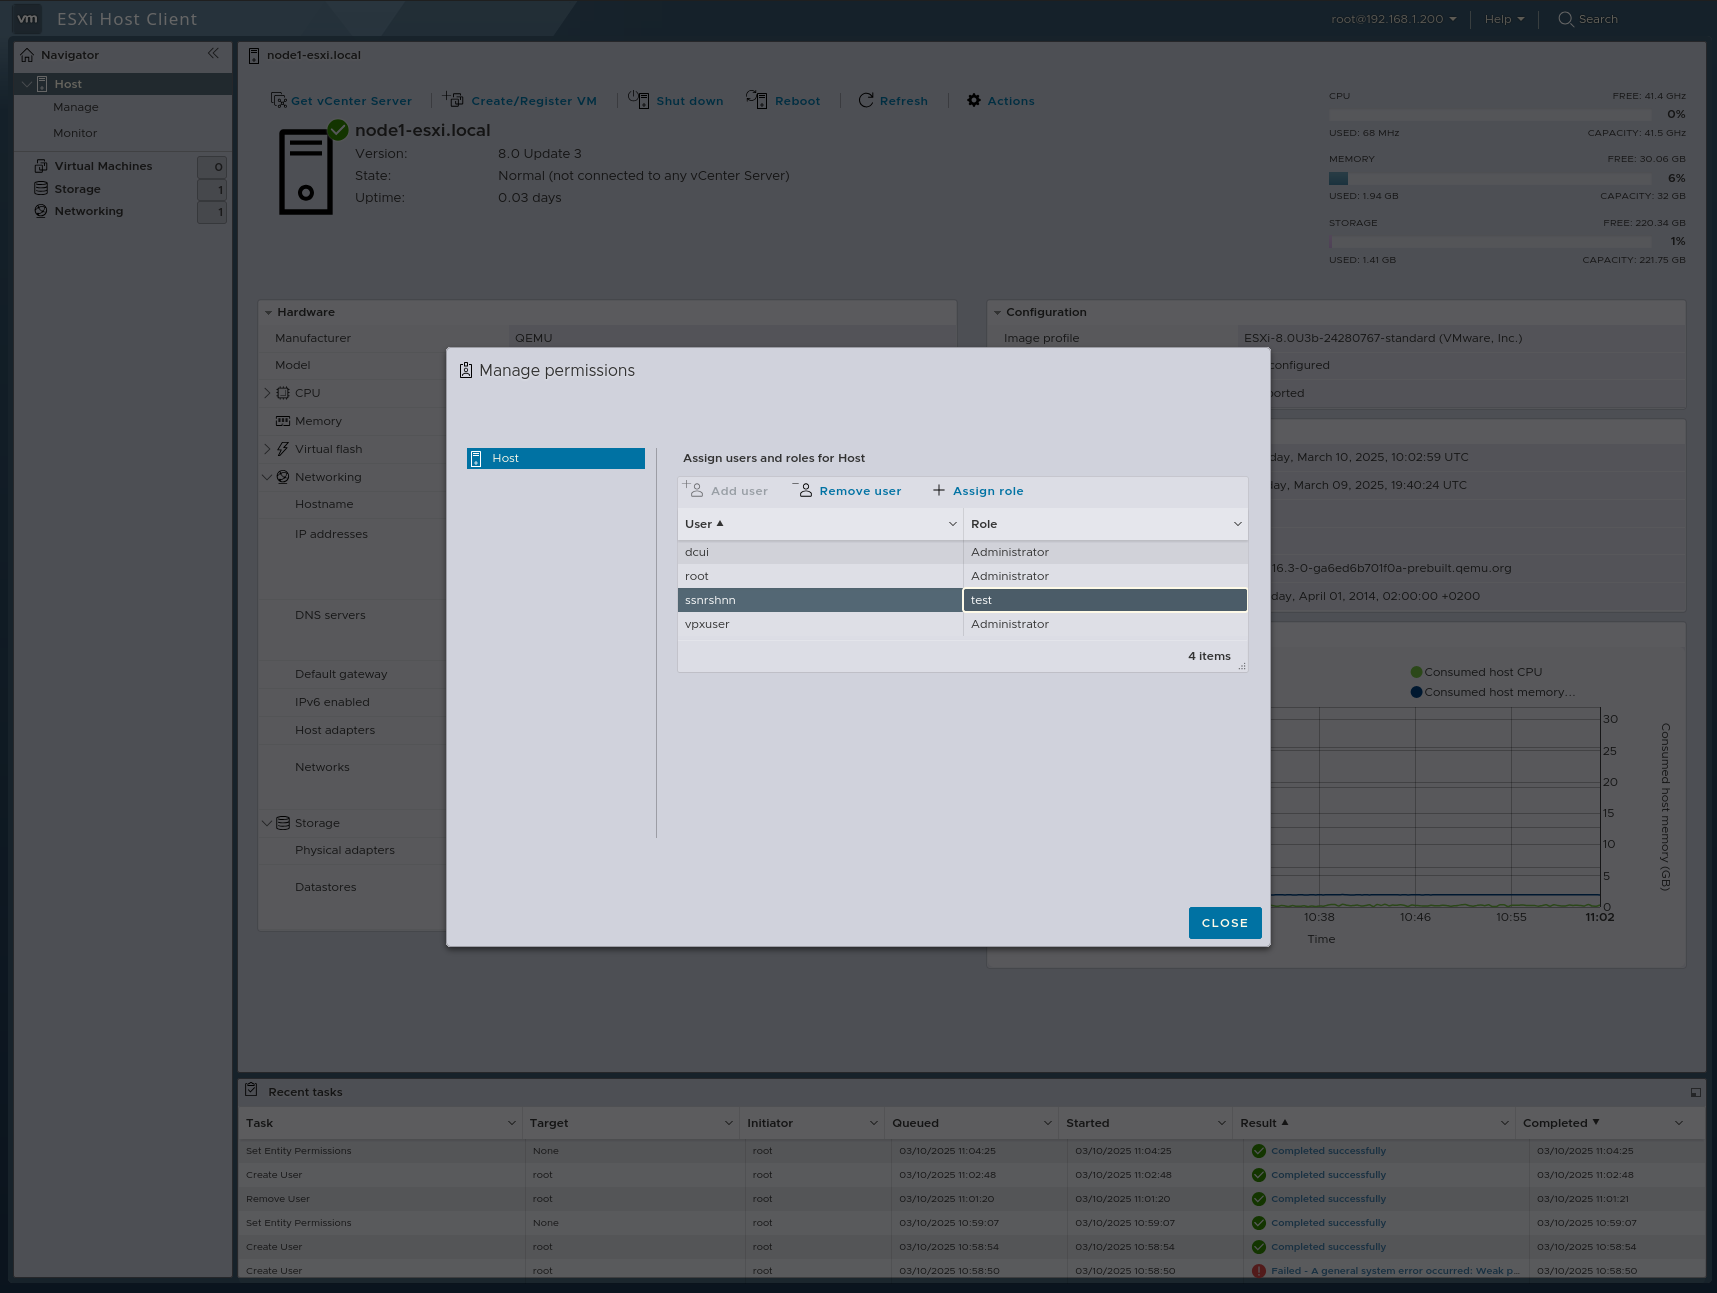
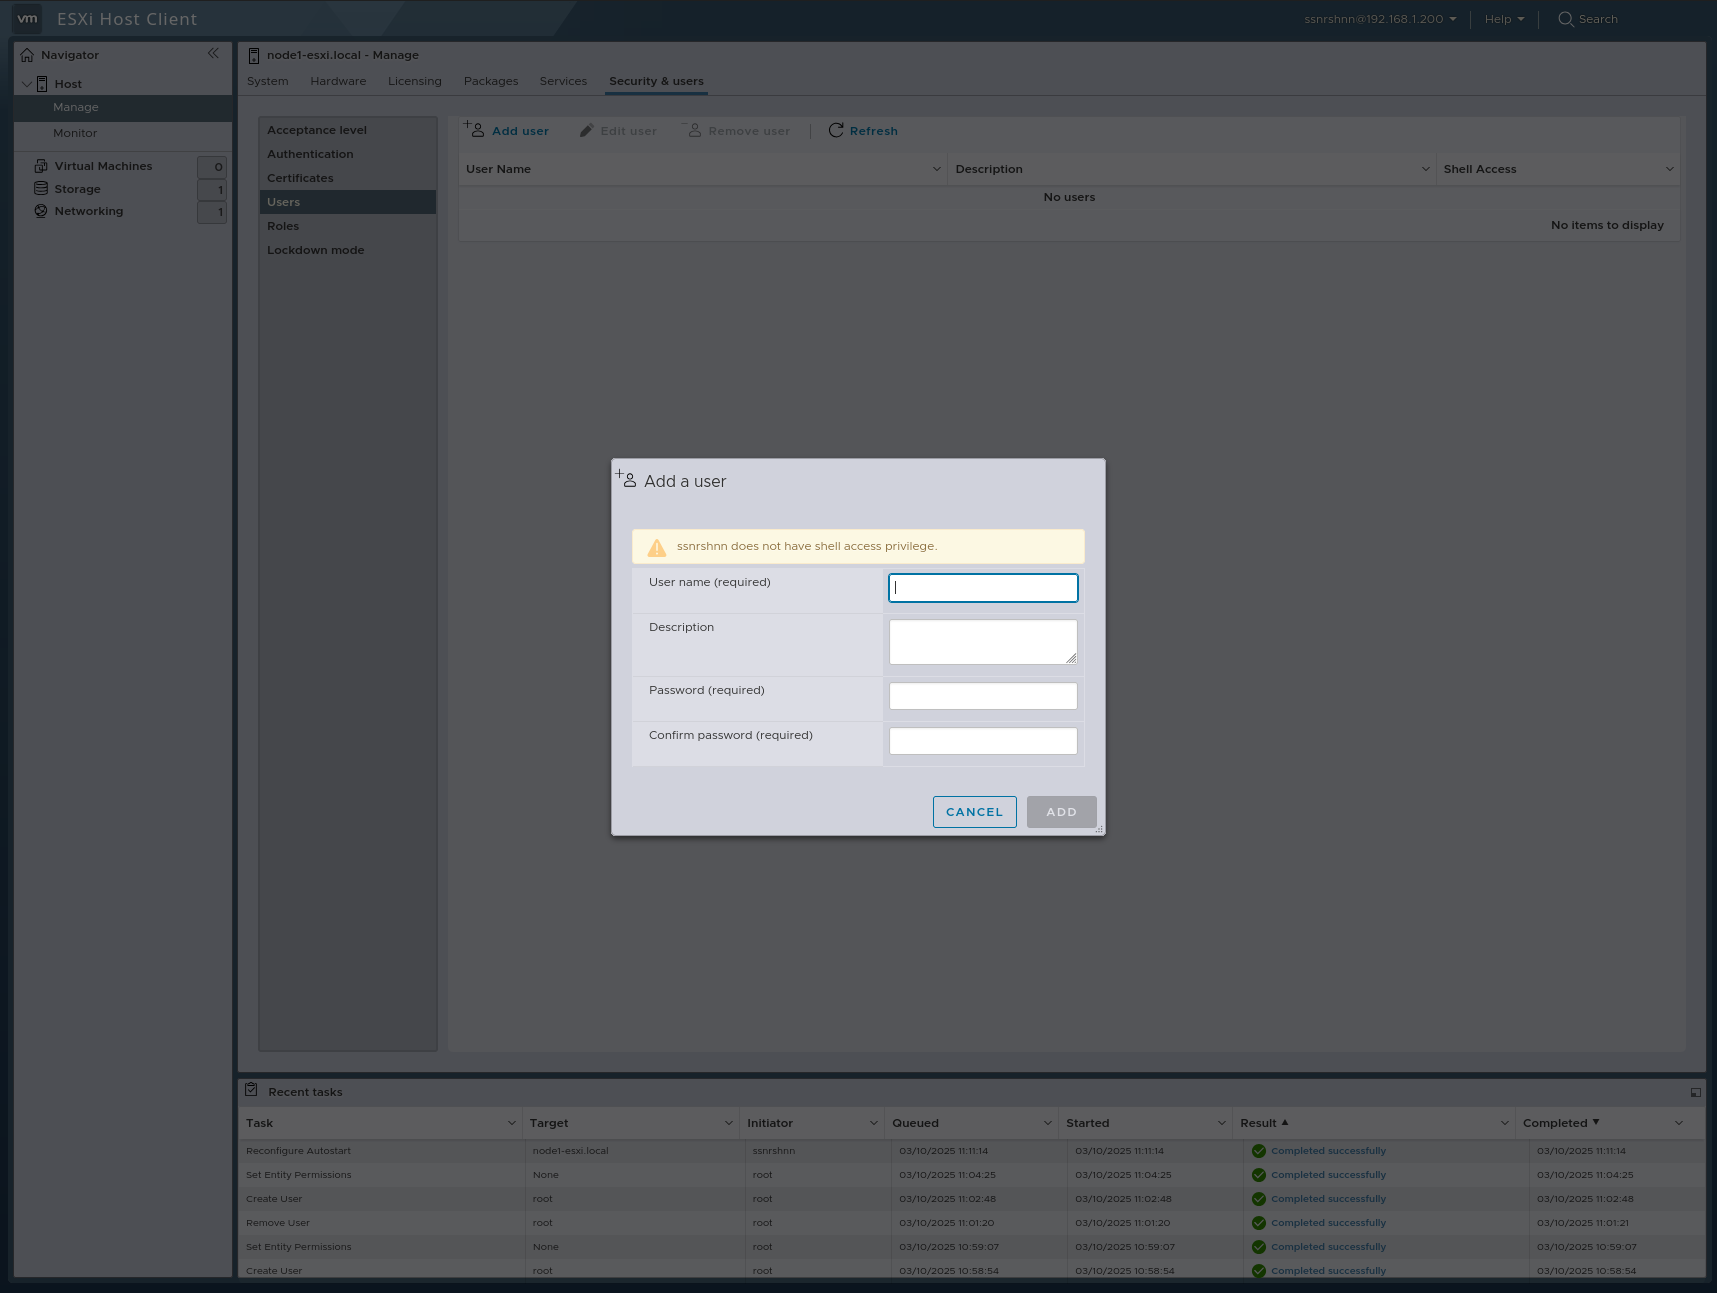
One of the important tasks is adding users. By default, we use the root account, which has full privileges. However, using the root account can be risky, especially for new users.
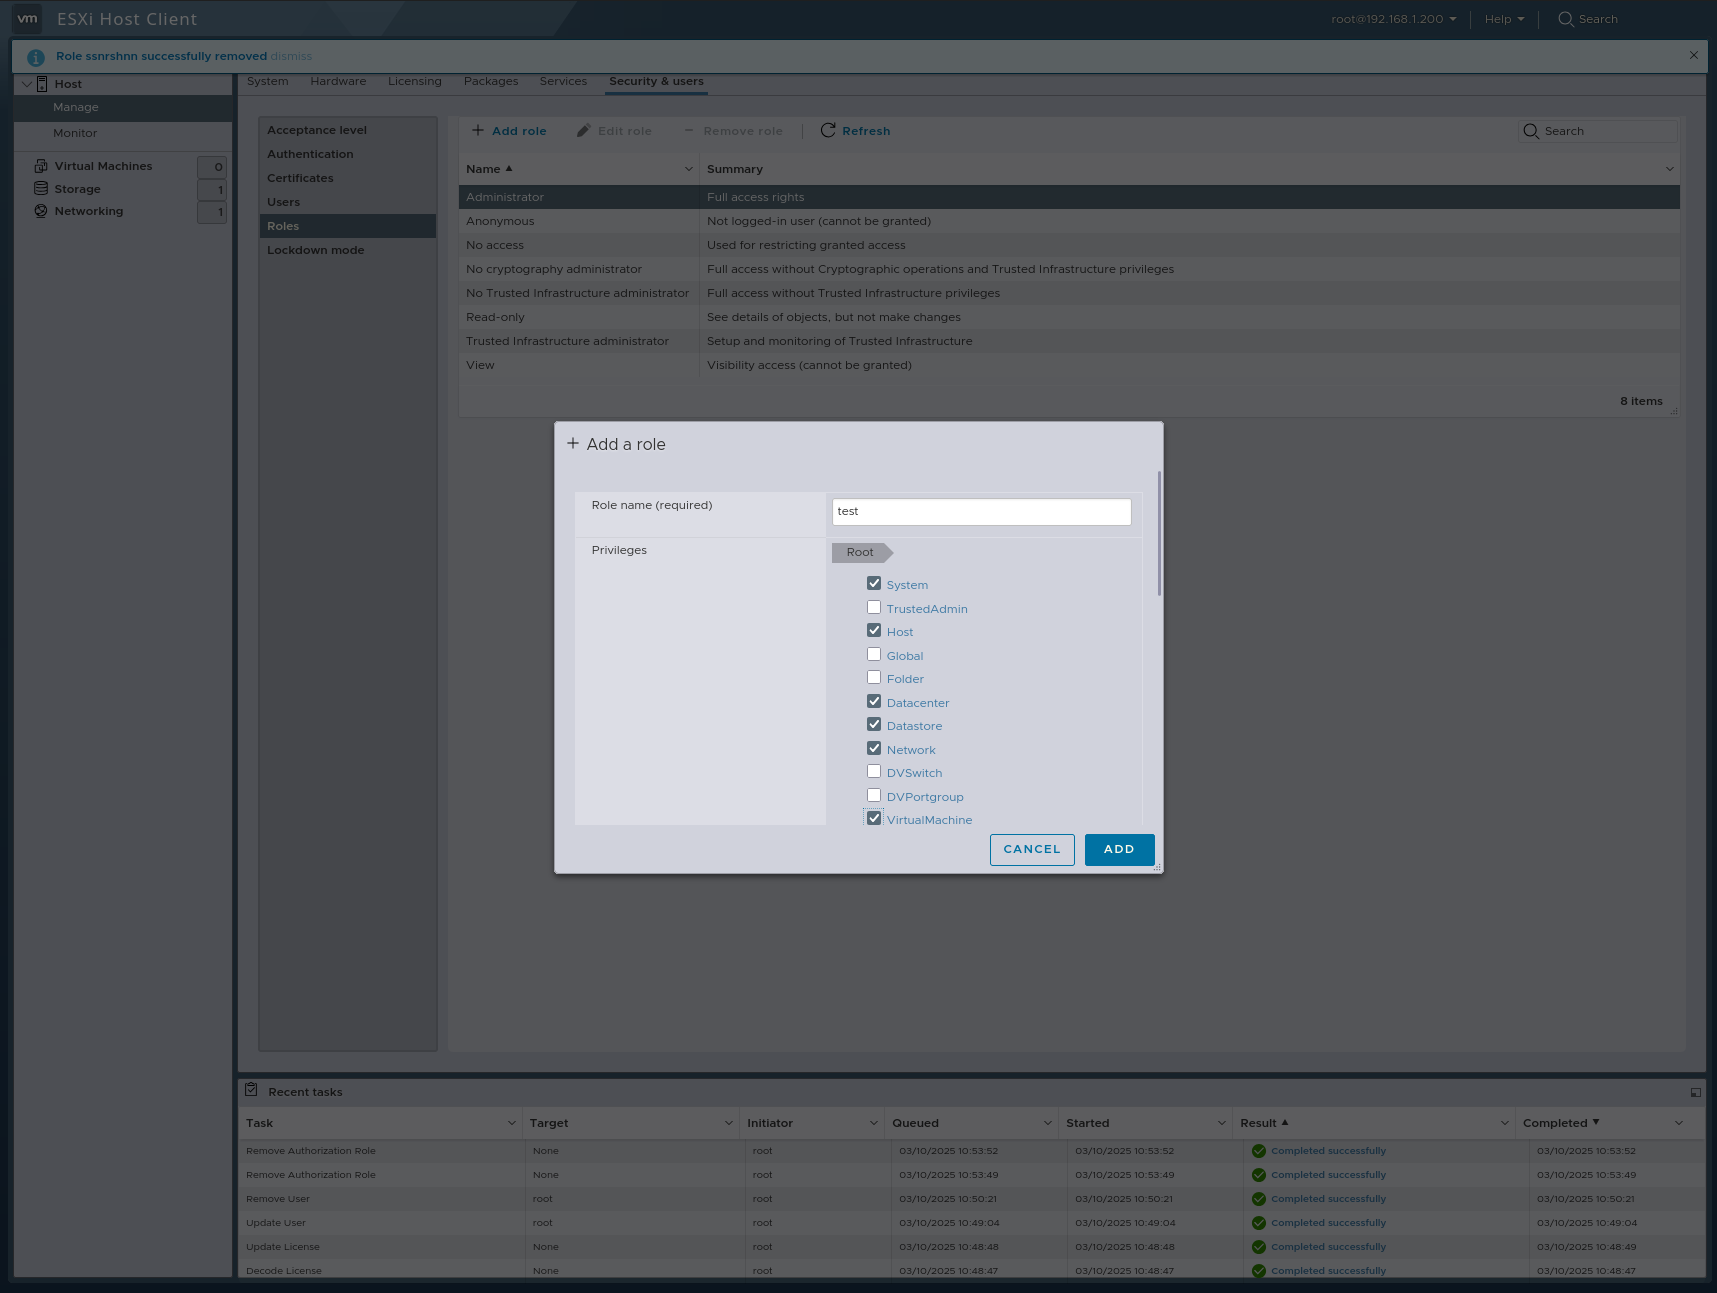
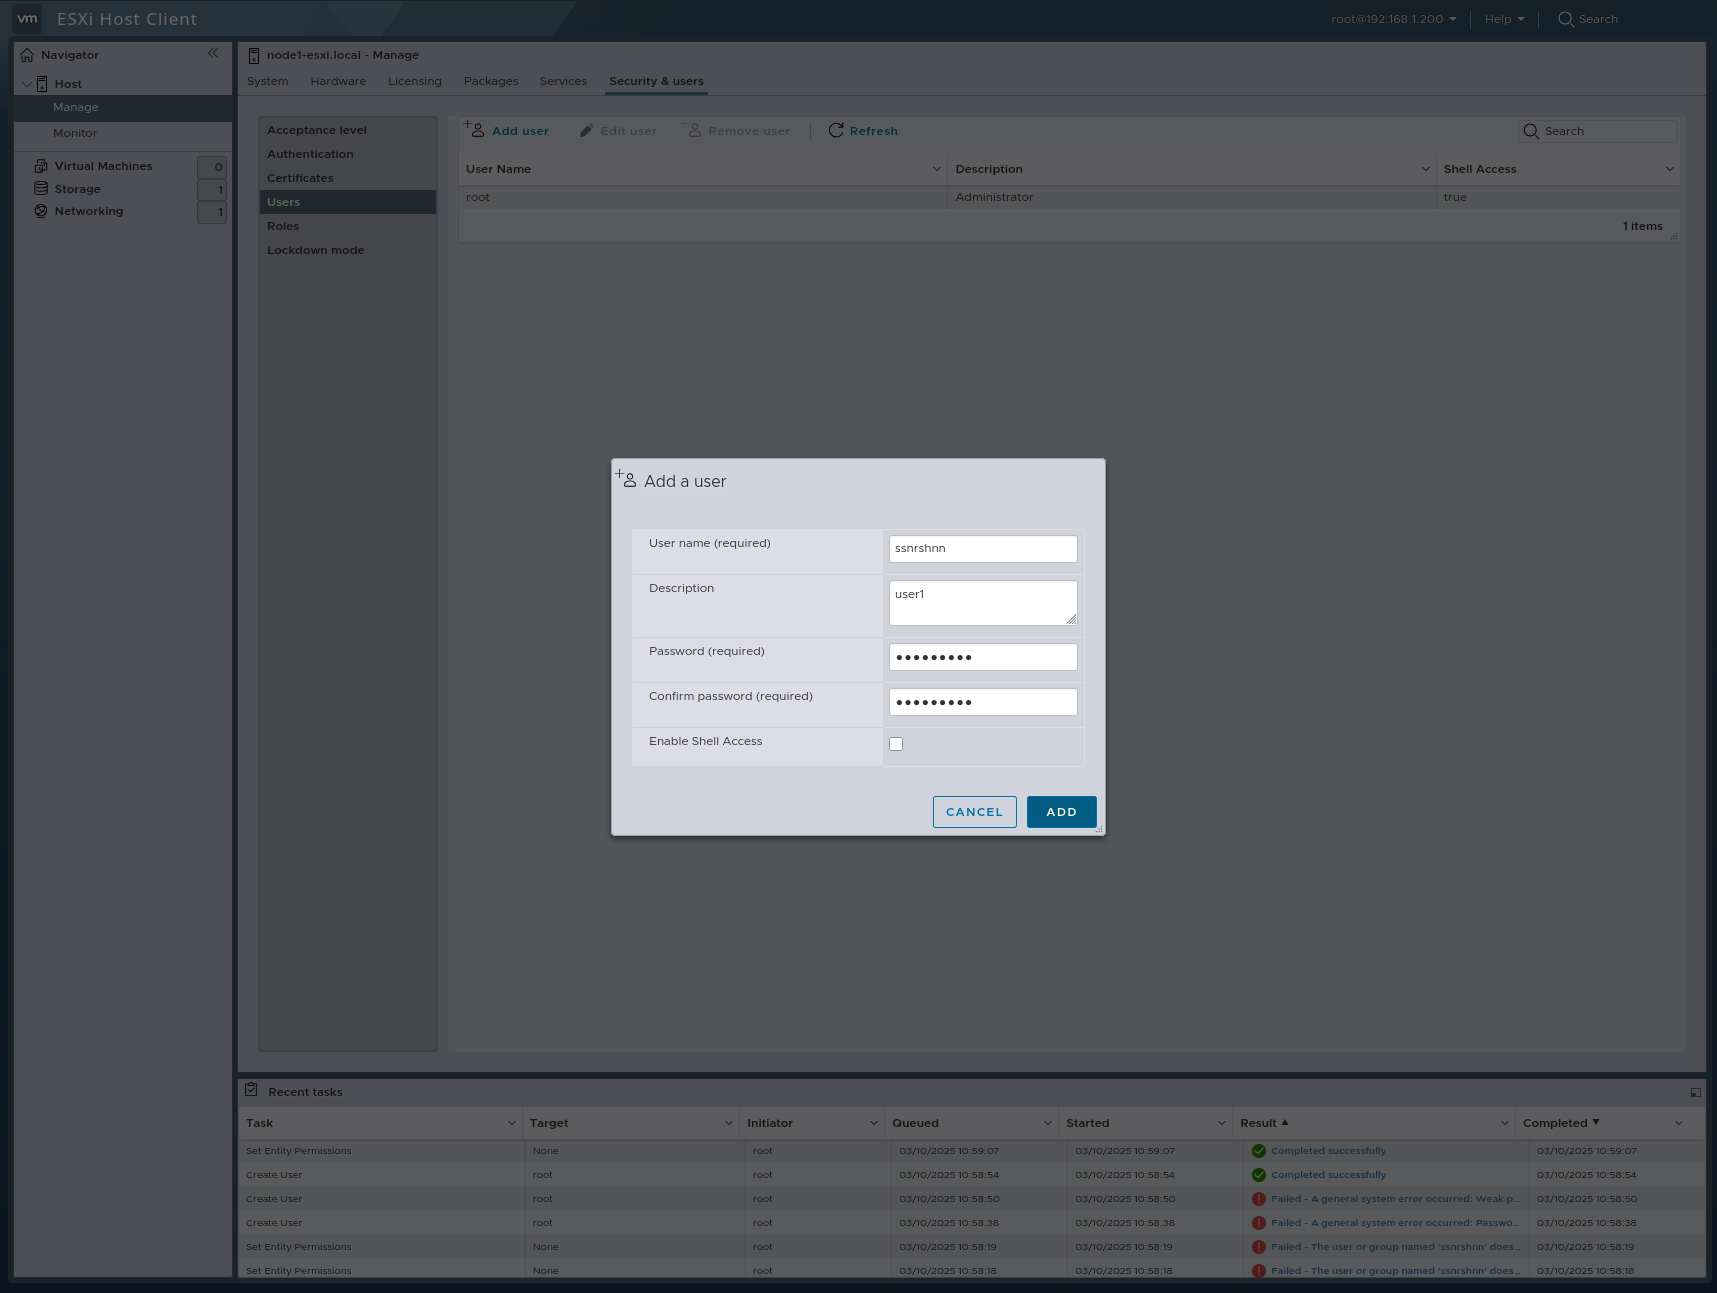
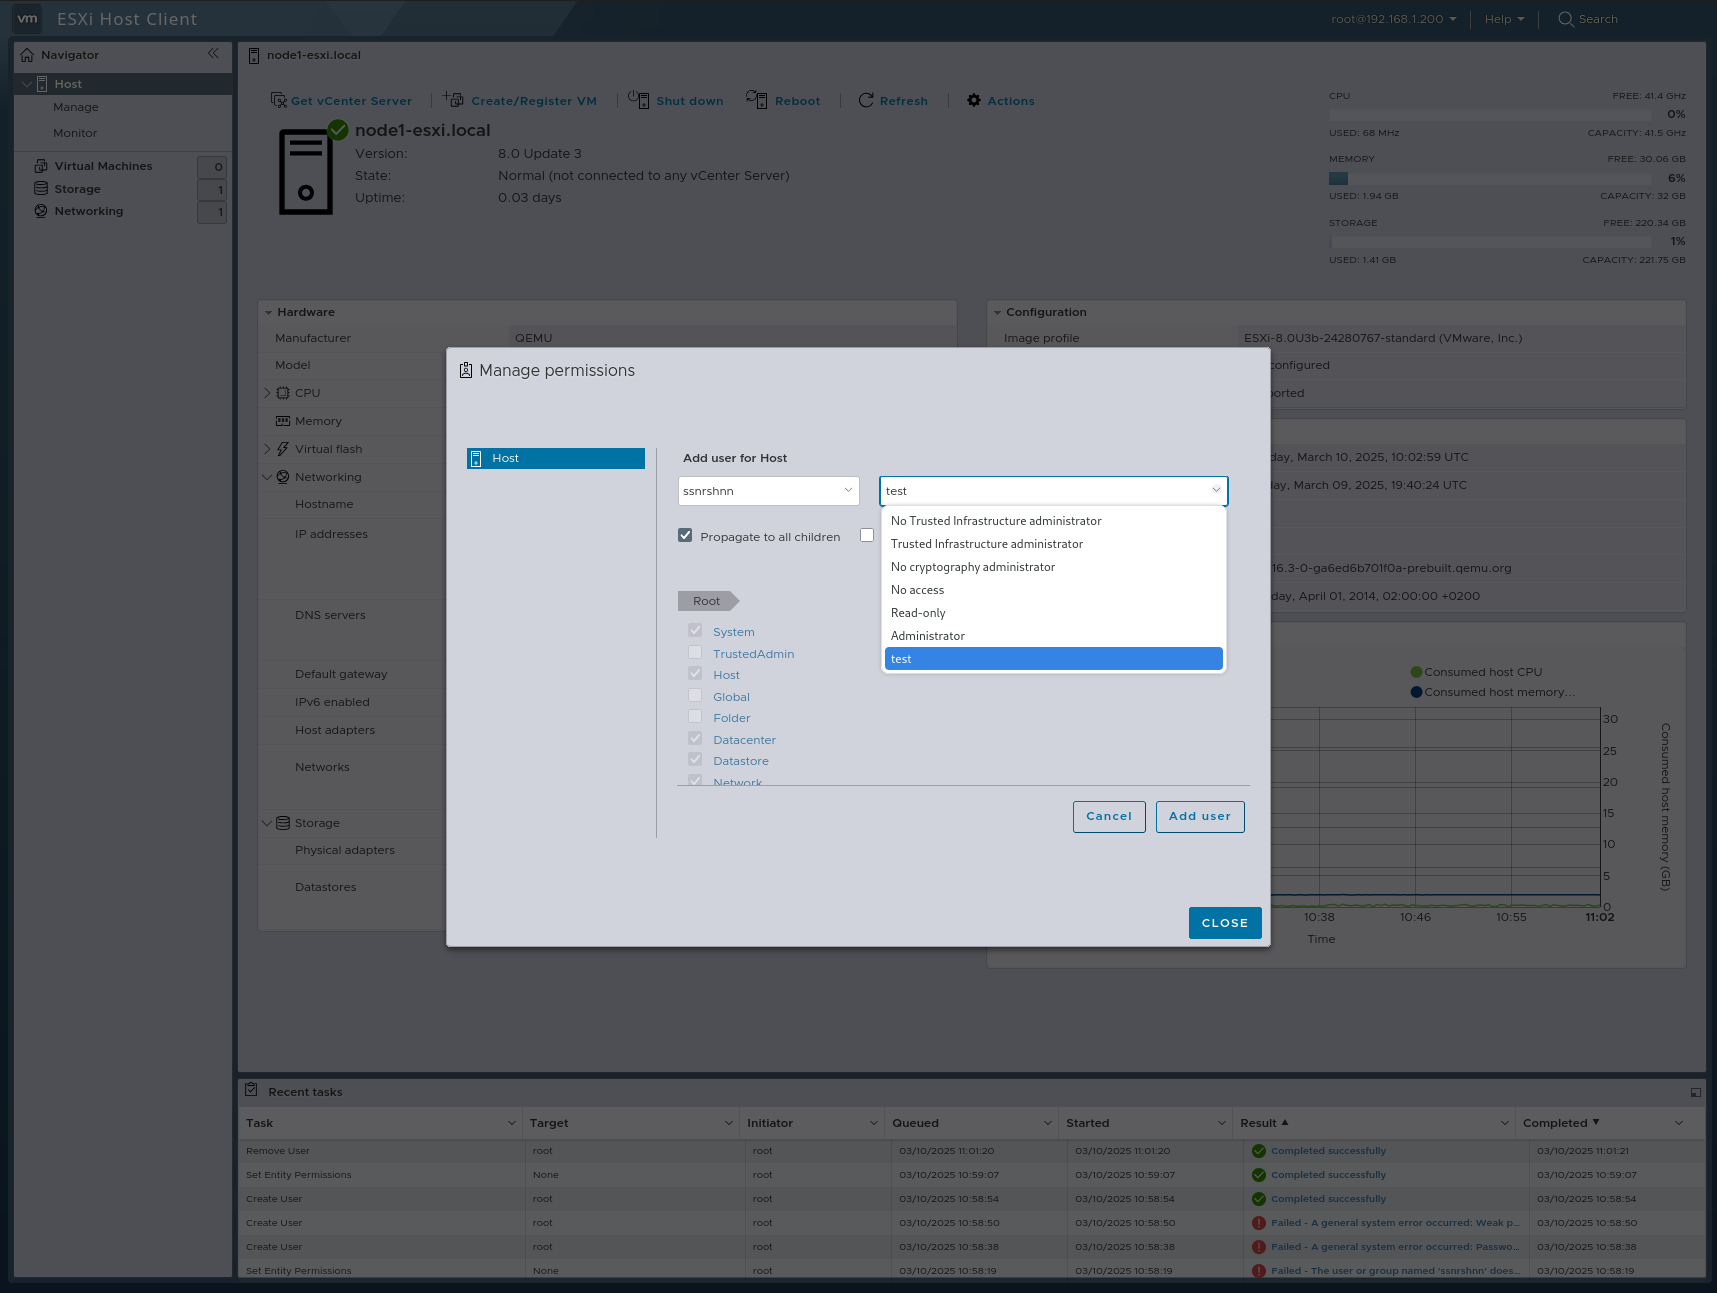
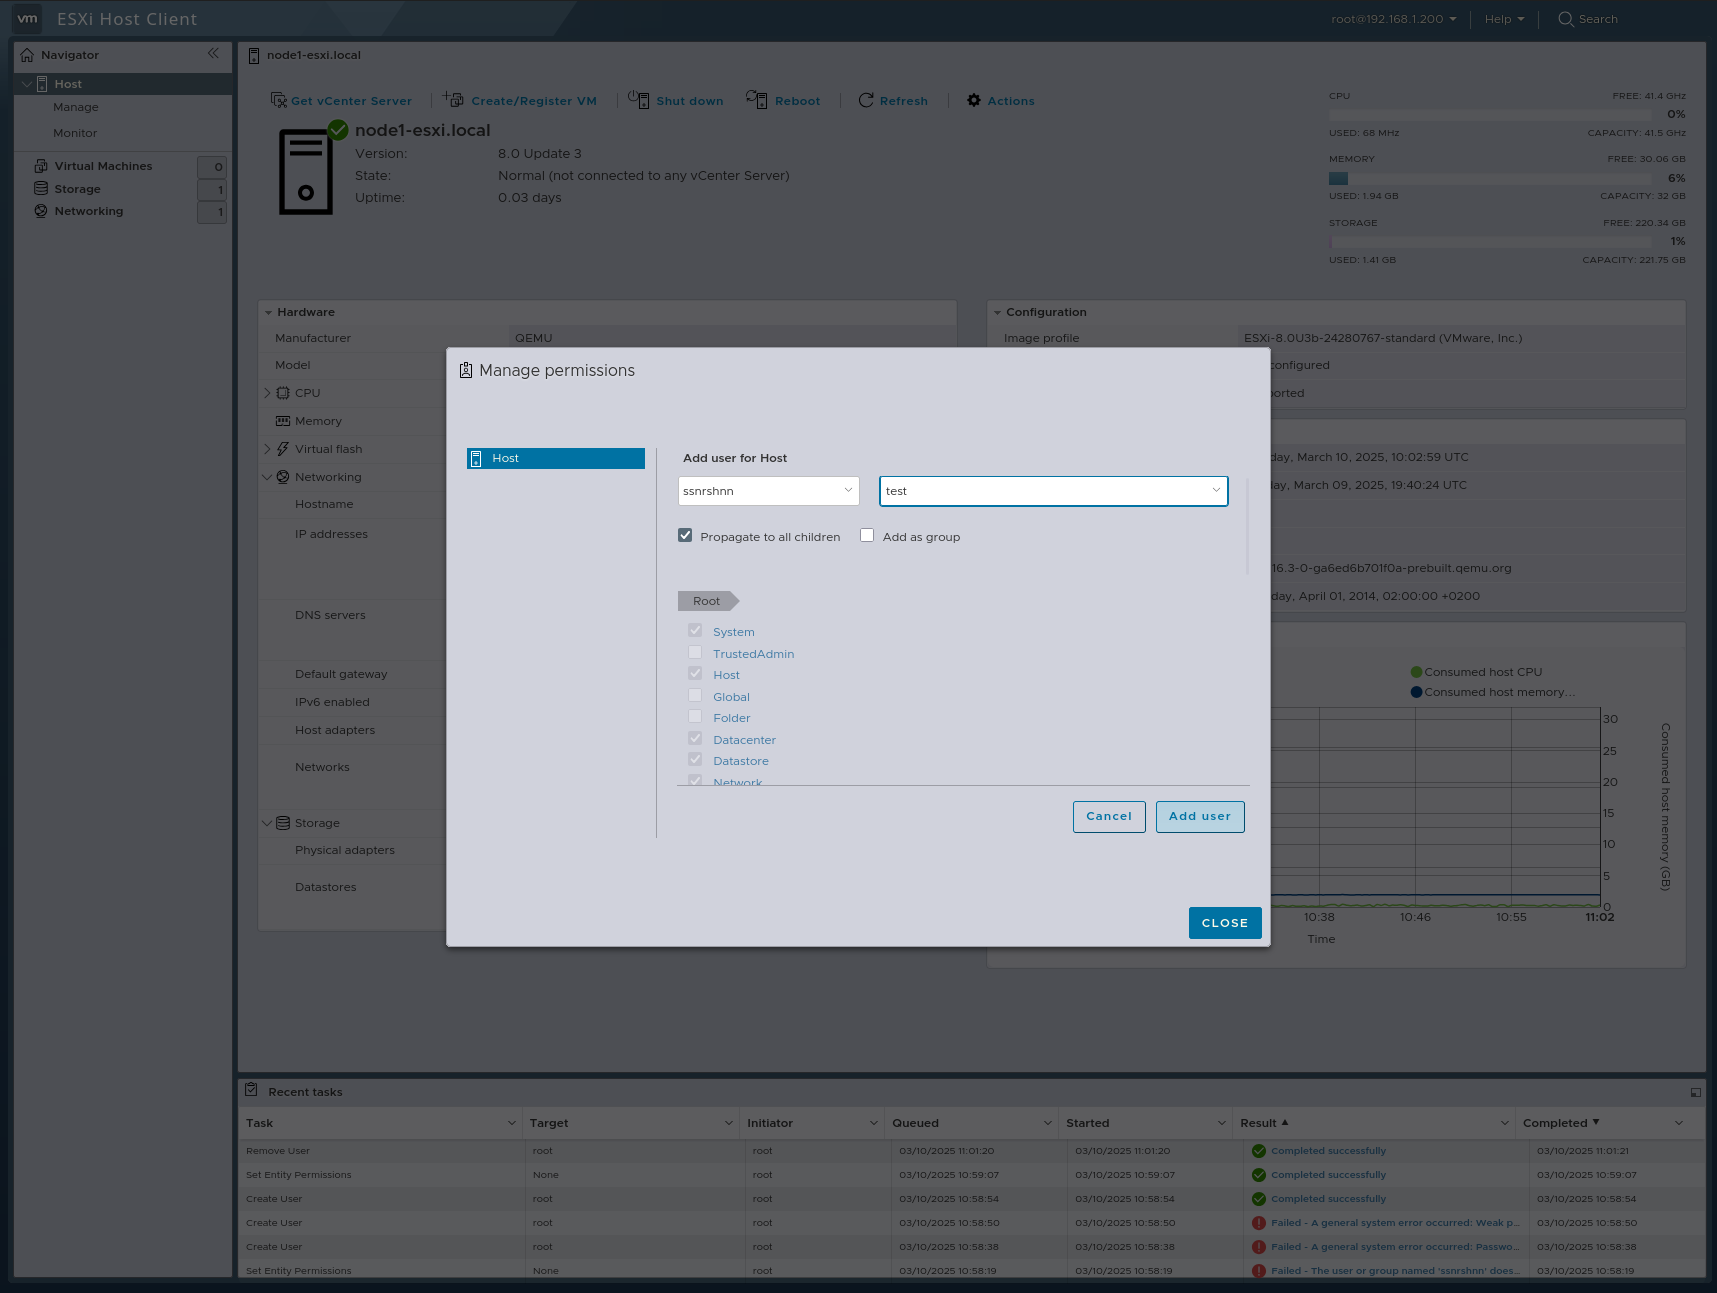
For this reason, we need to create a new user and assign roles as needed. As an example, I will create a new user and grant some random privileges, but you should carefully assign permissions based on your requirements.
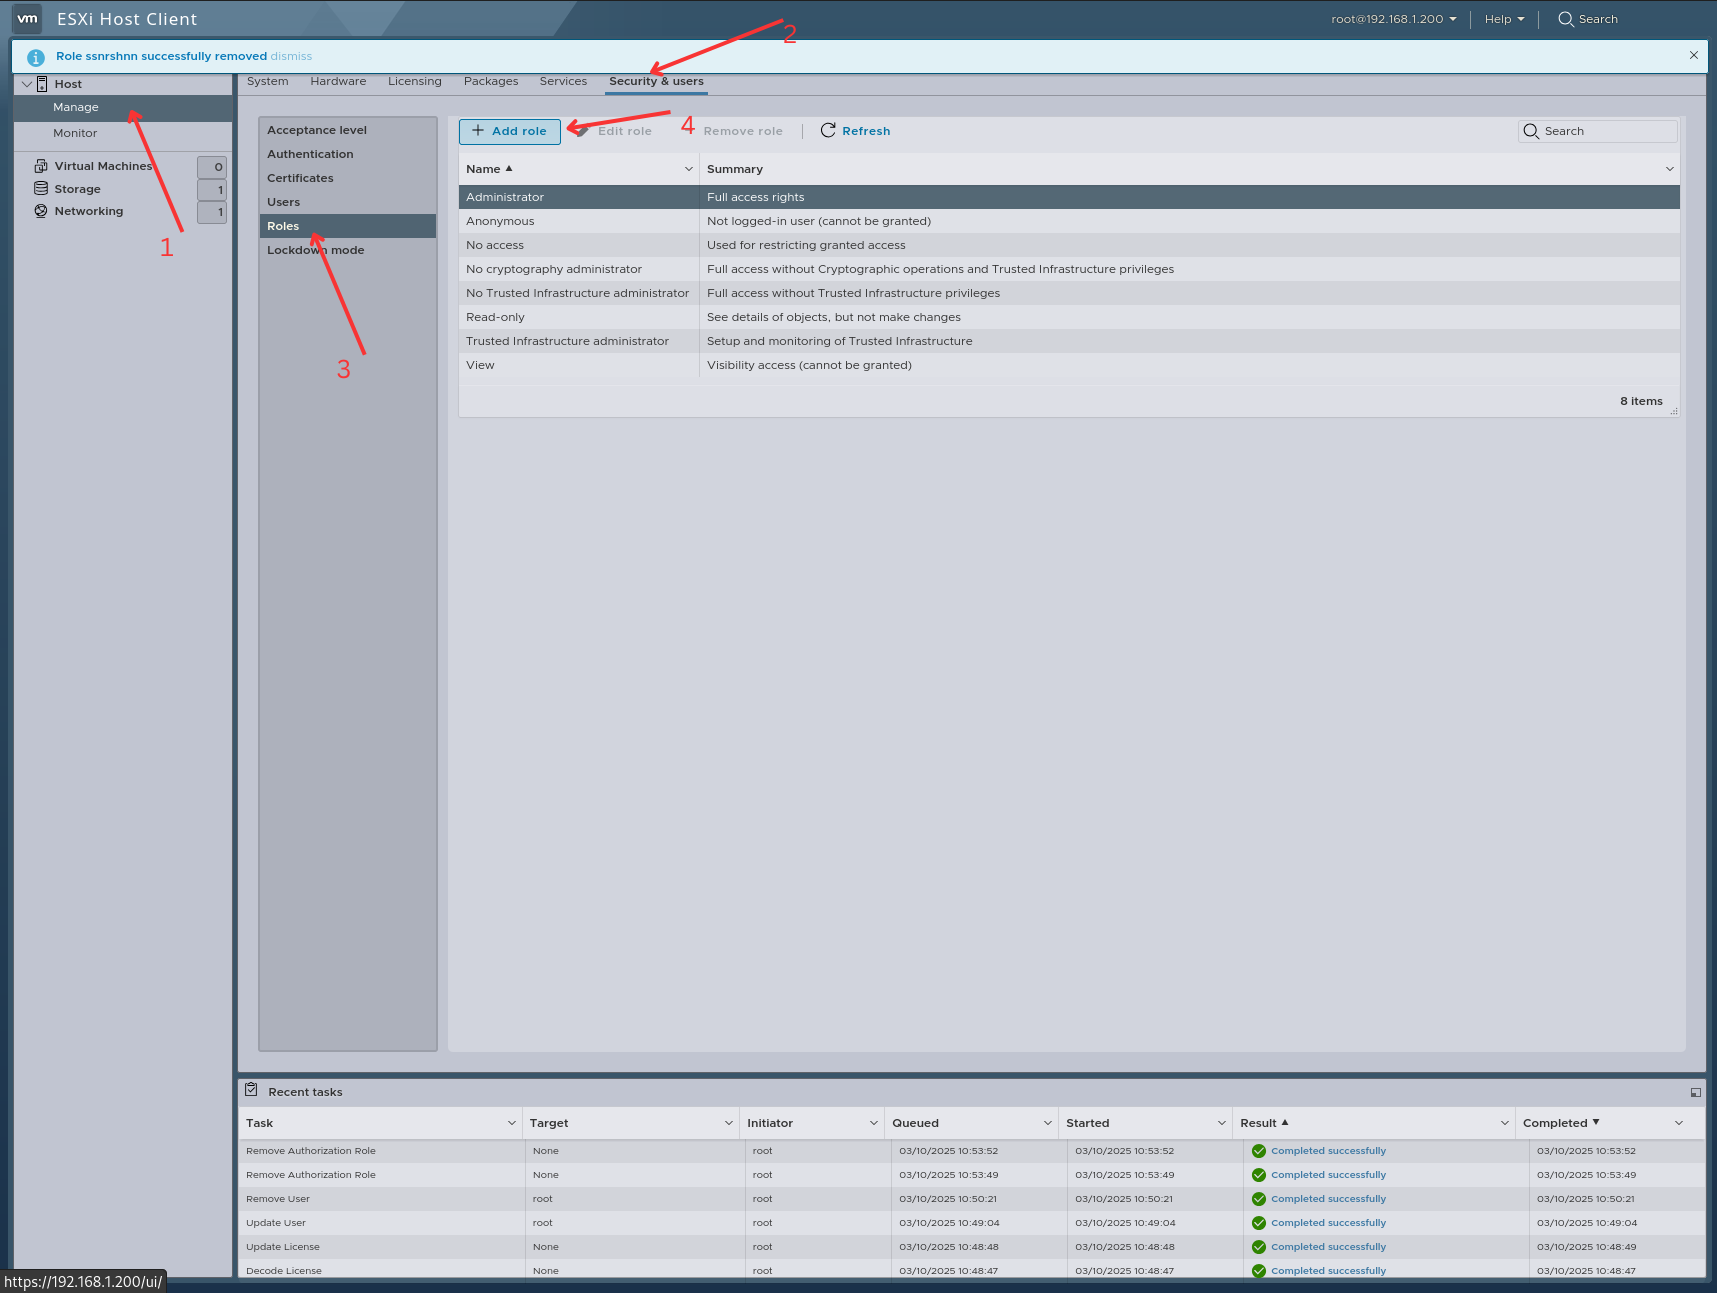
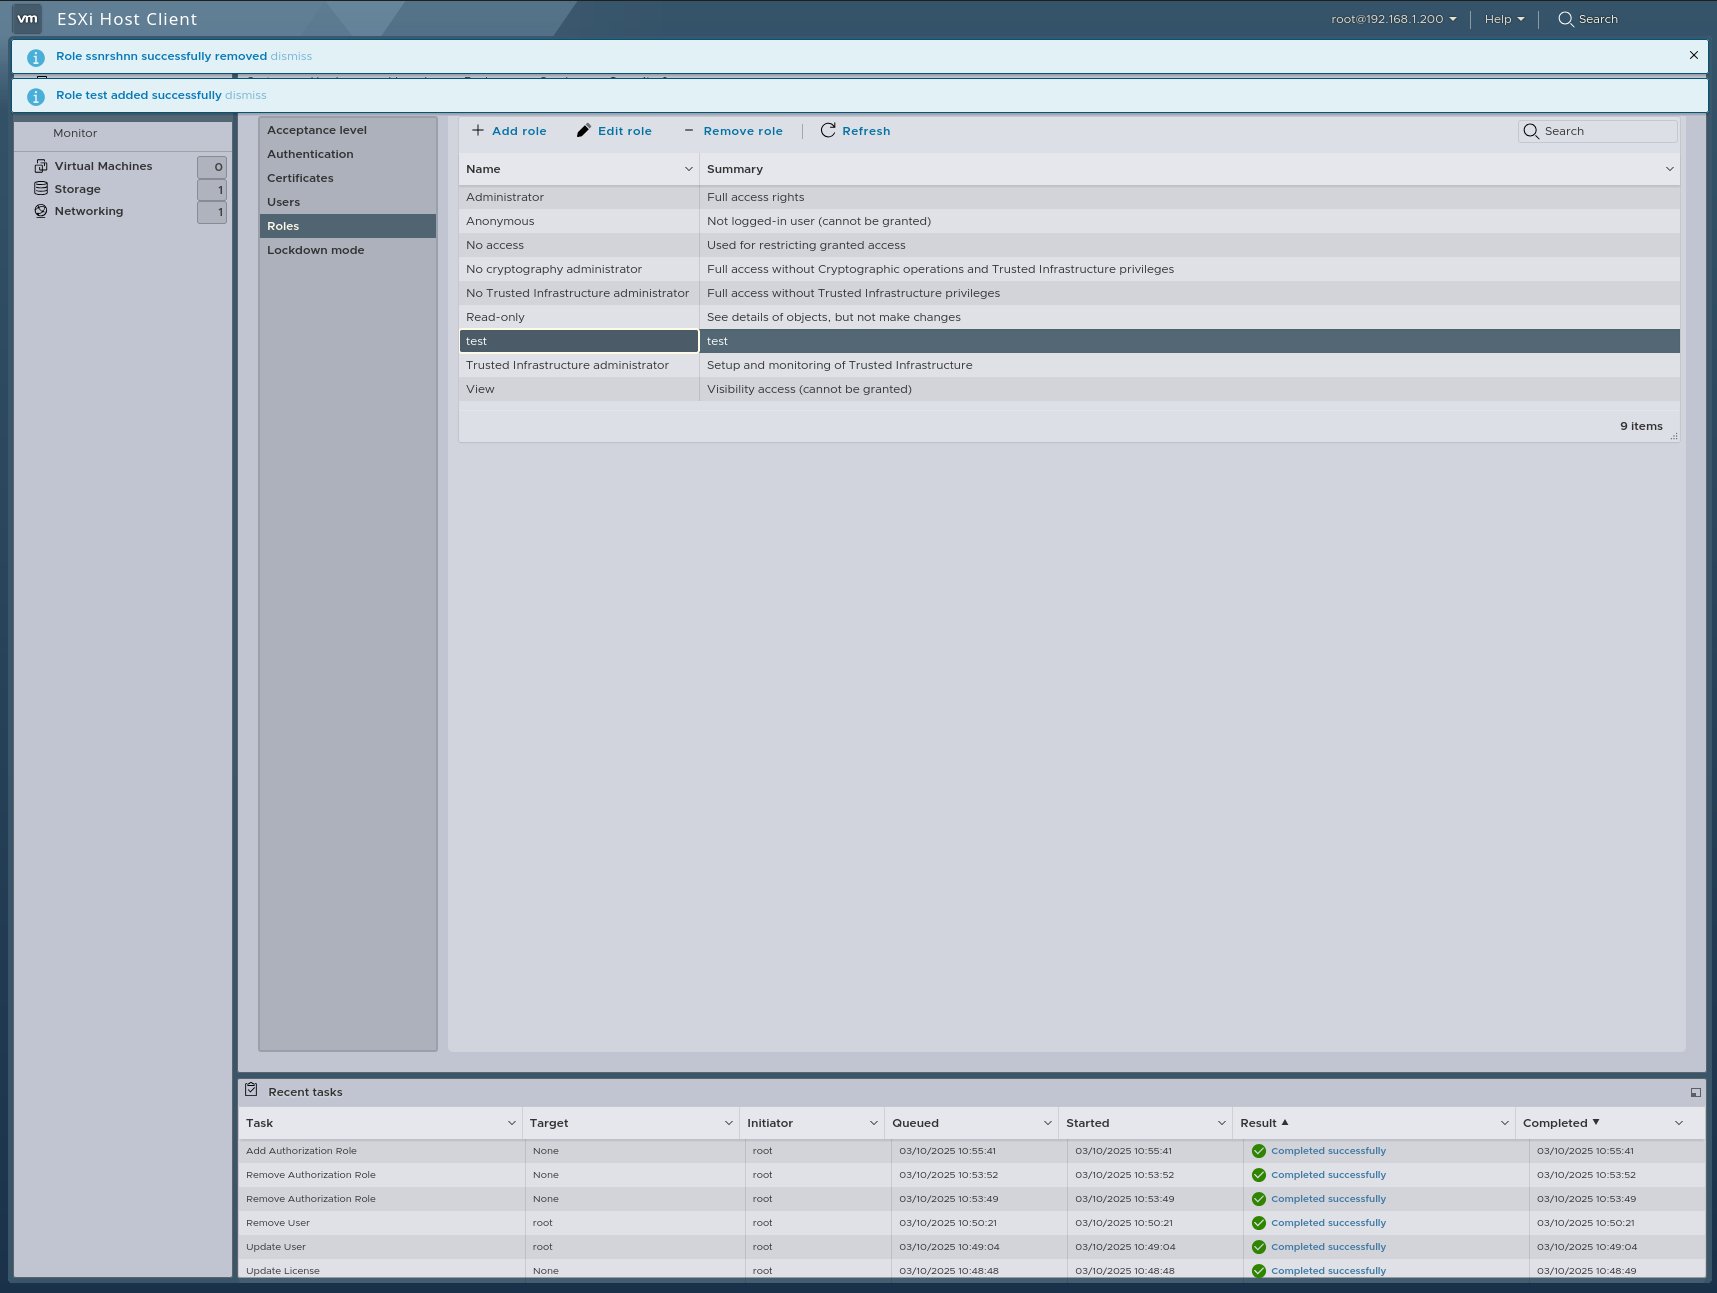
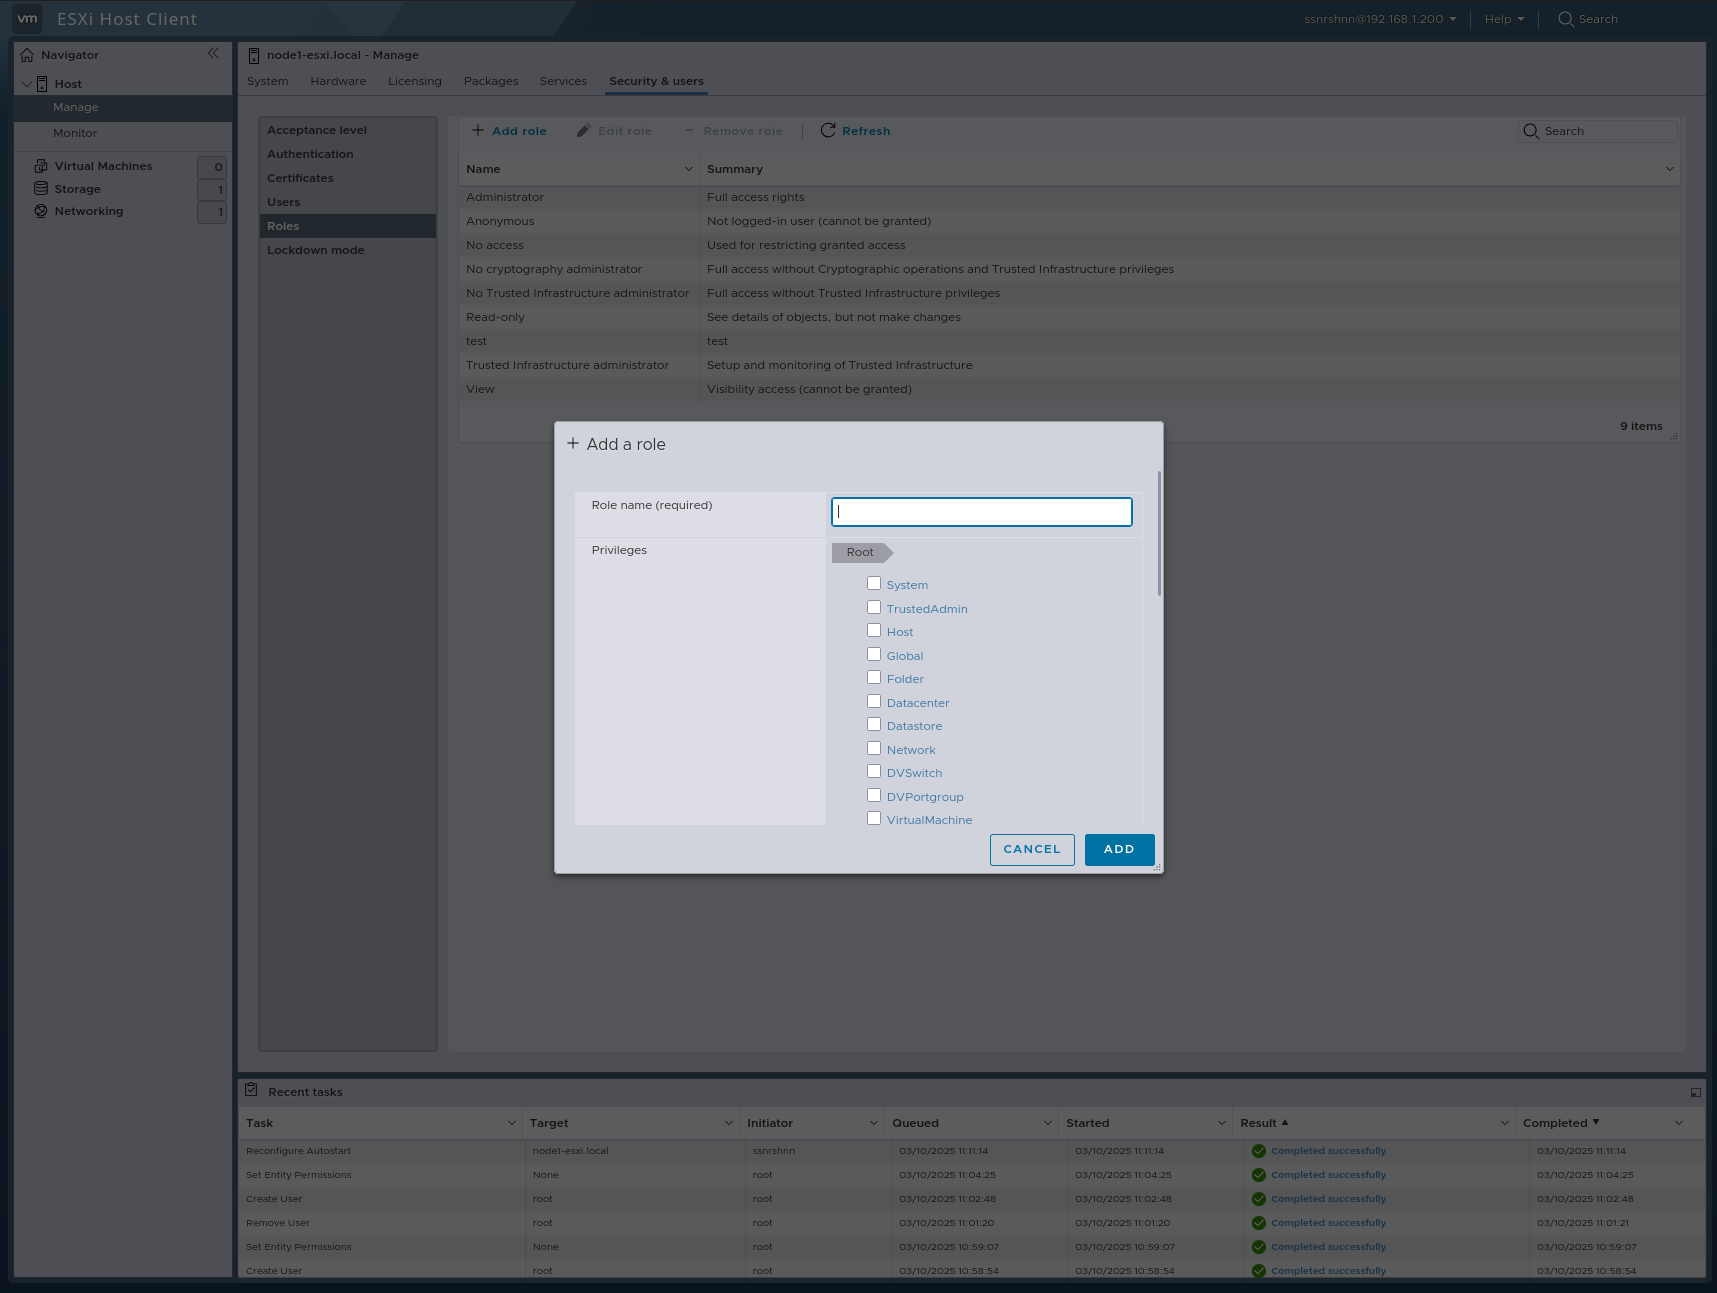
Before adding a user, let’s create a role first.
I will assign some additional privileges, but be careful not to grant any unnecessary permissions.
Privileges:
Adding user:
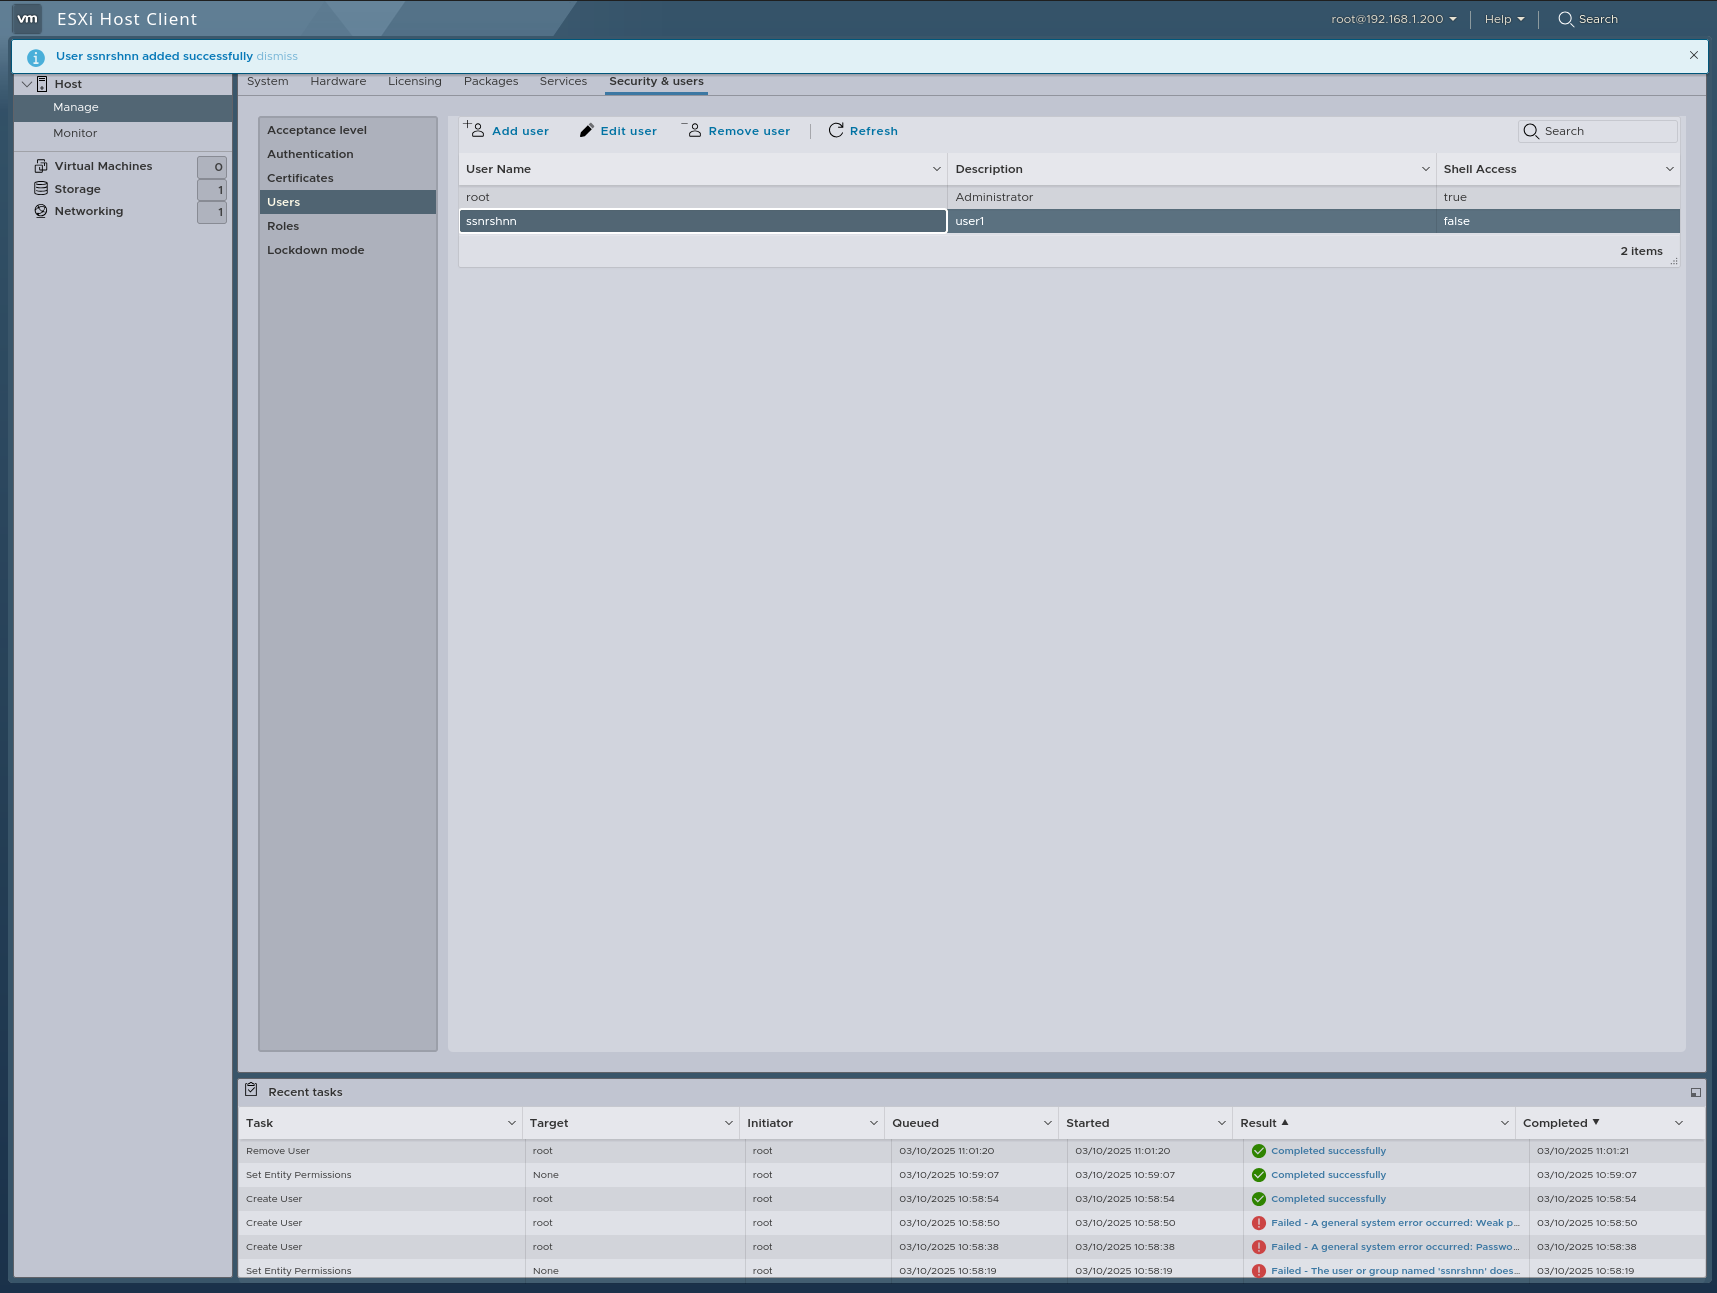
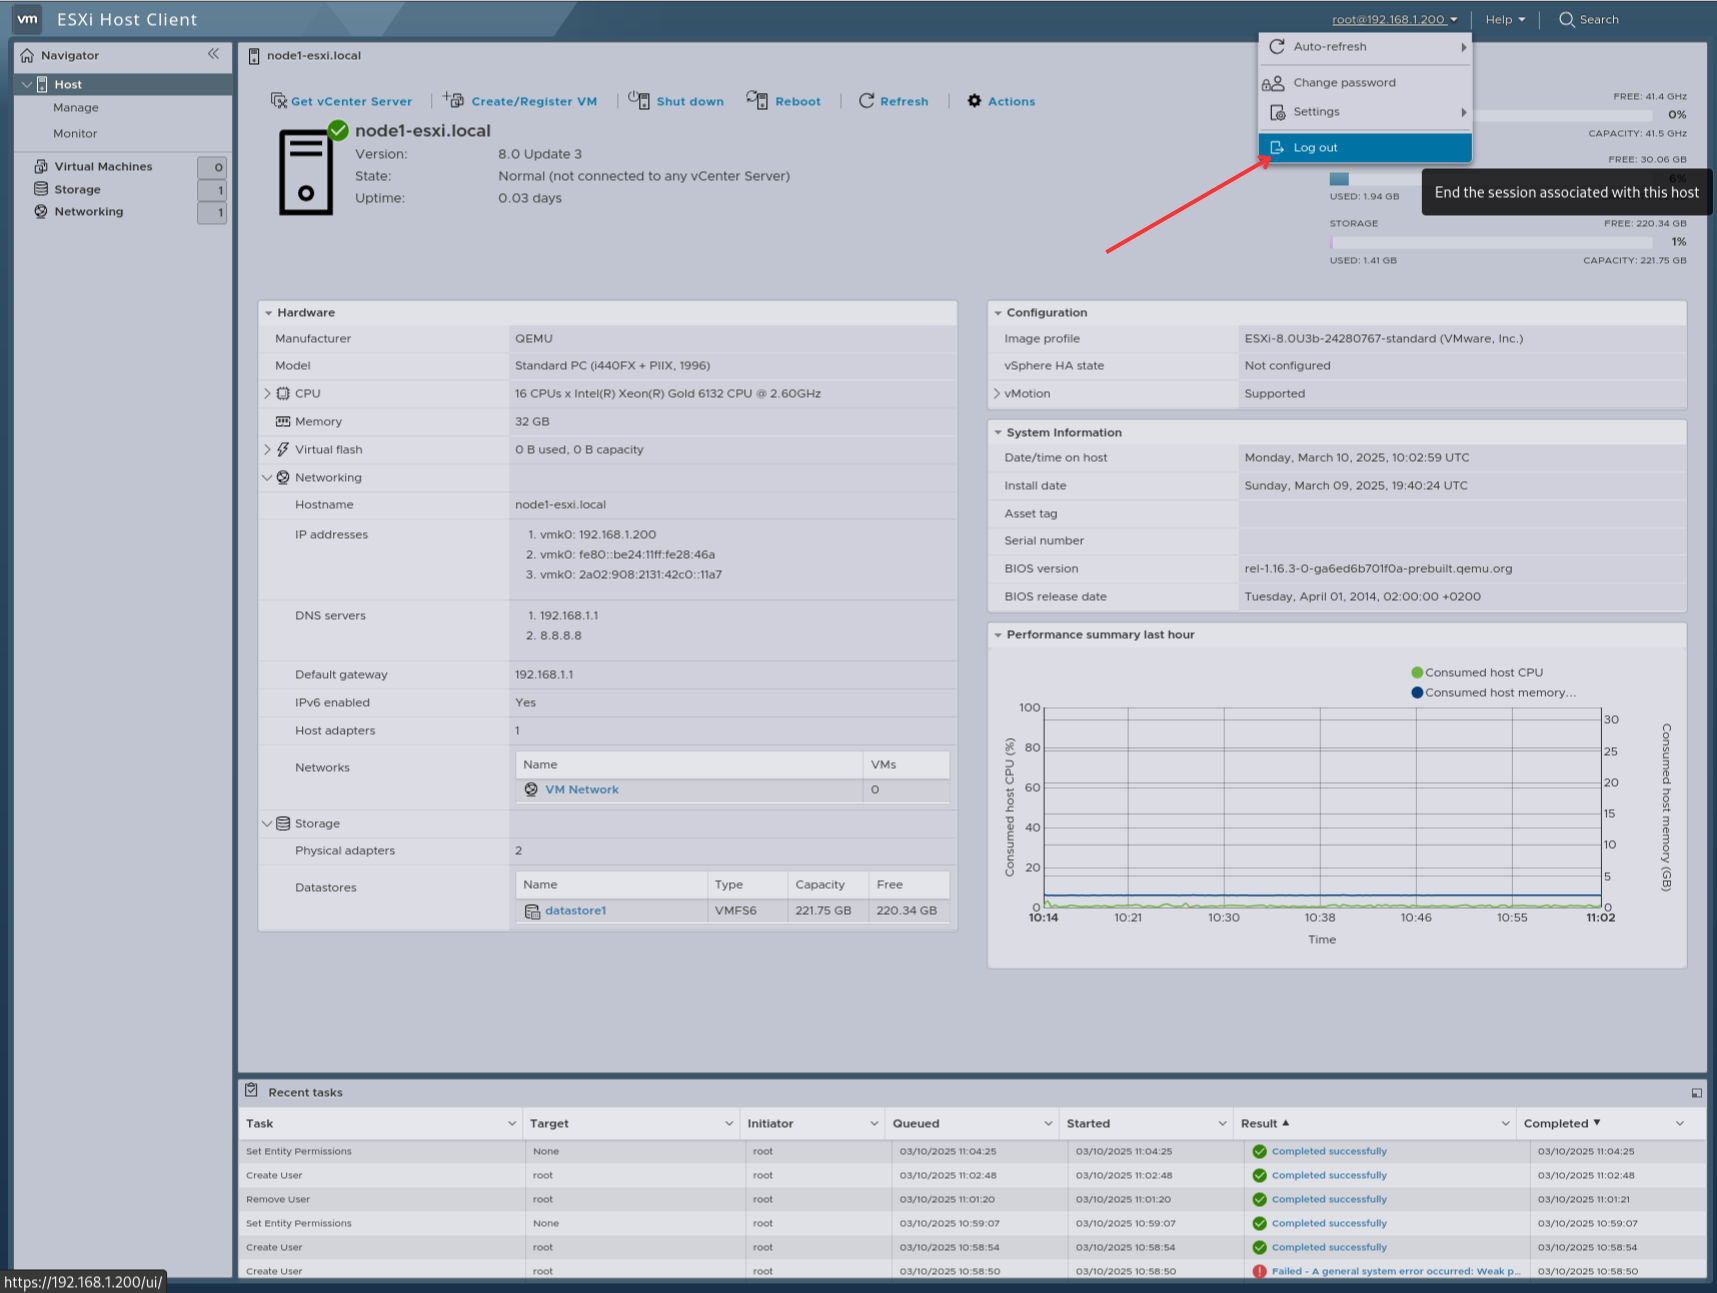
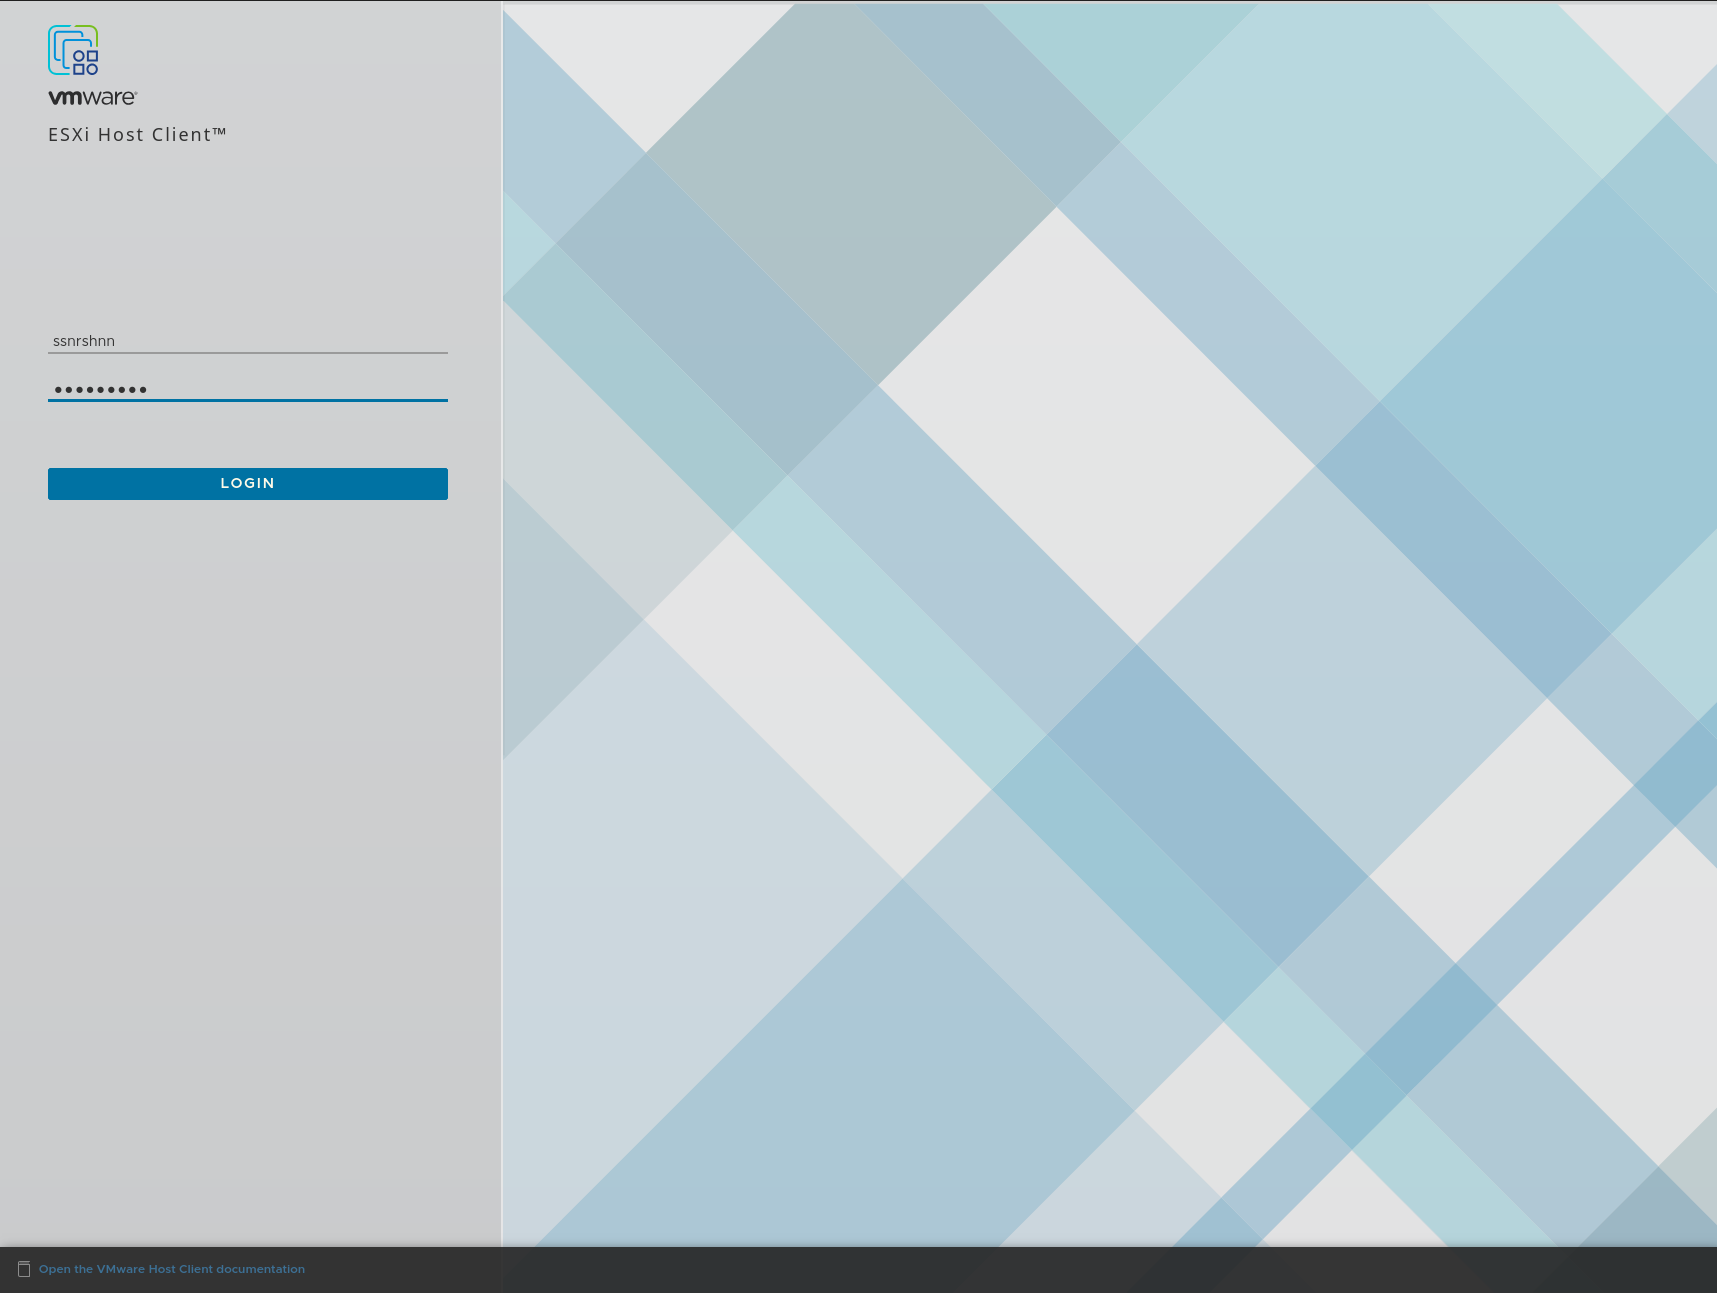
Let’s log out and log back in as the ssnrshnn user.
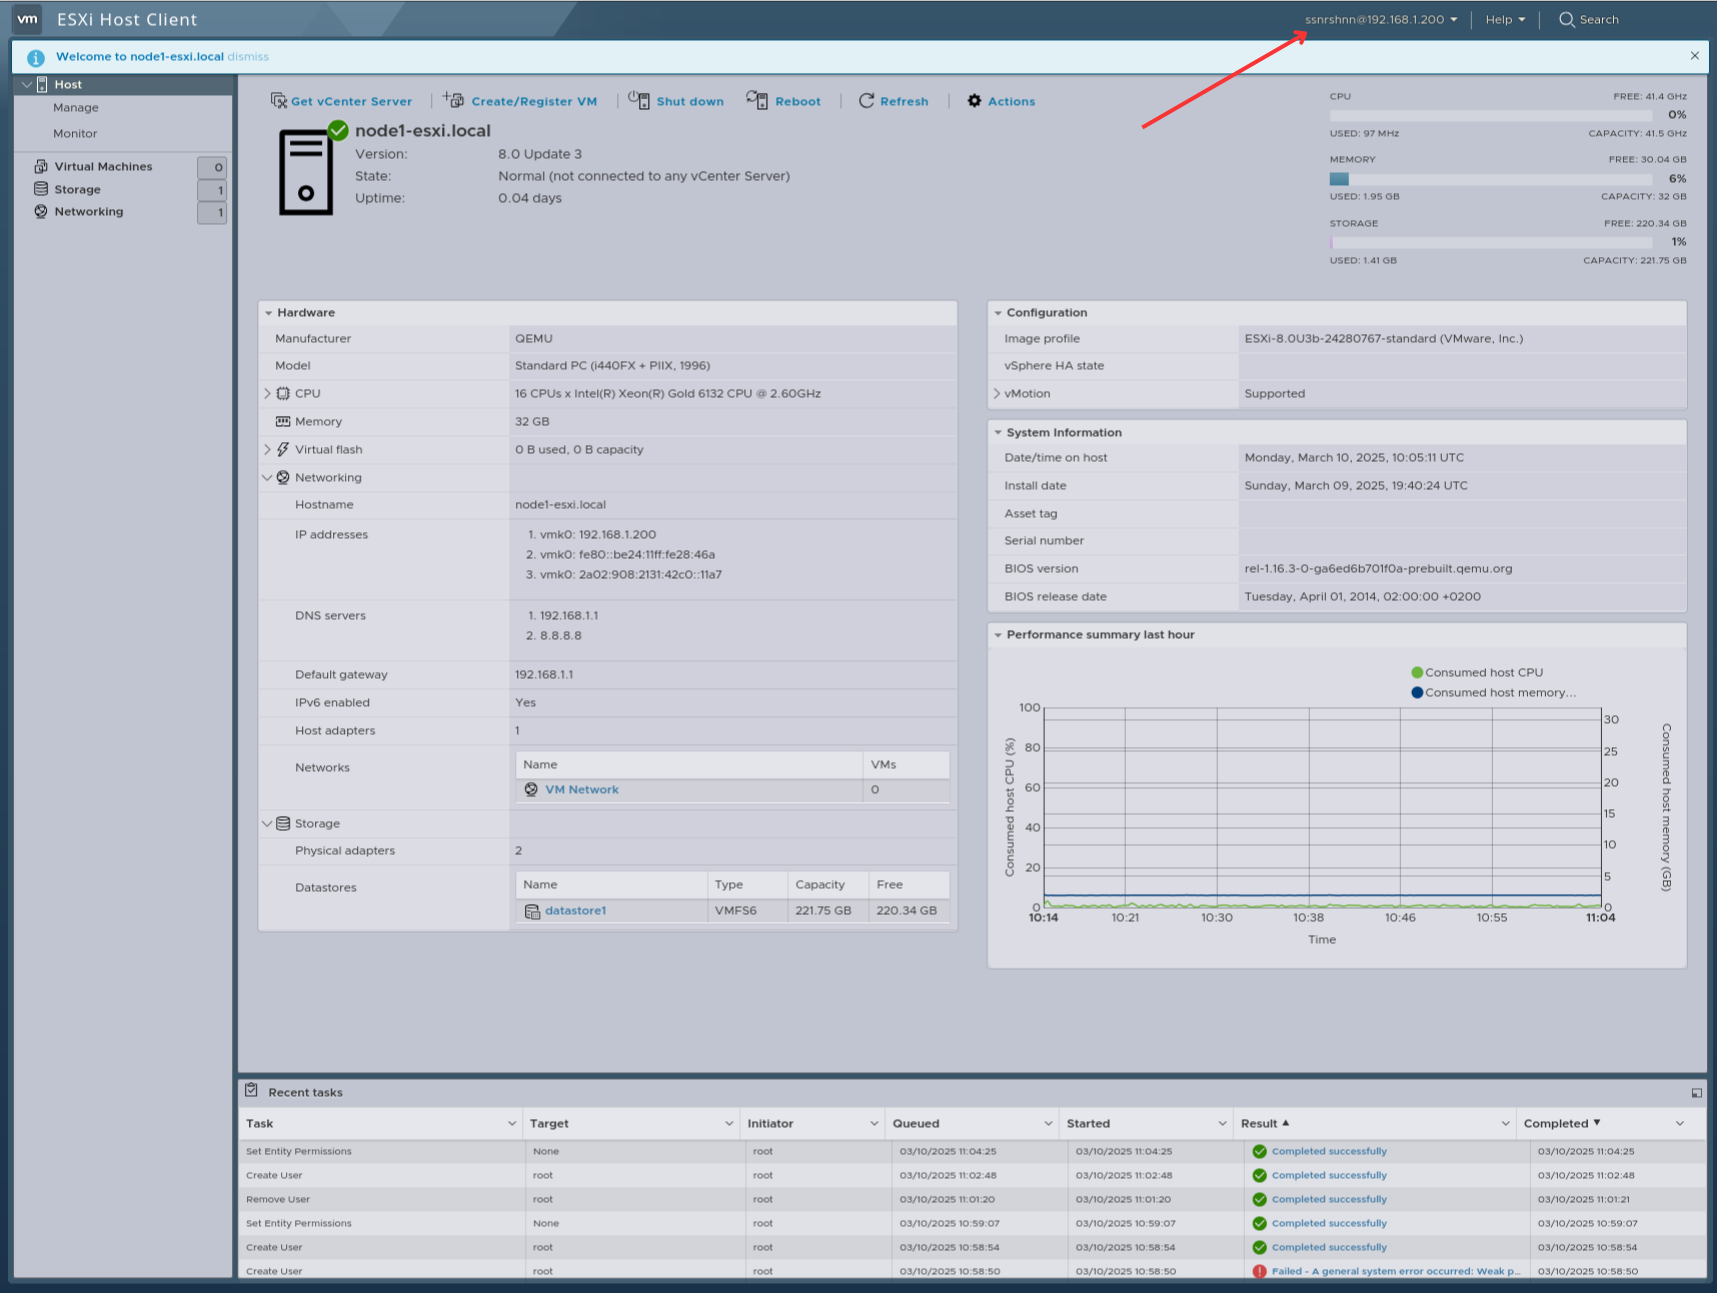
Great! Now, let’s take a quick look at the sections.
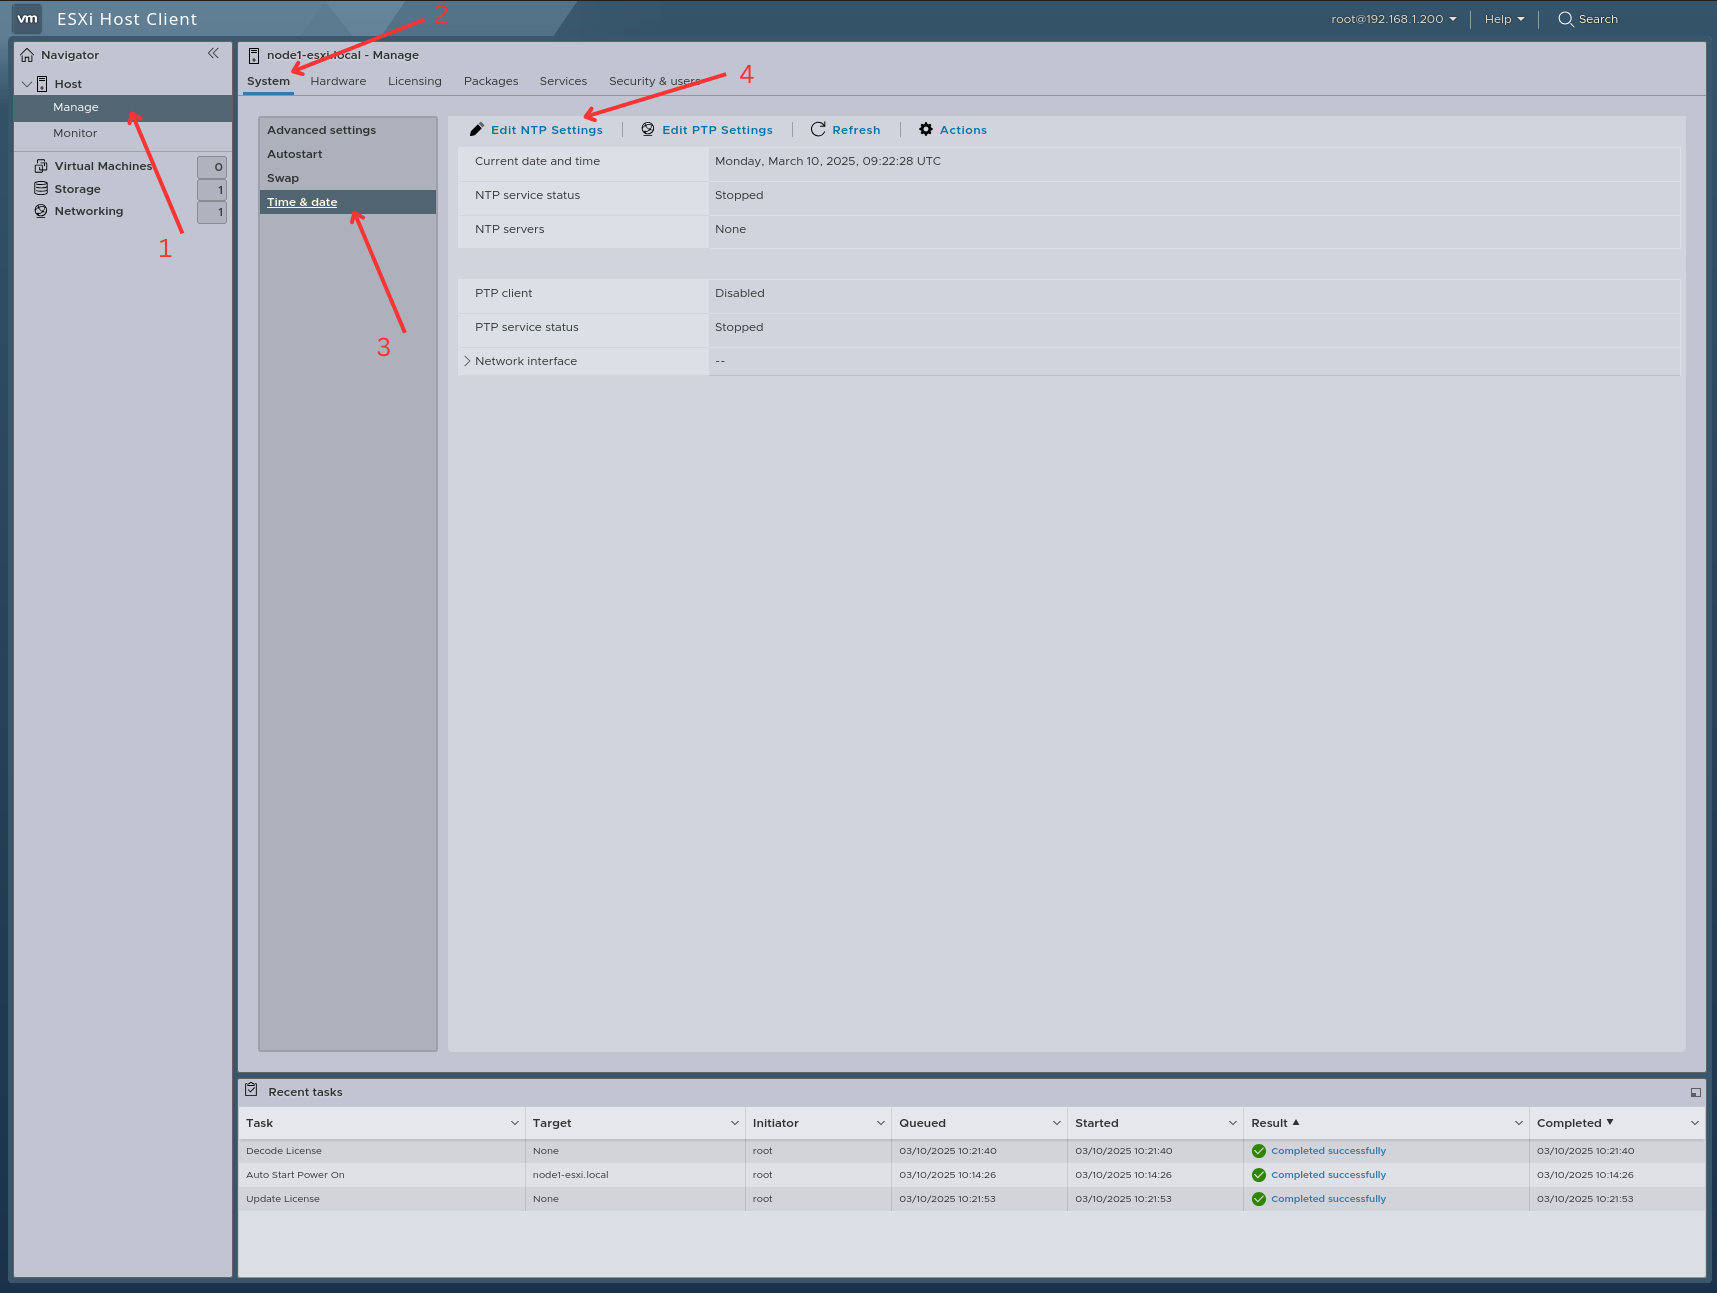
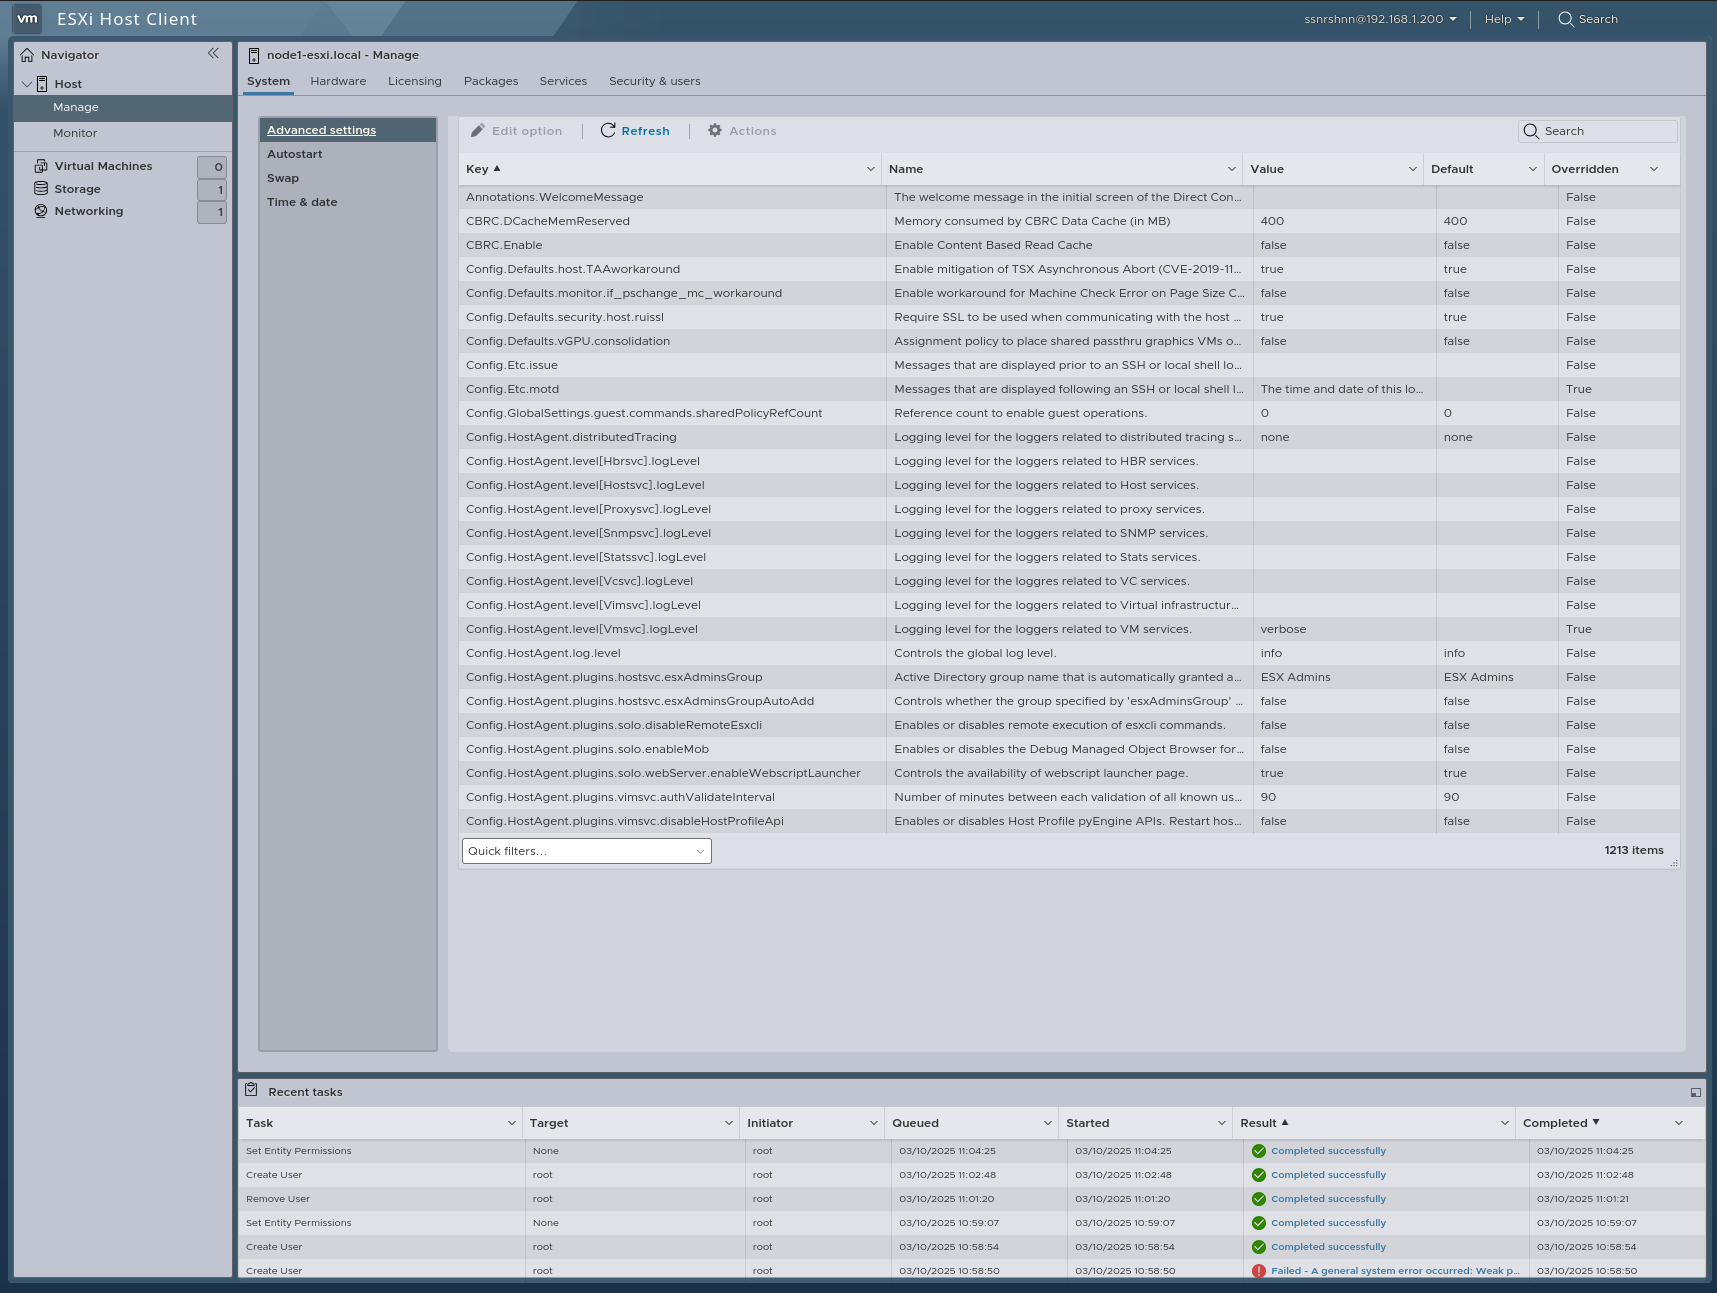
System:
Advanced Settings:
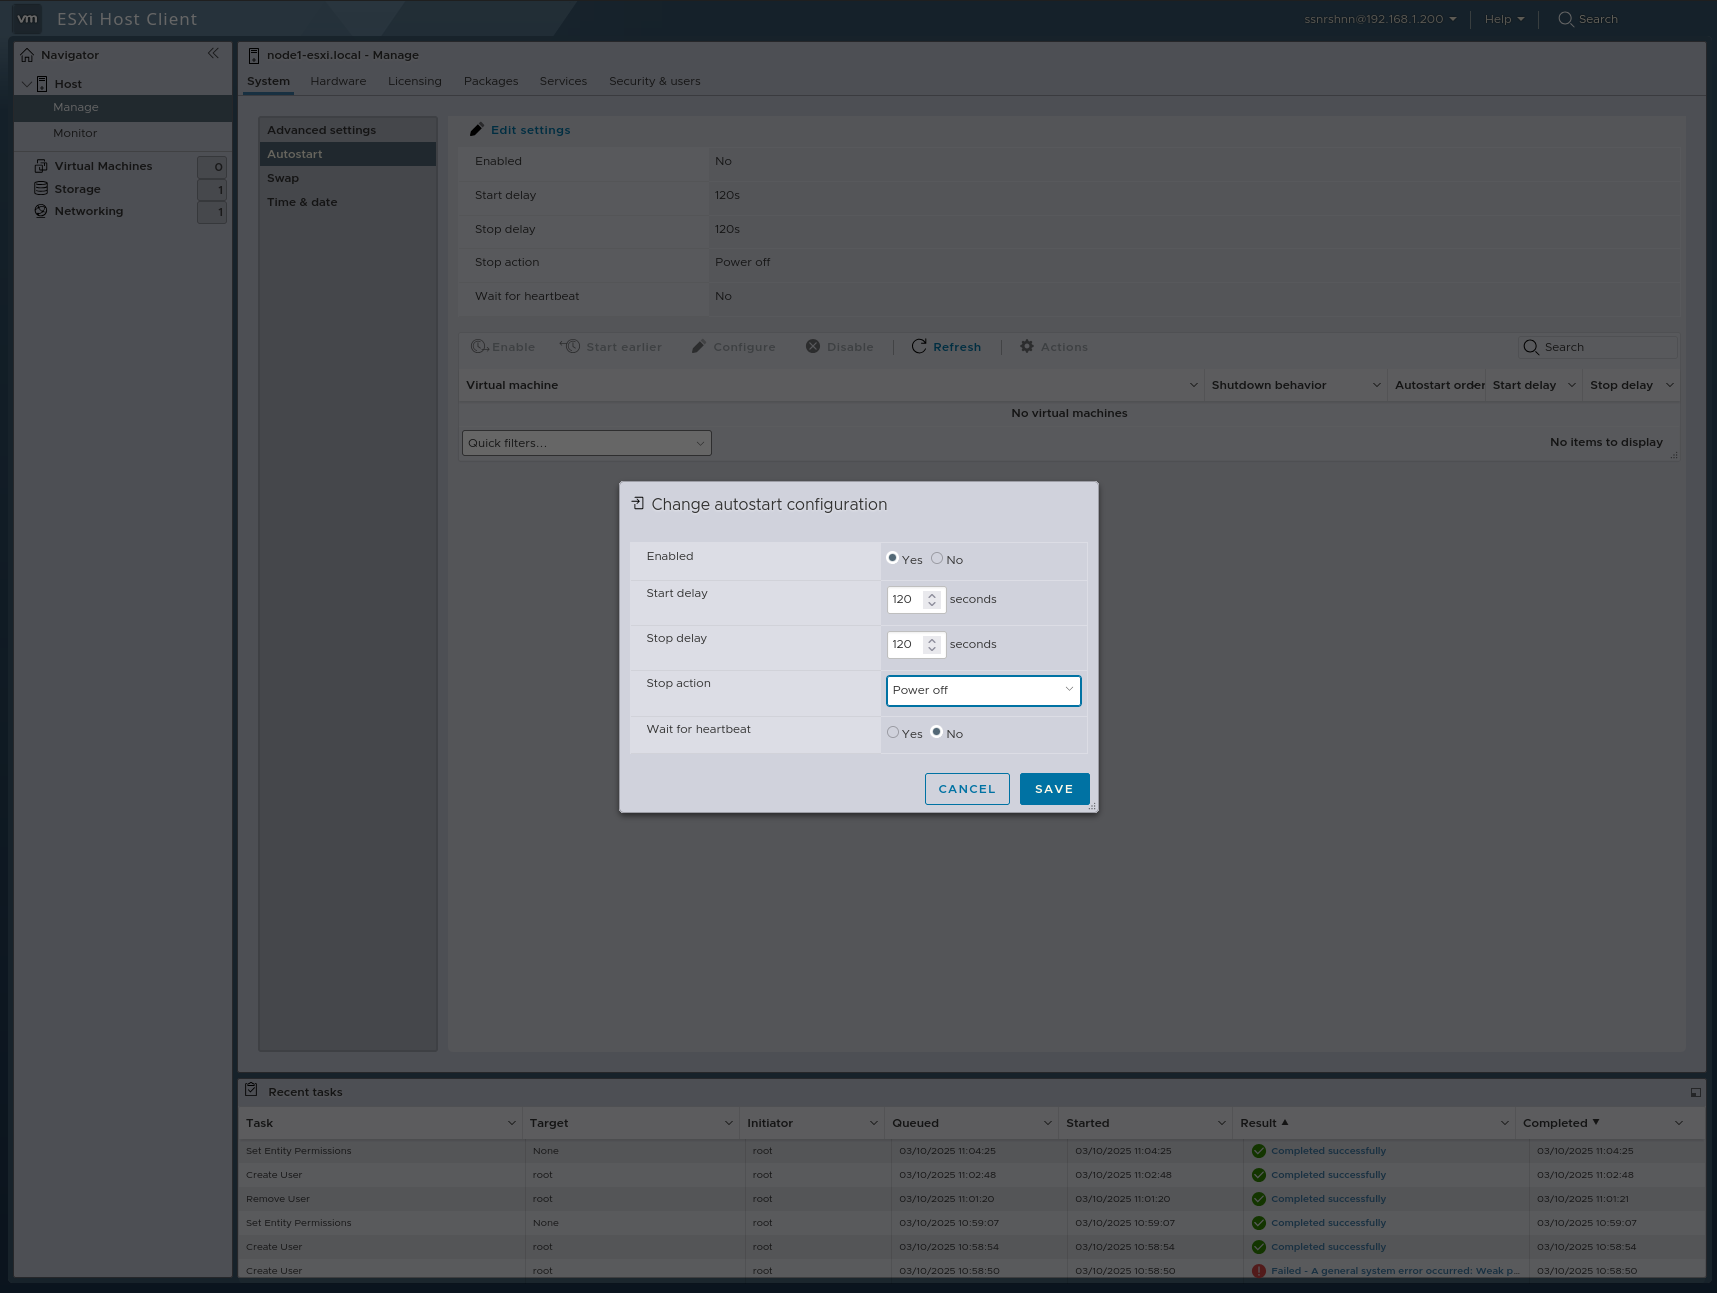
Autostart:
In this section, you can edit Autostart, which allows you to schedule the automatic startup of a virtual machine.

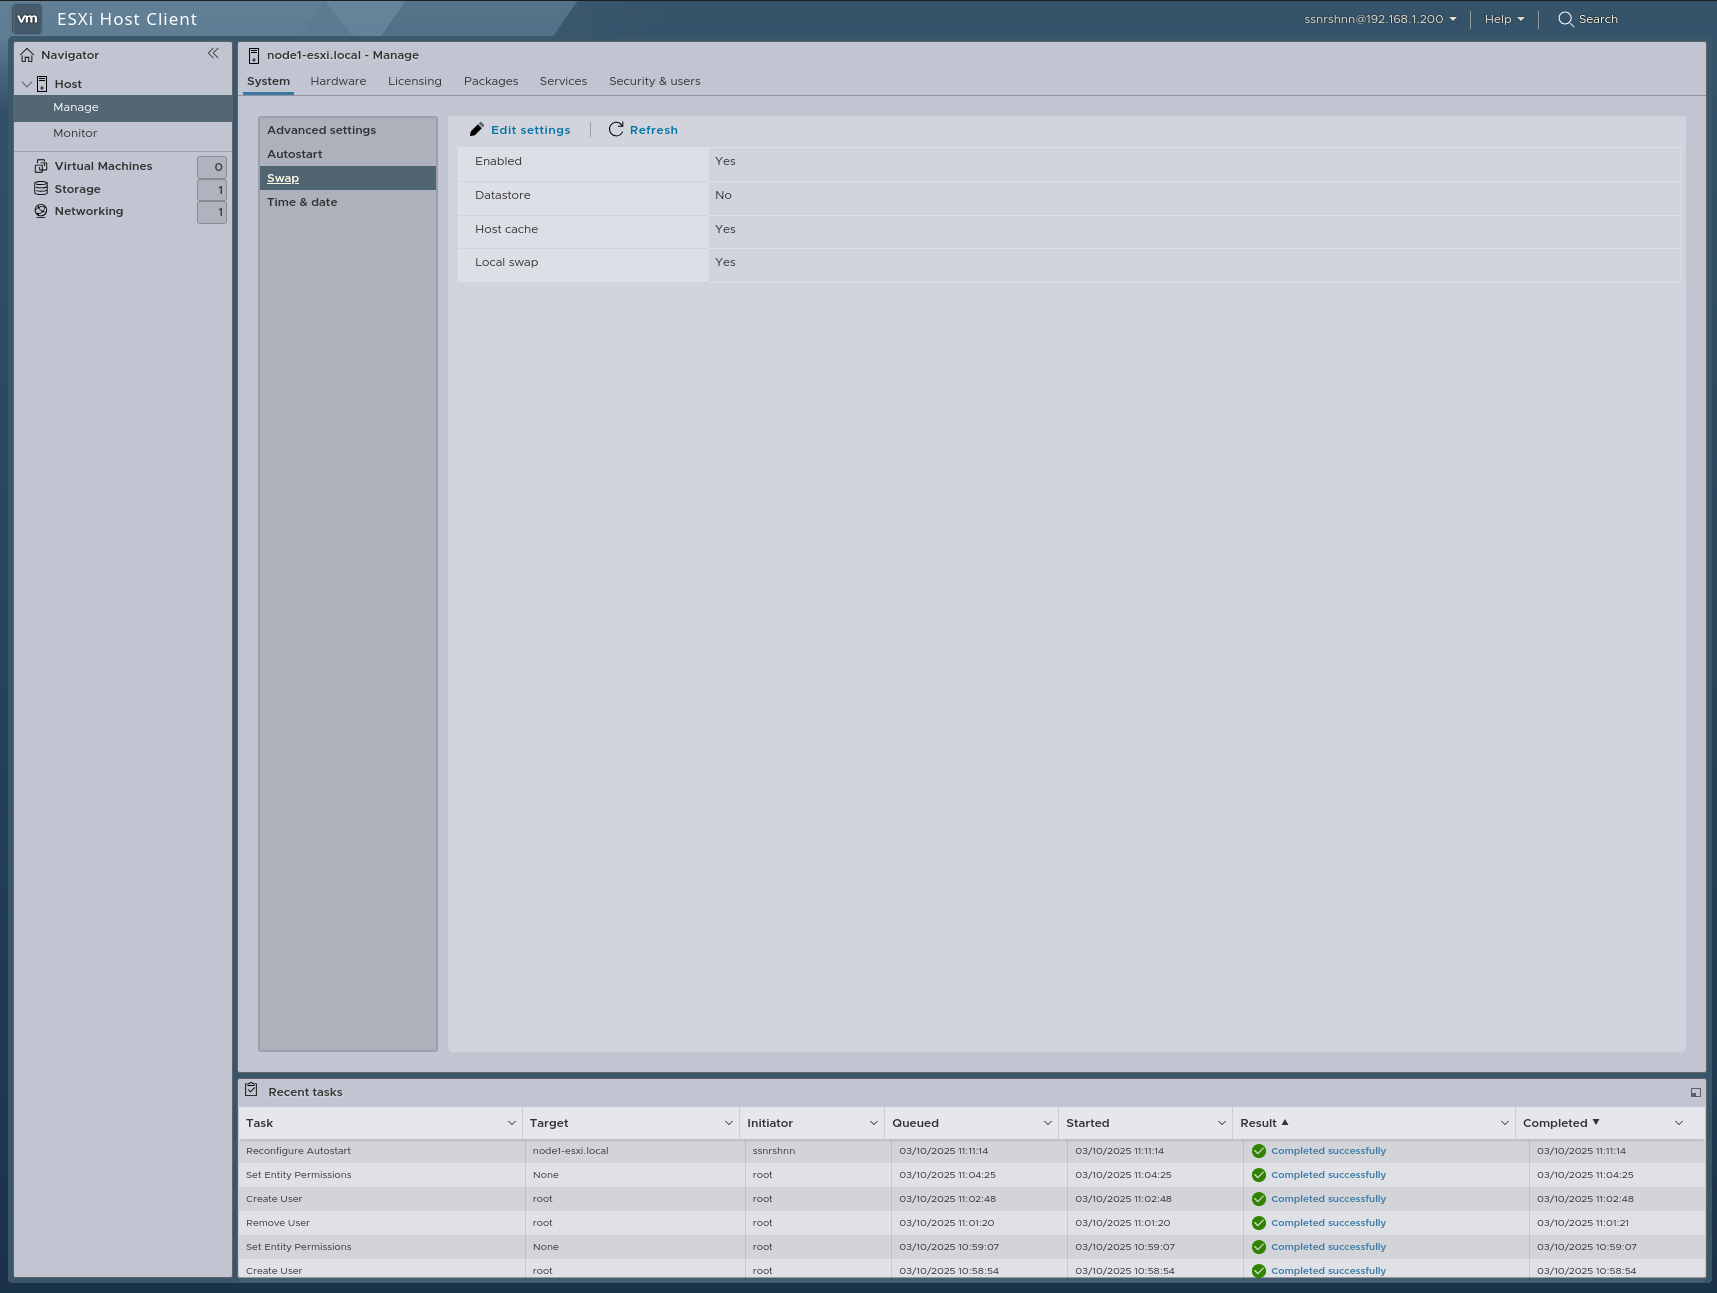
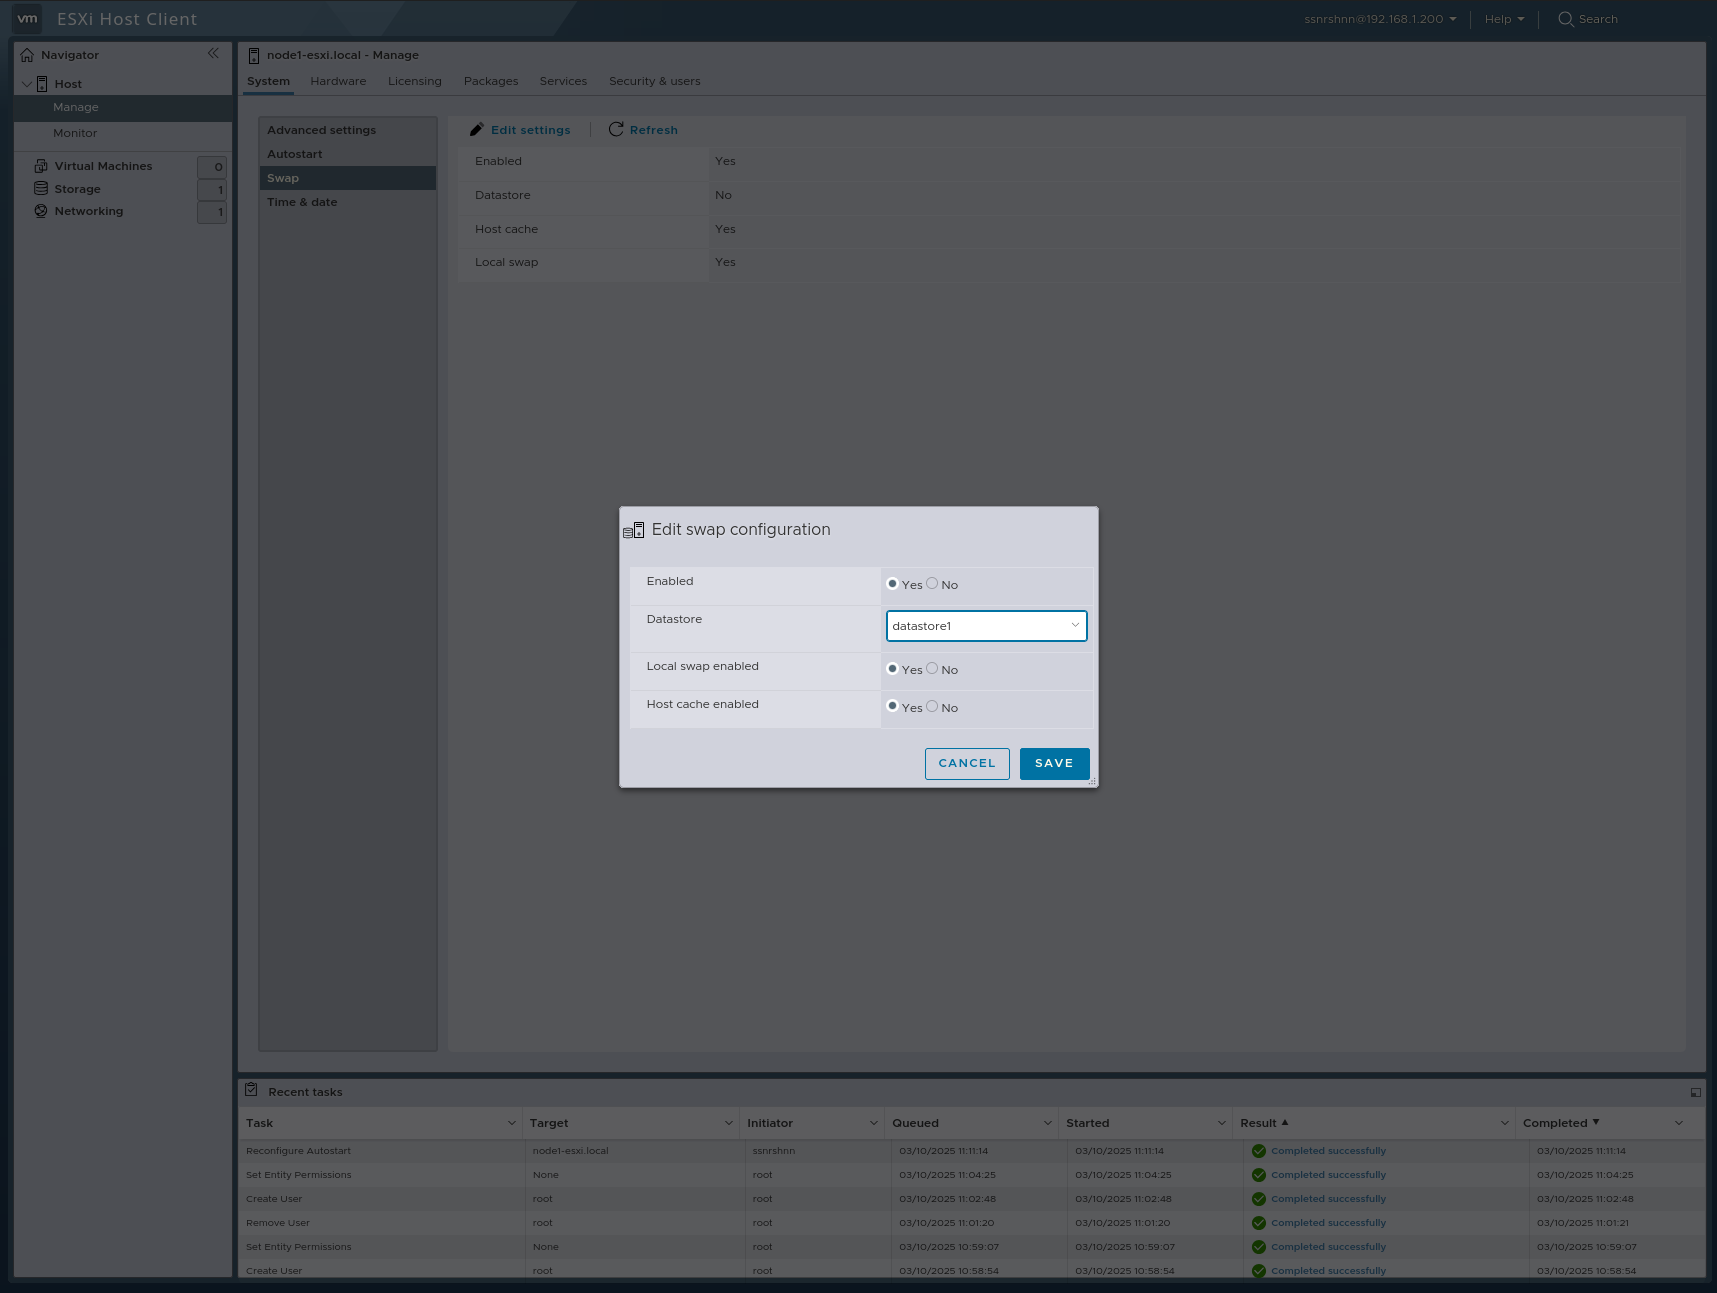
Swap:
In this section, you can edit Swap, which enables the swapping of virtual machine RAM pages to the hard drive.
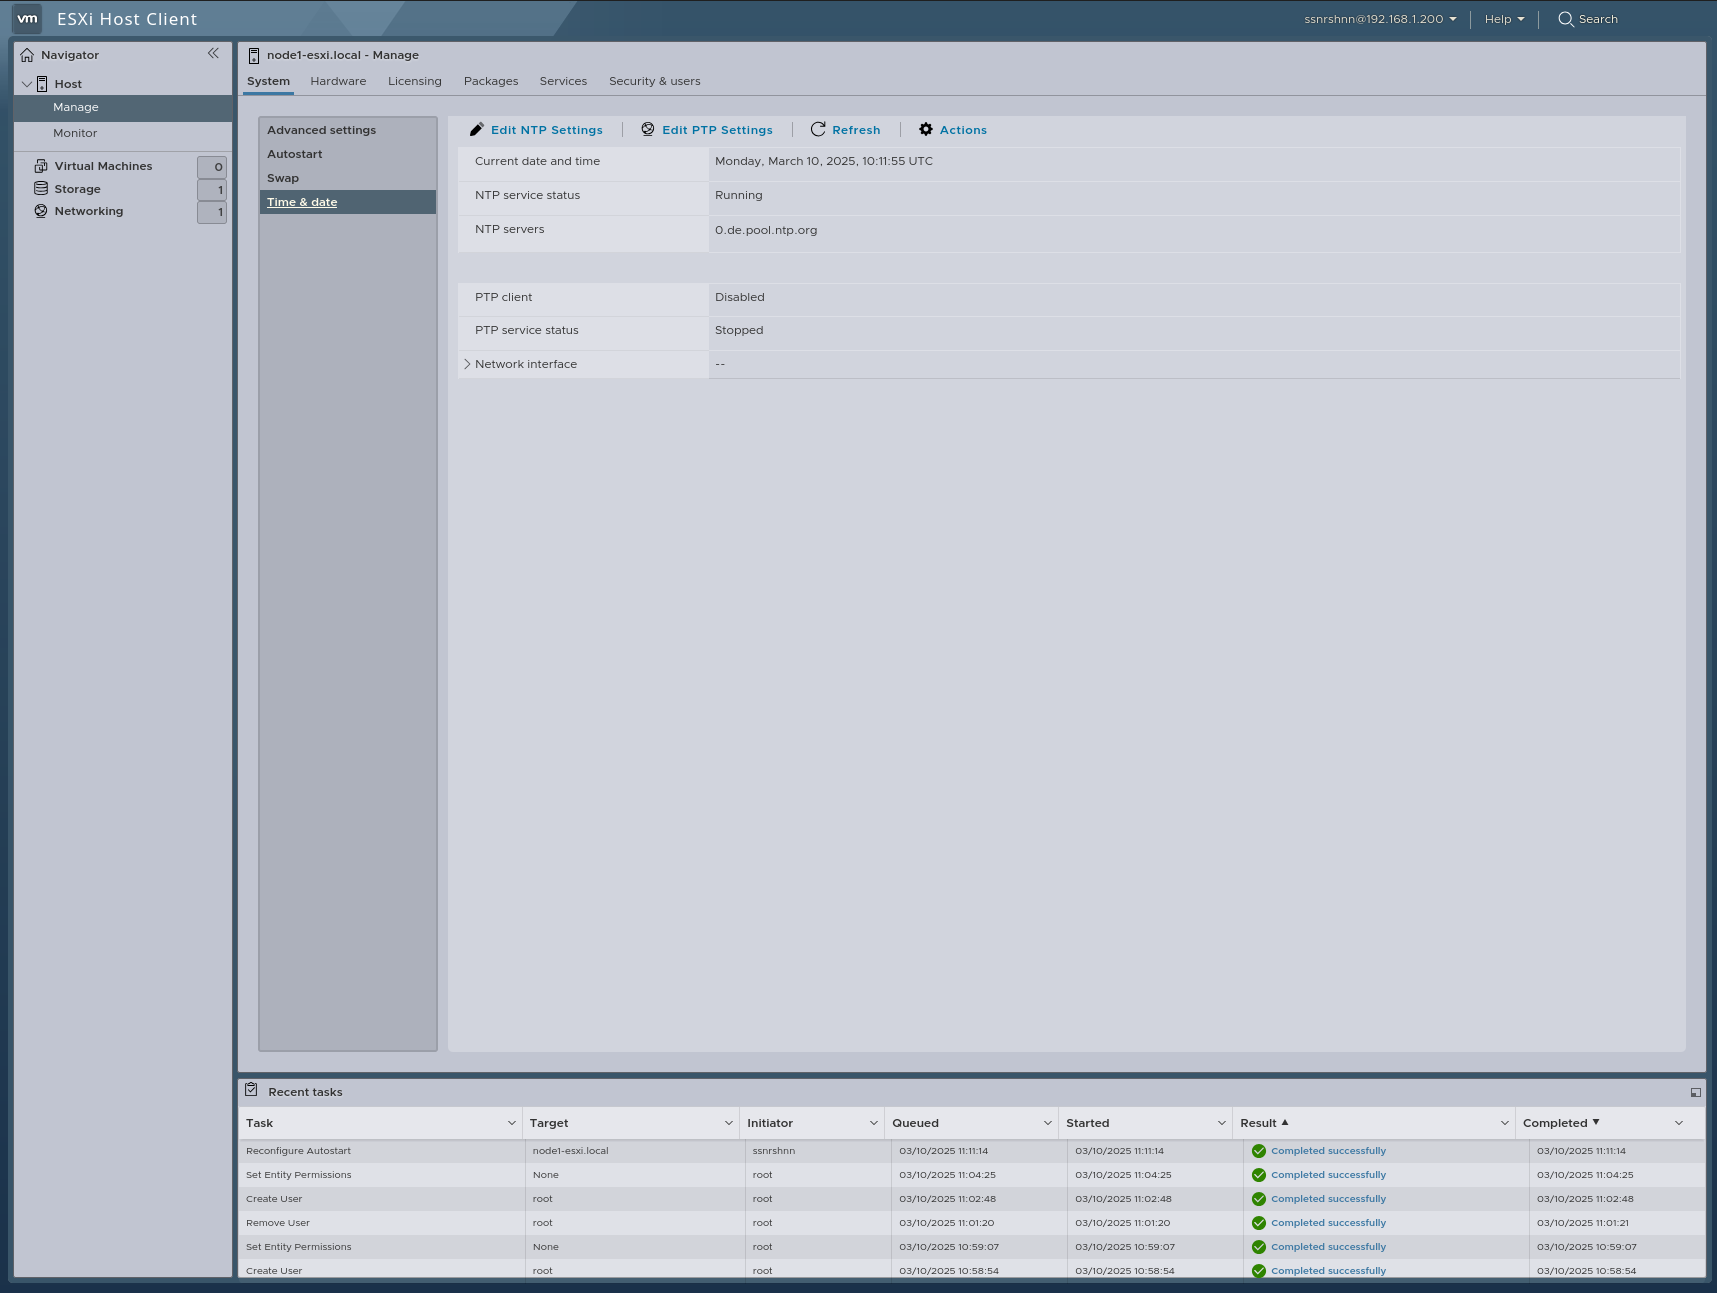
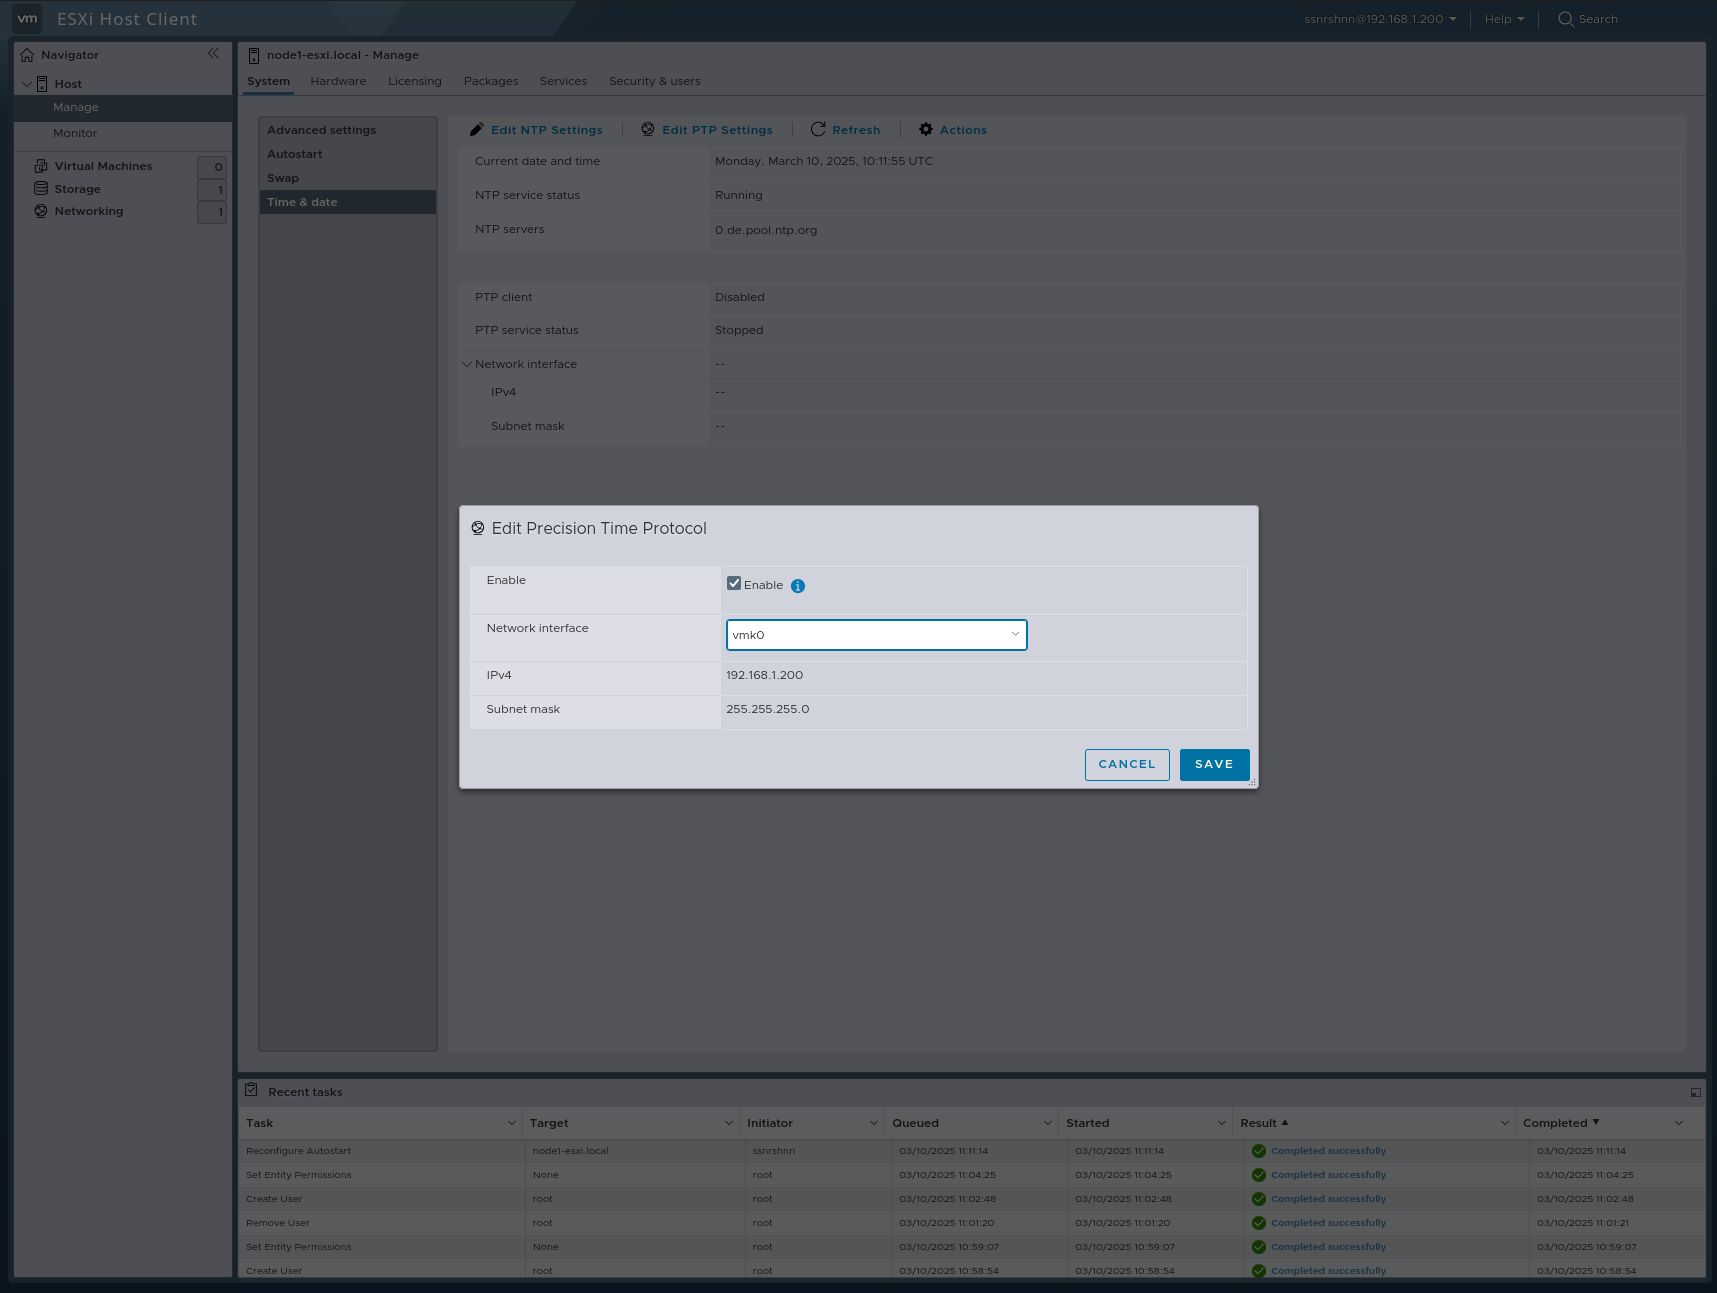
Time & Date:
In this section, we can configure both NTP and PTP services.
Hardware:
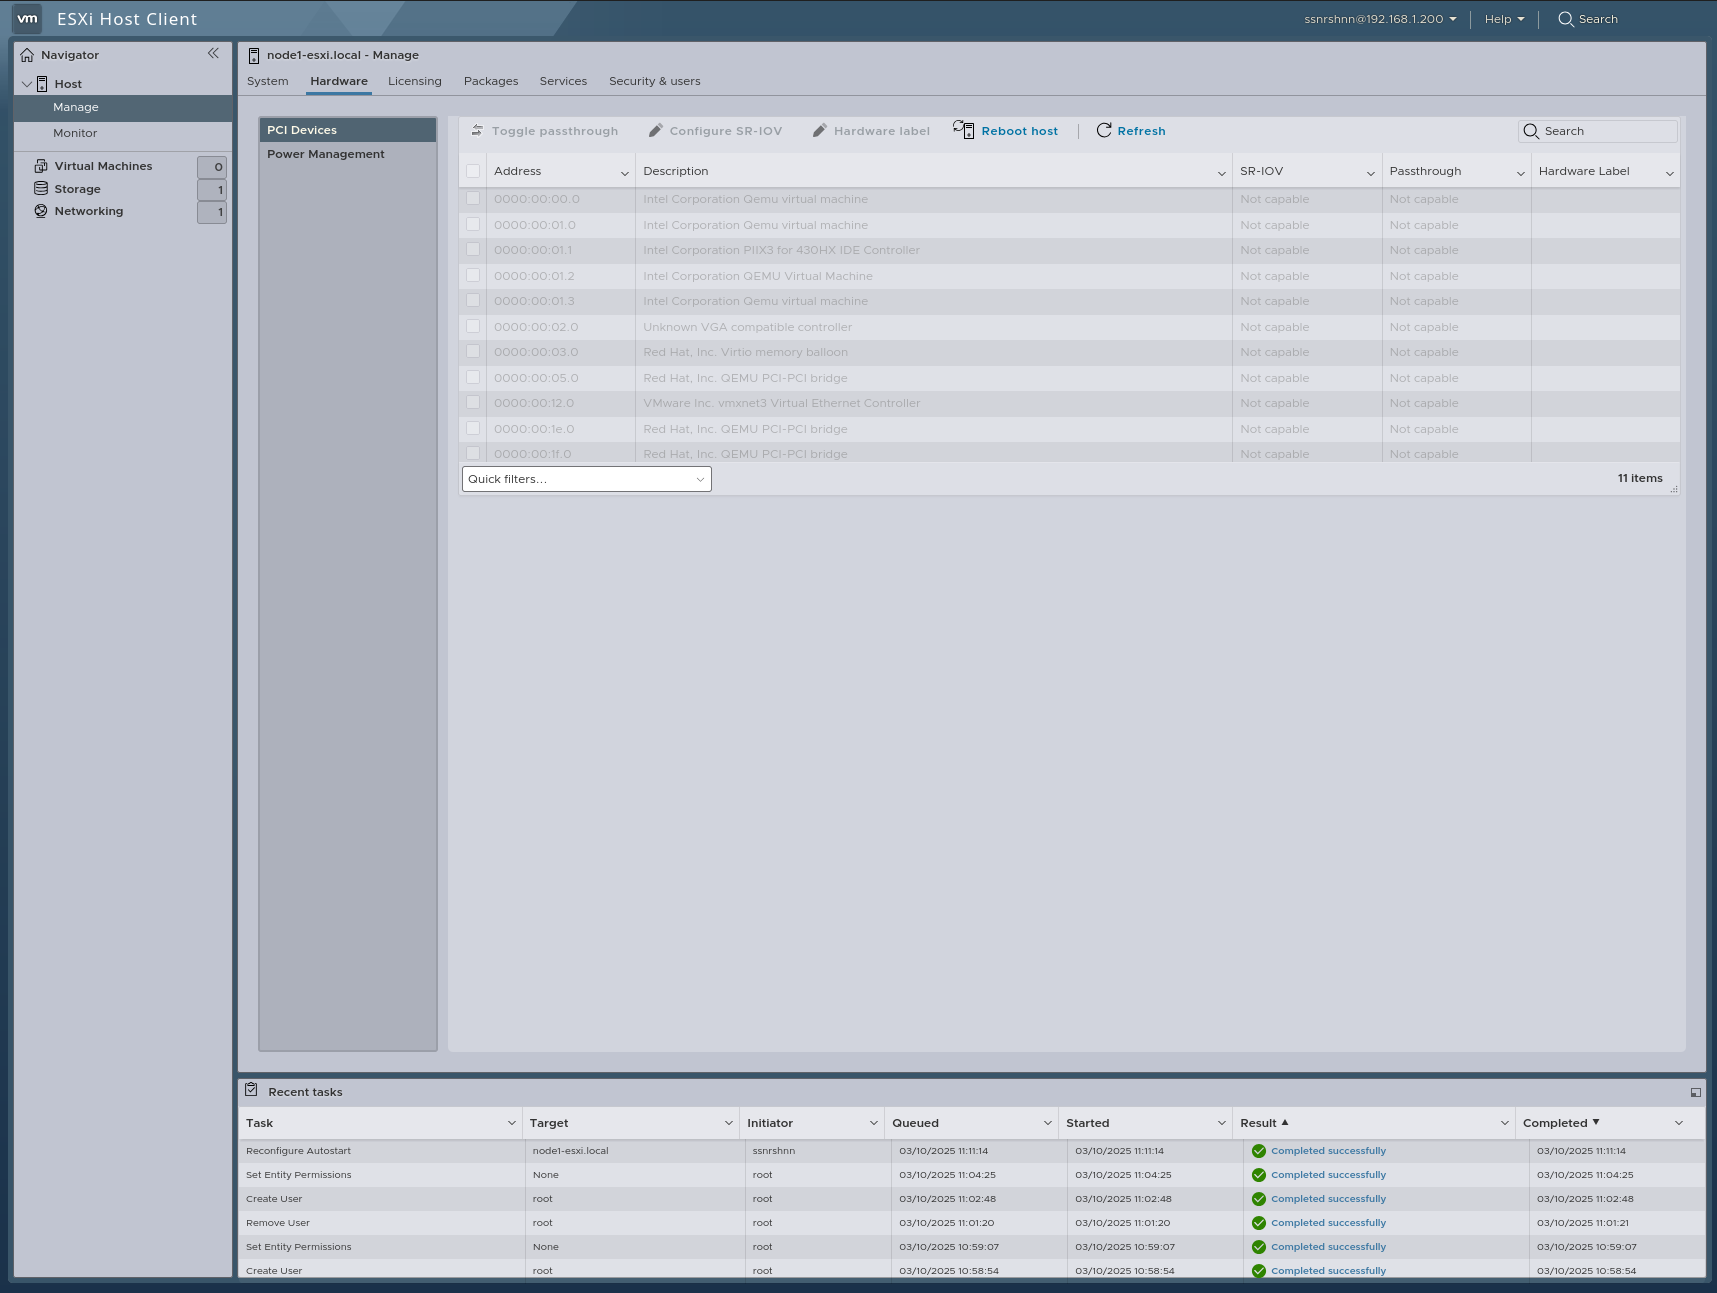
PCI Devices:
In this section, you can view the PCI devices attached to your server.
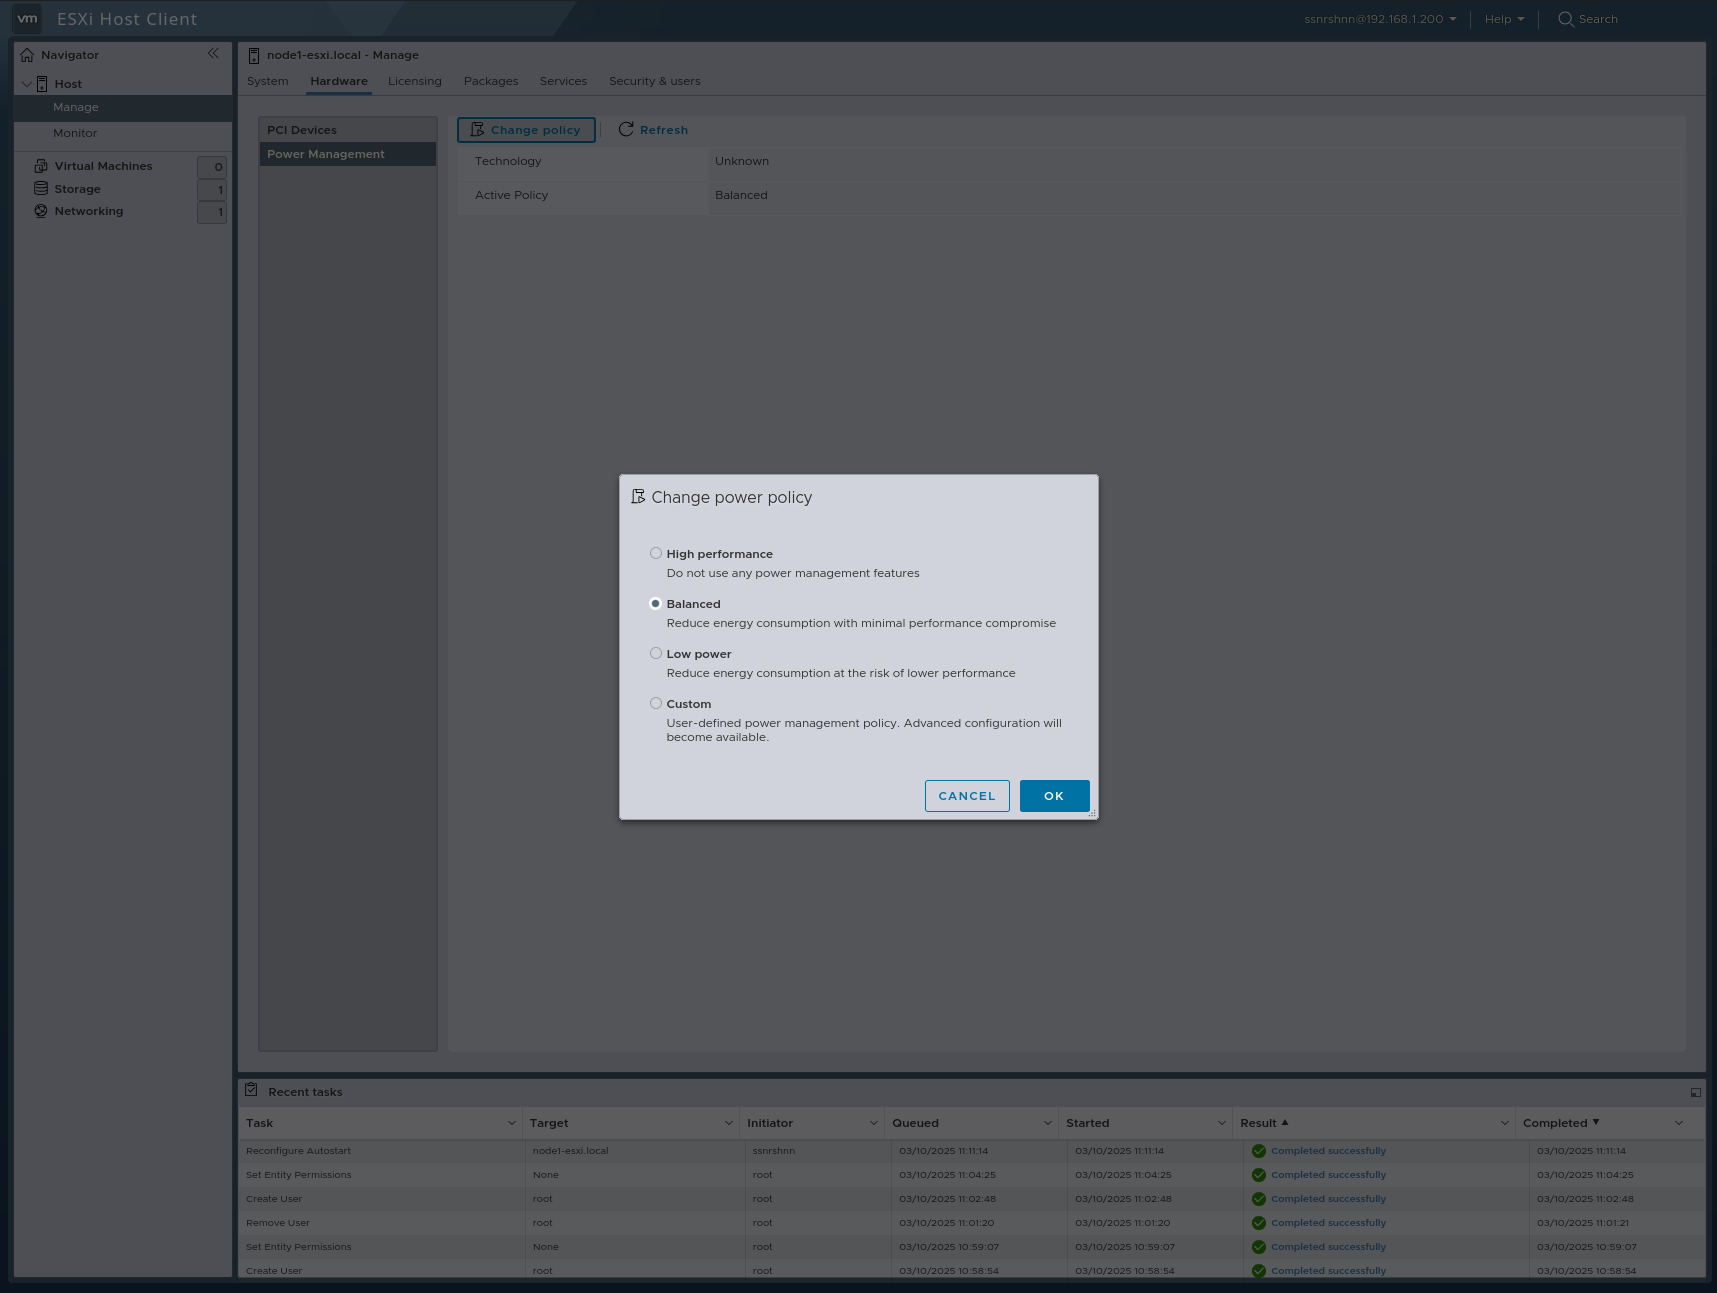
Power Management:
In this section, we configure the Power Policy of our node.
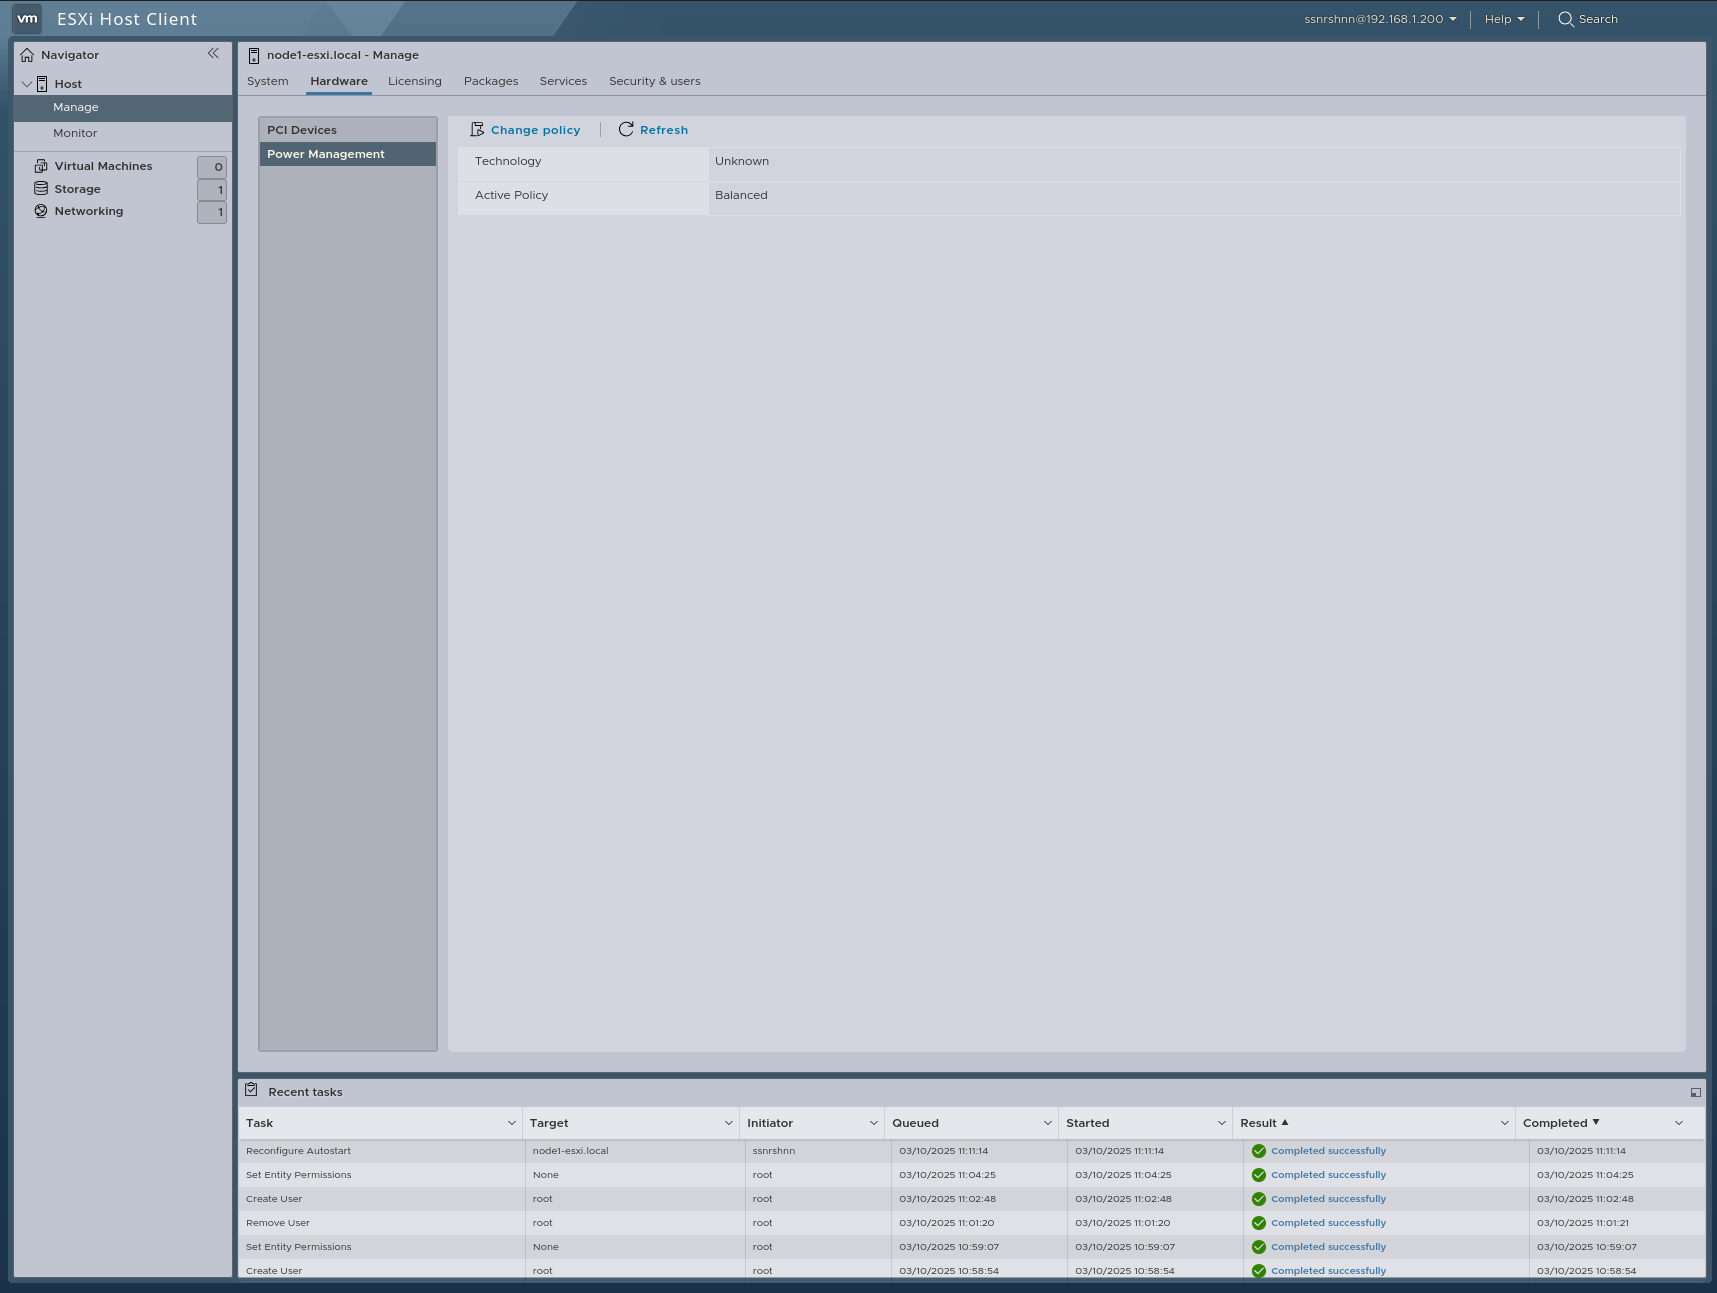
You can select one of them according to your needs. Keep in mind that this is a corporate server.
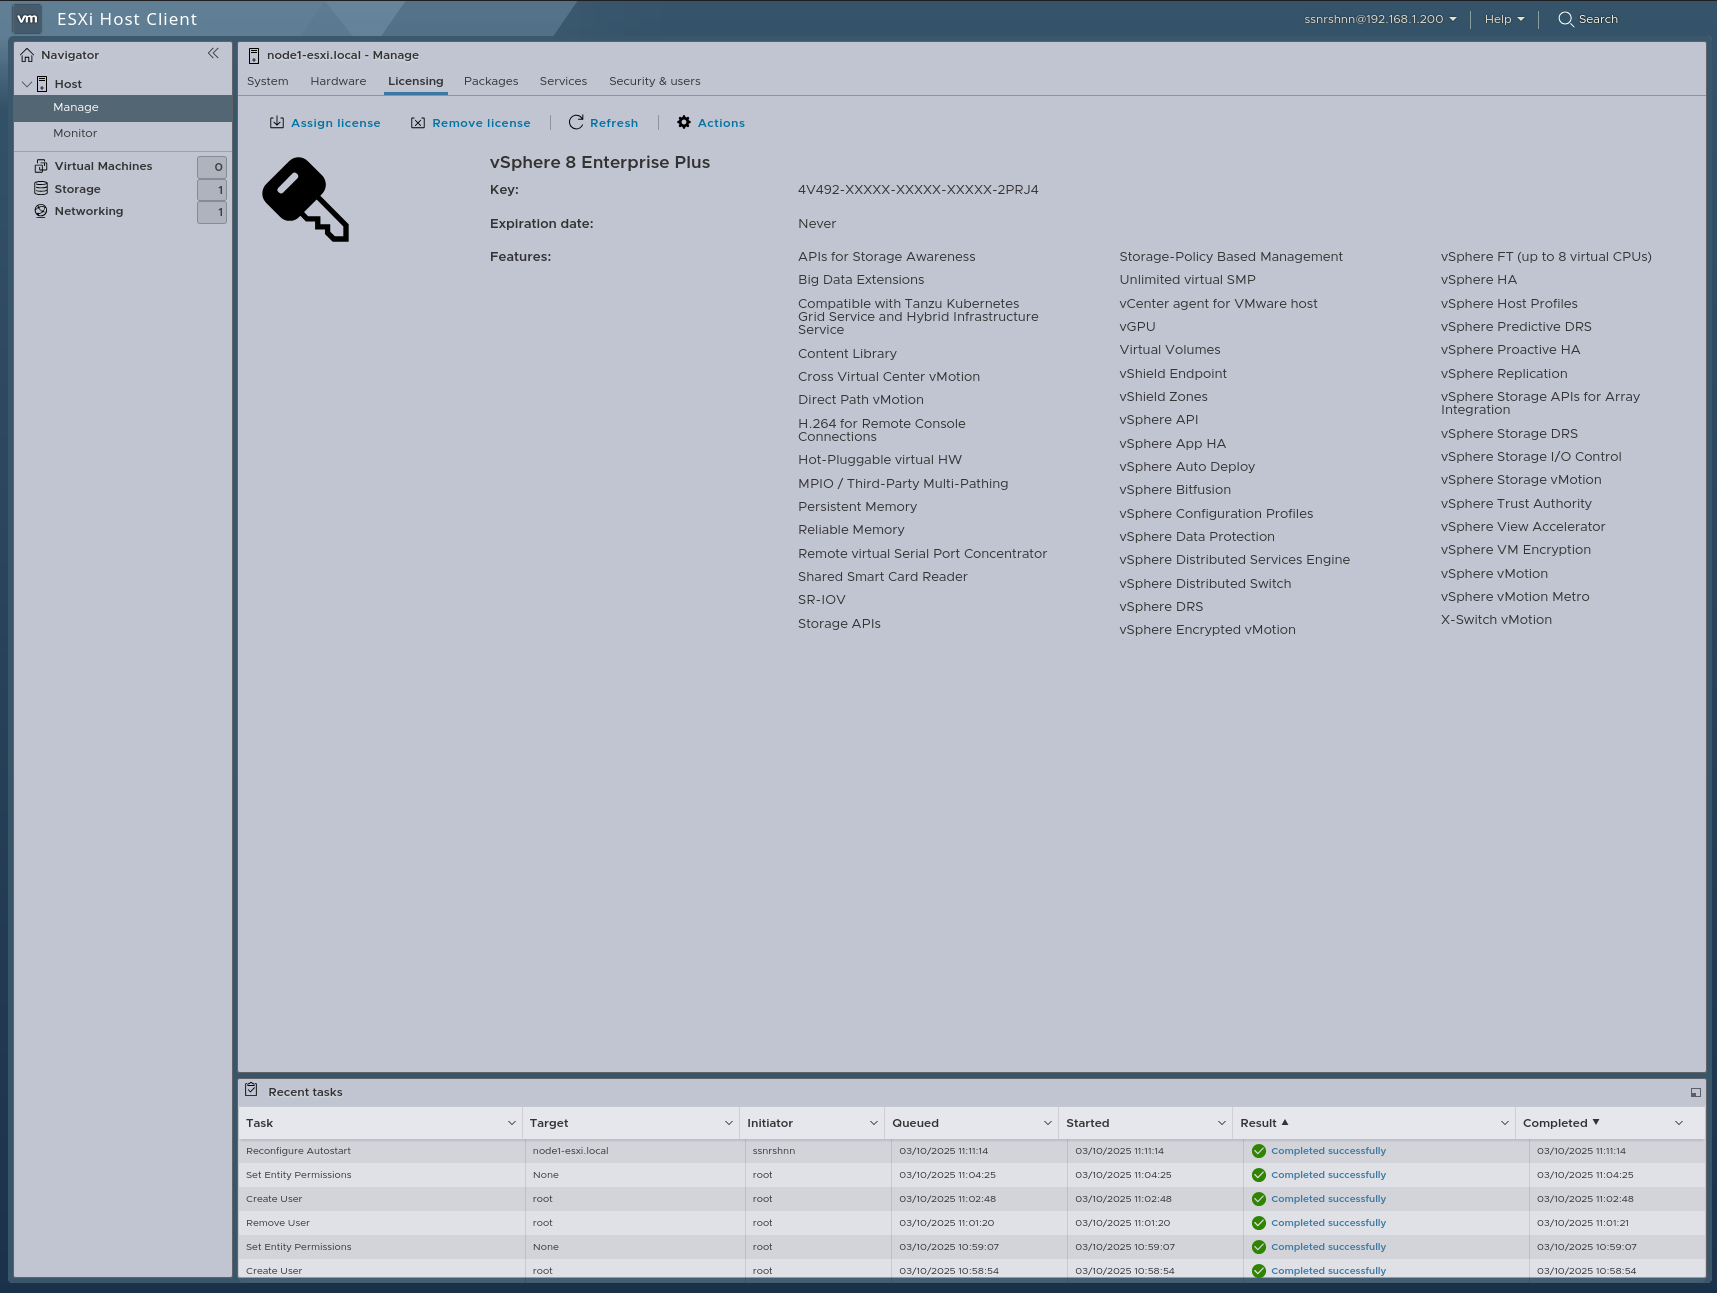
Licensing:
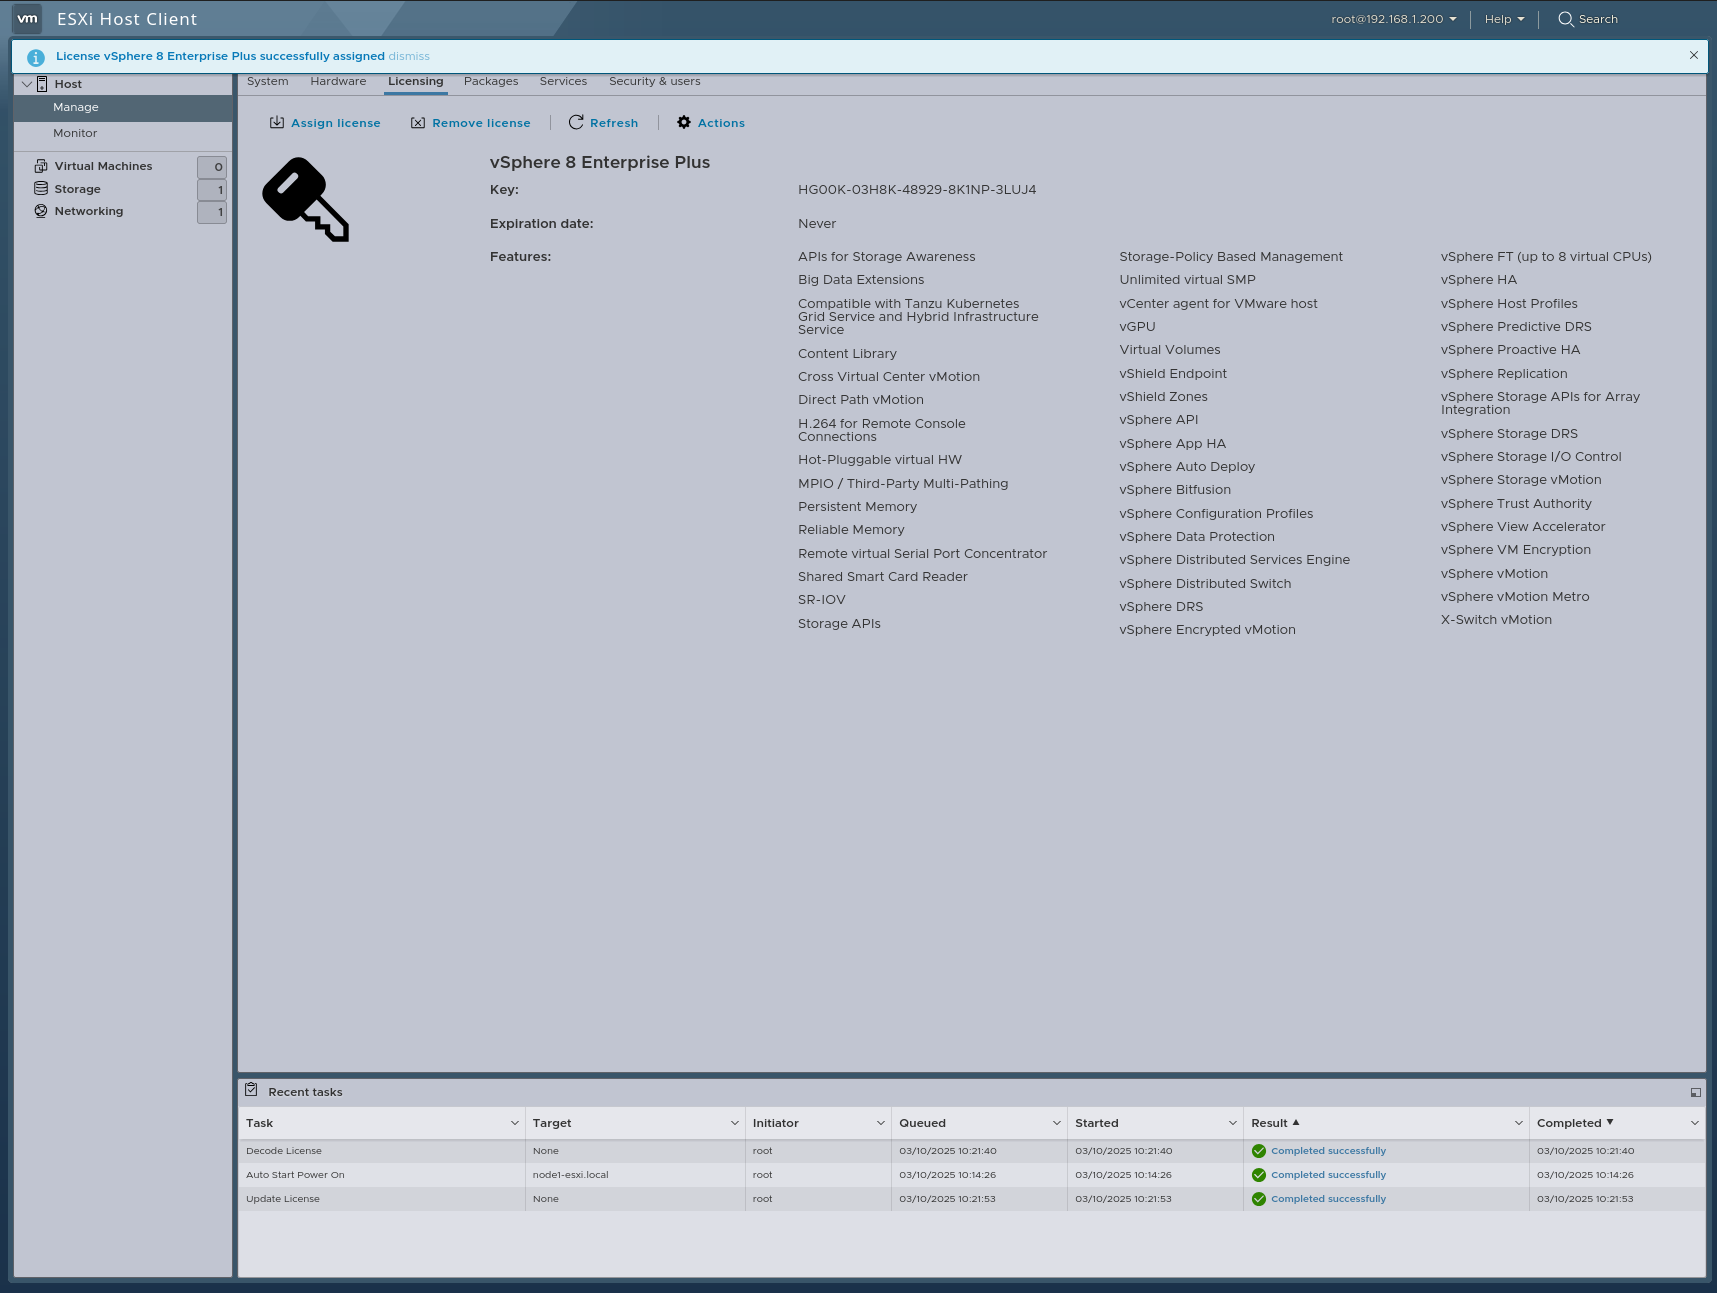
In this section, we can assign or remove licenses. You will also be able to see the license key, key expiration date, and the features that come with your license.
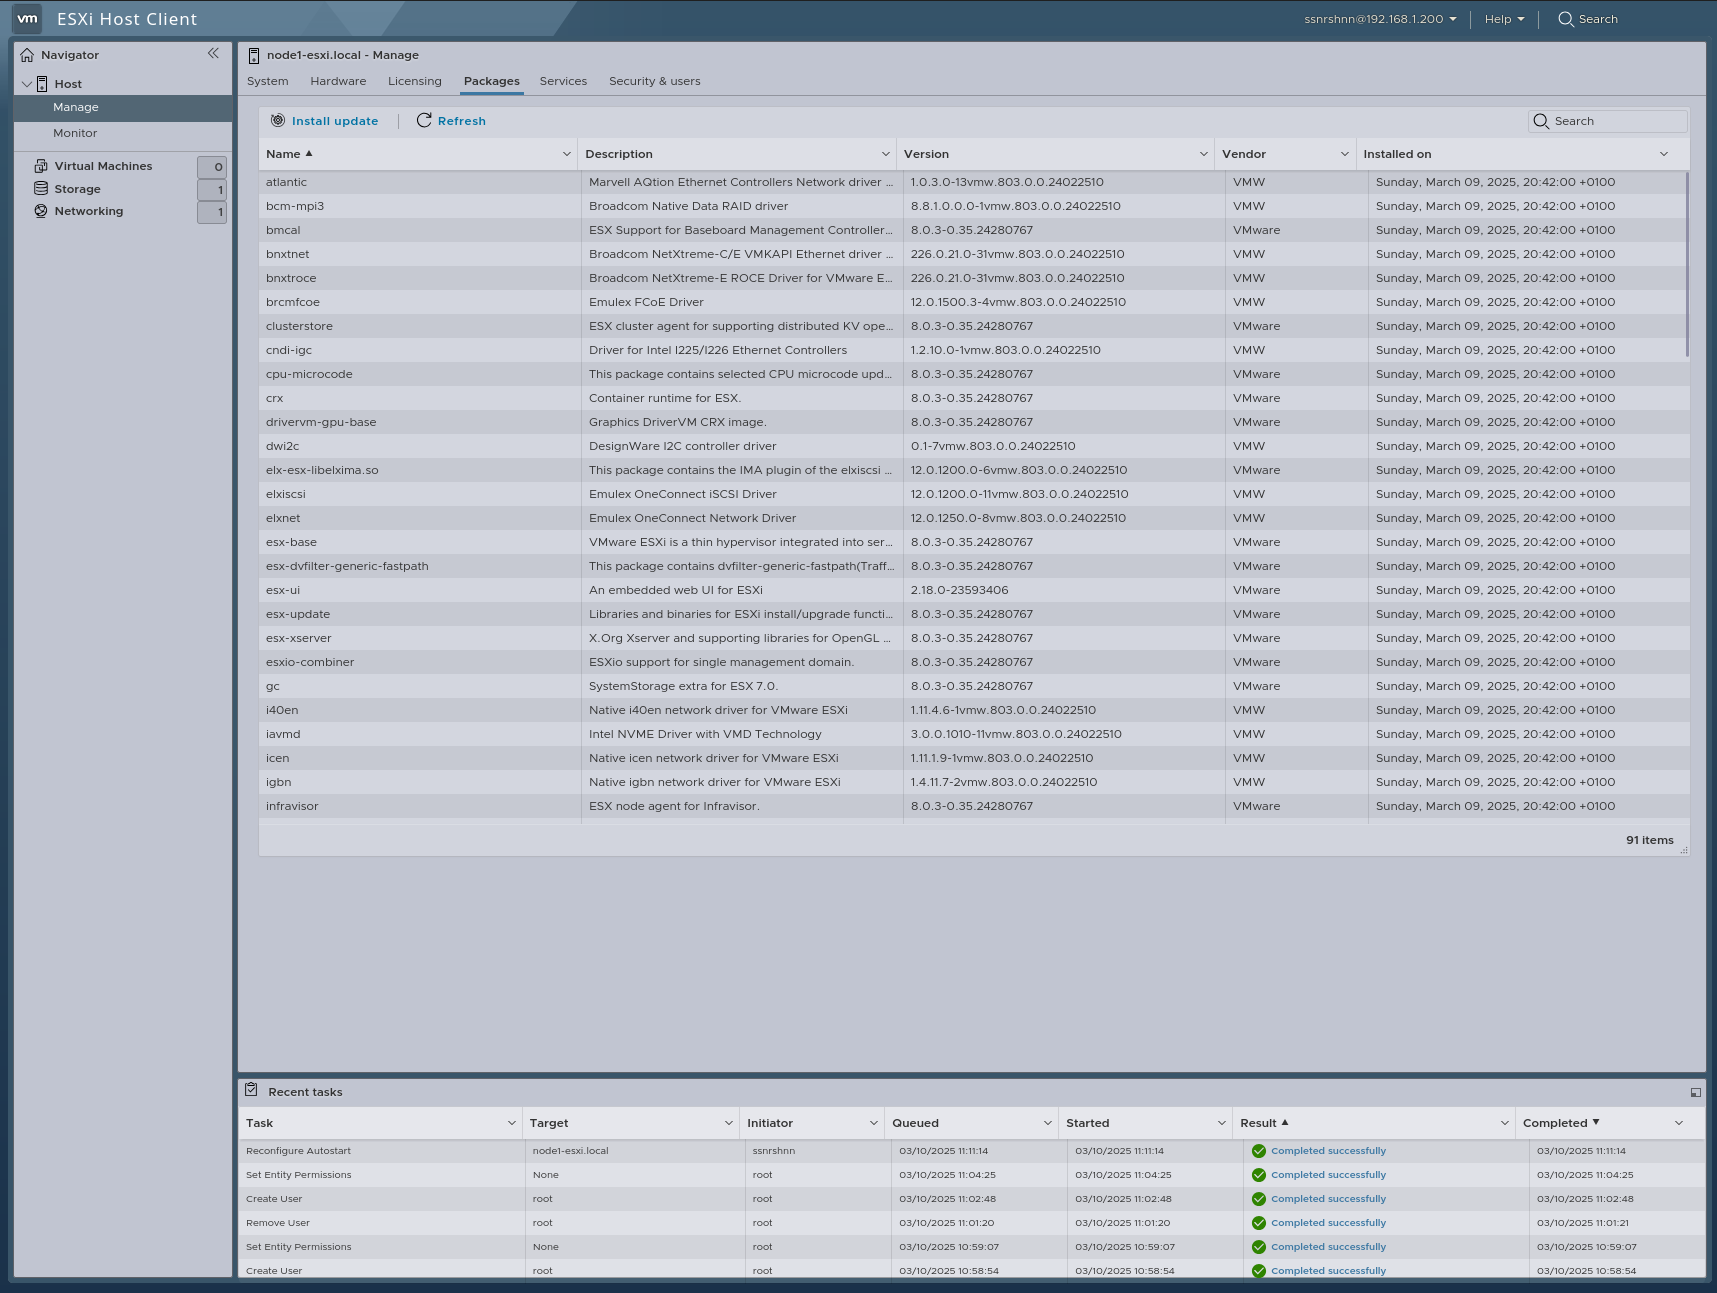
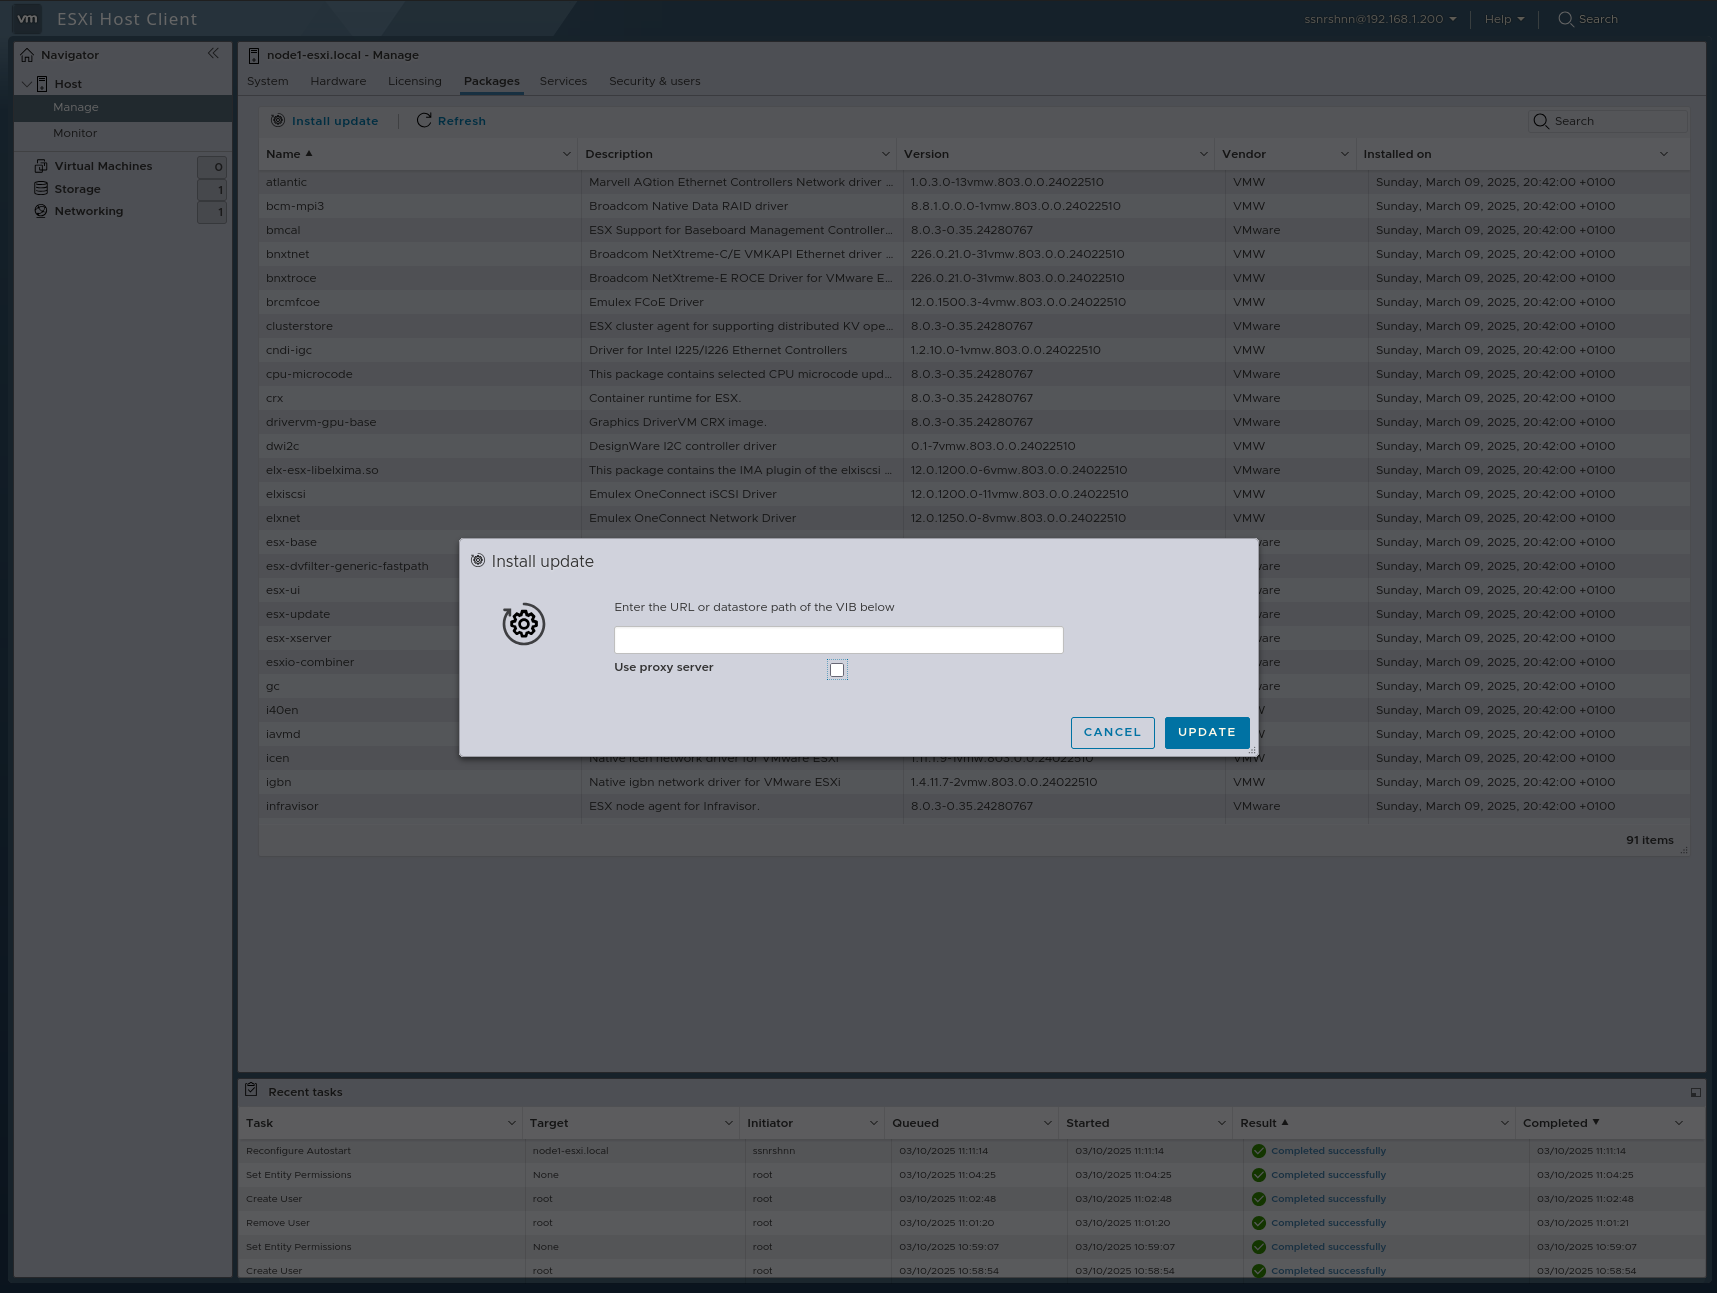
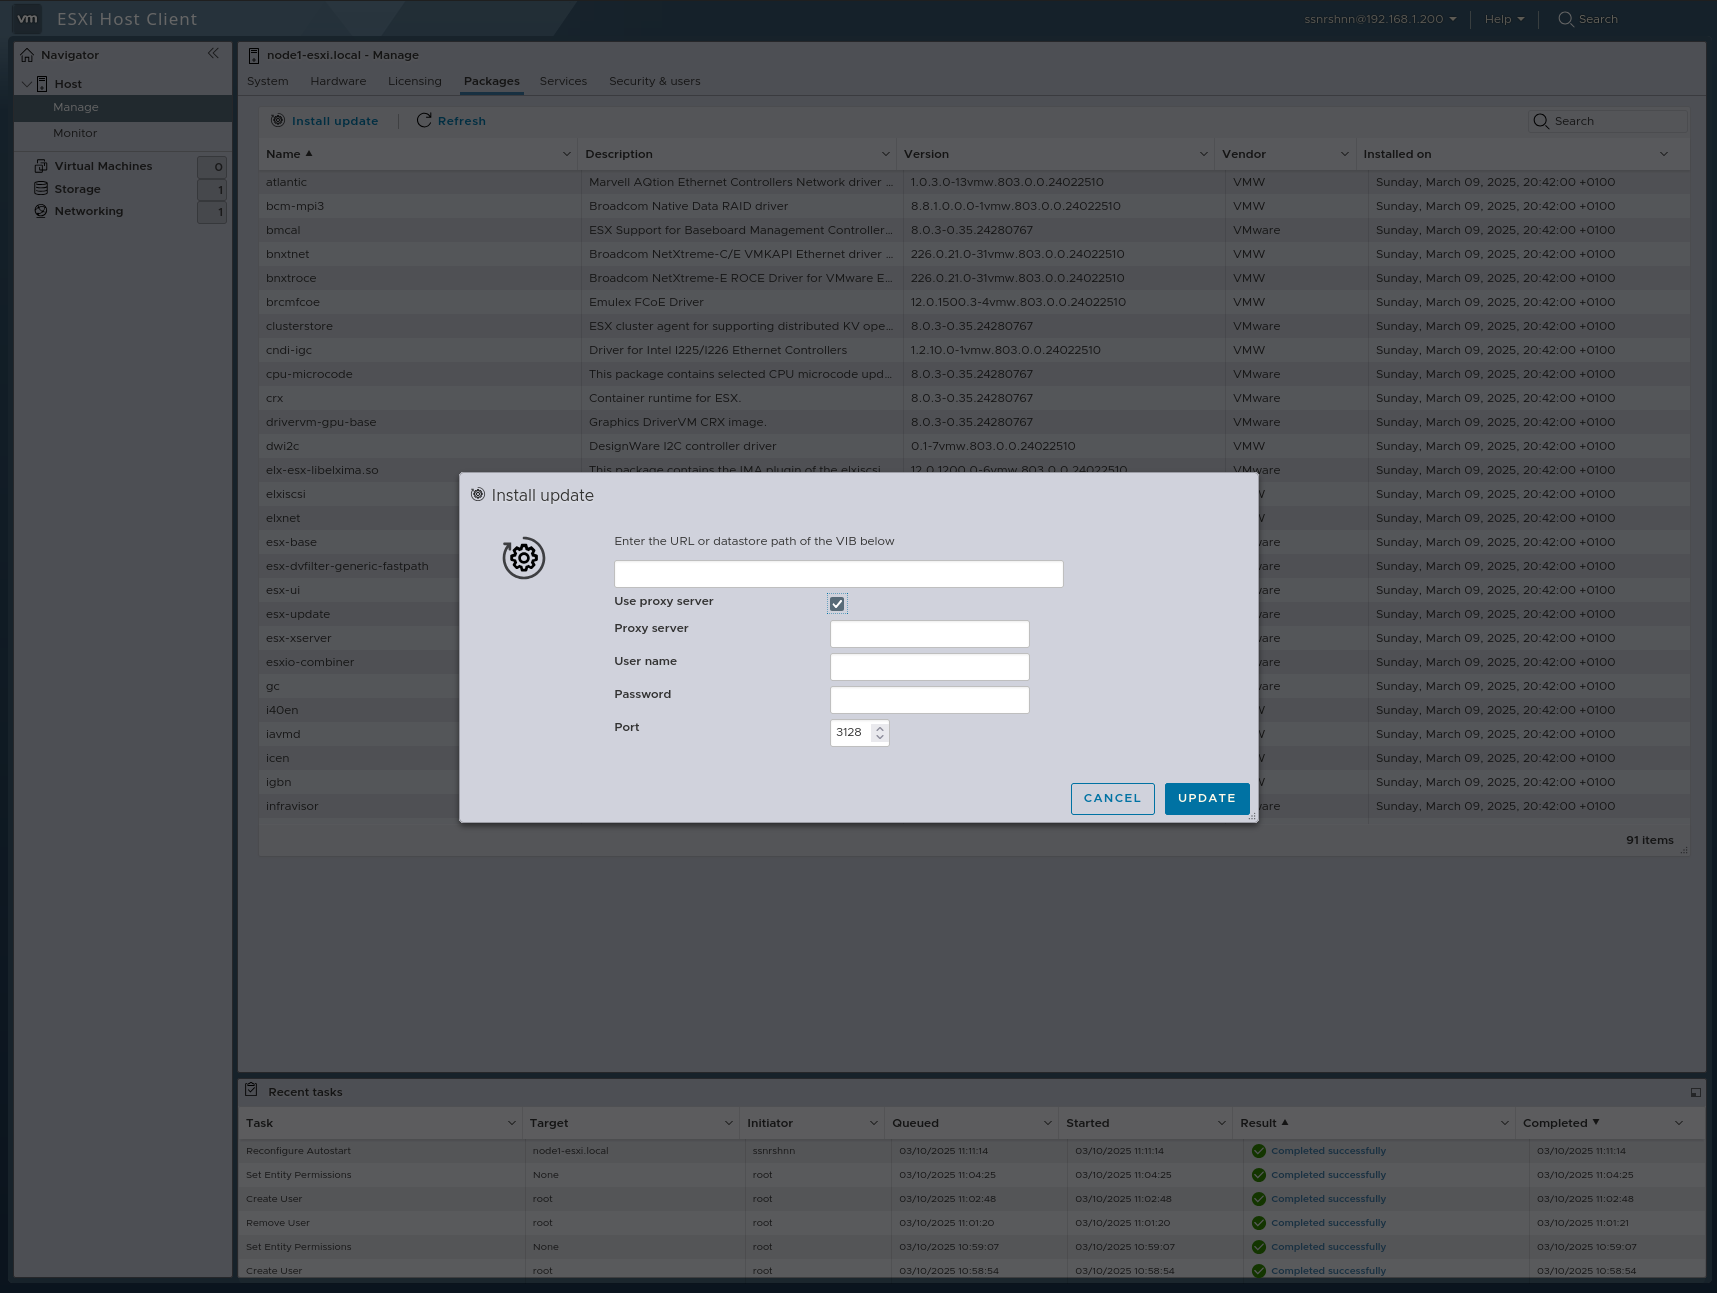
Packages:
In this section, we can view update packages and install updates.
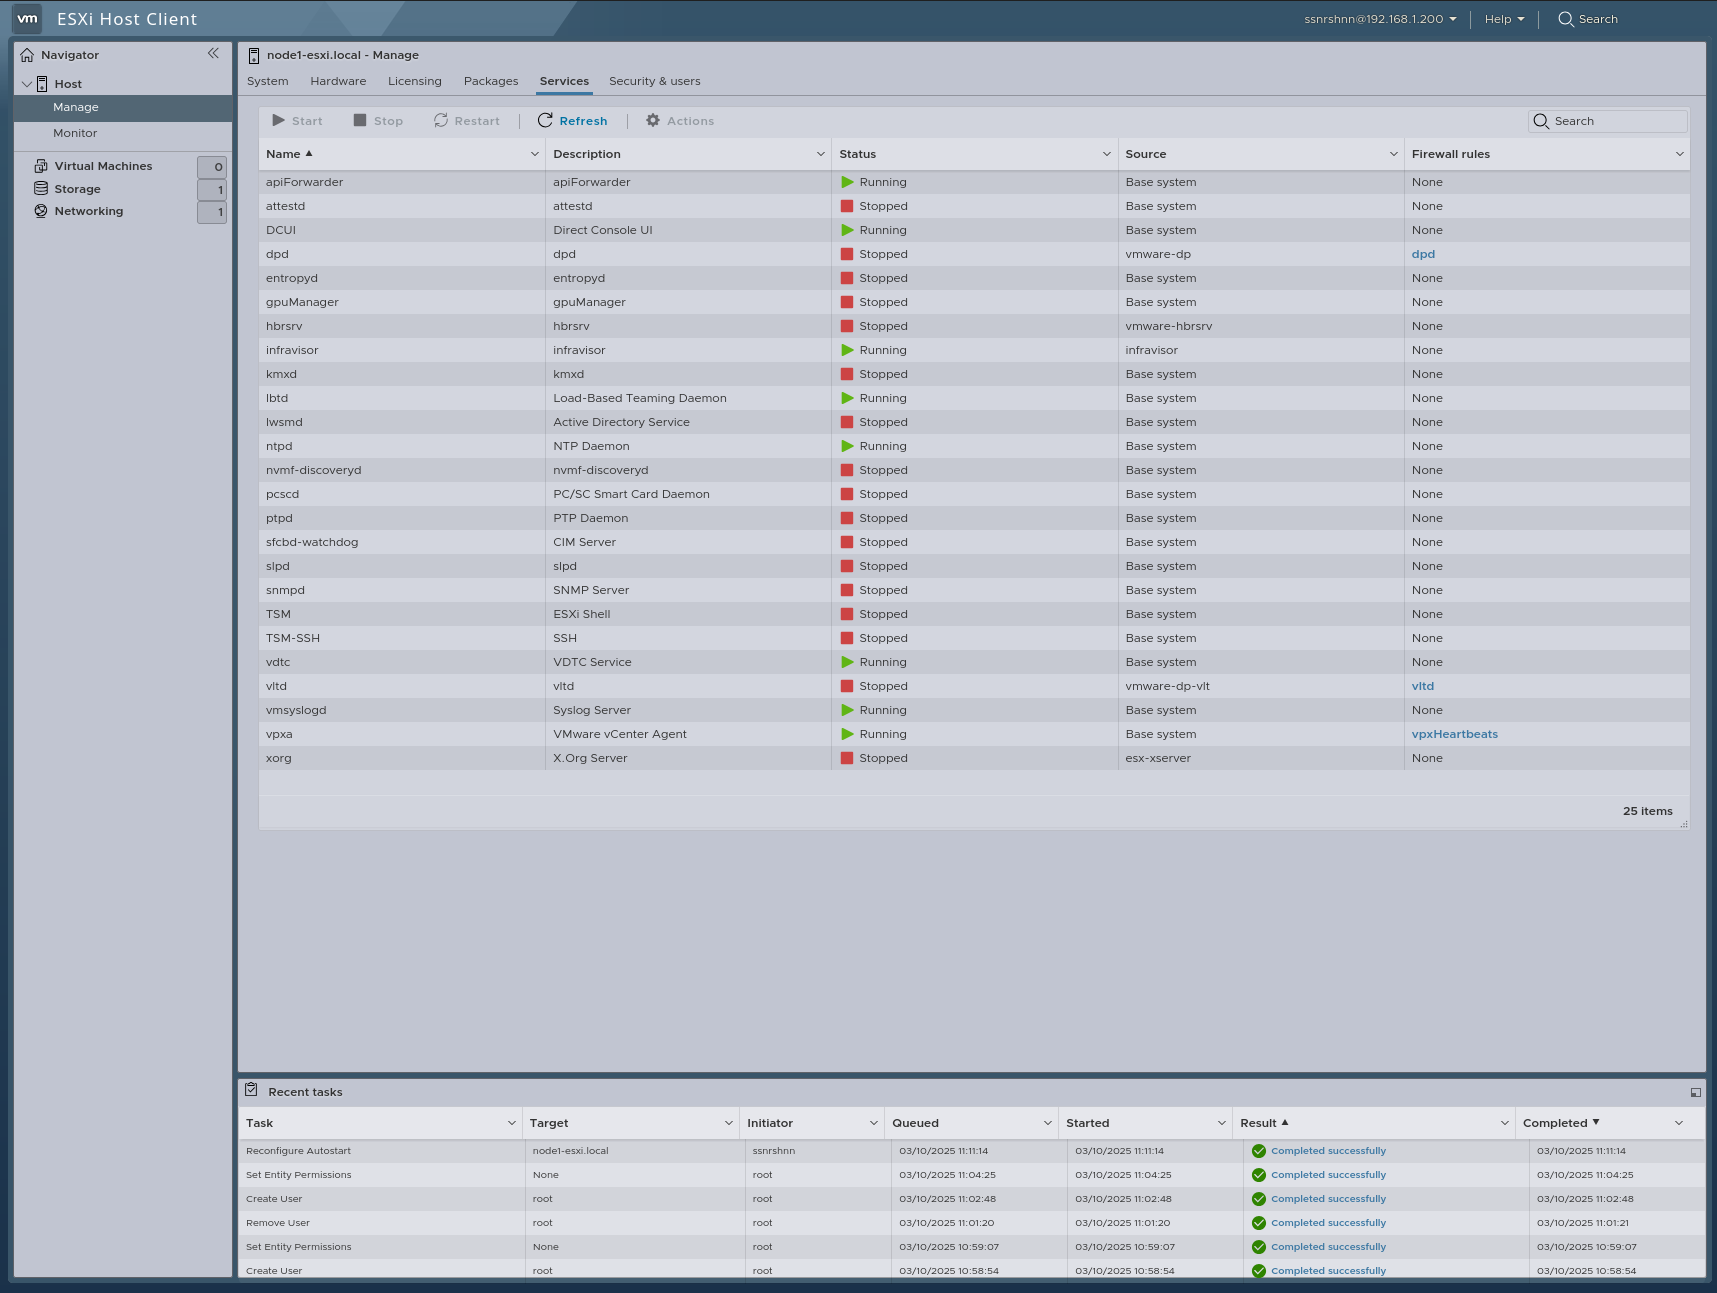
Services:
In this section, we can view, start, stop, and restart ESXi services.
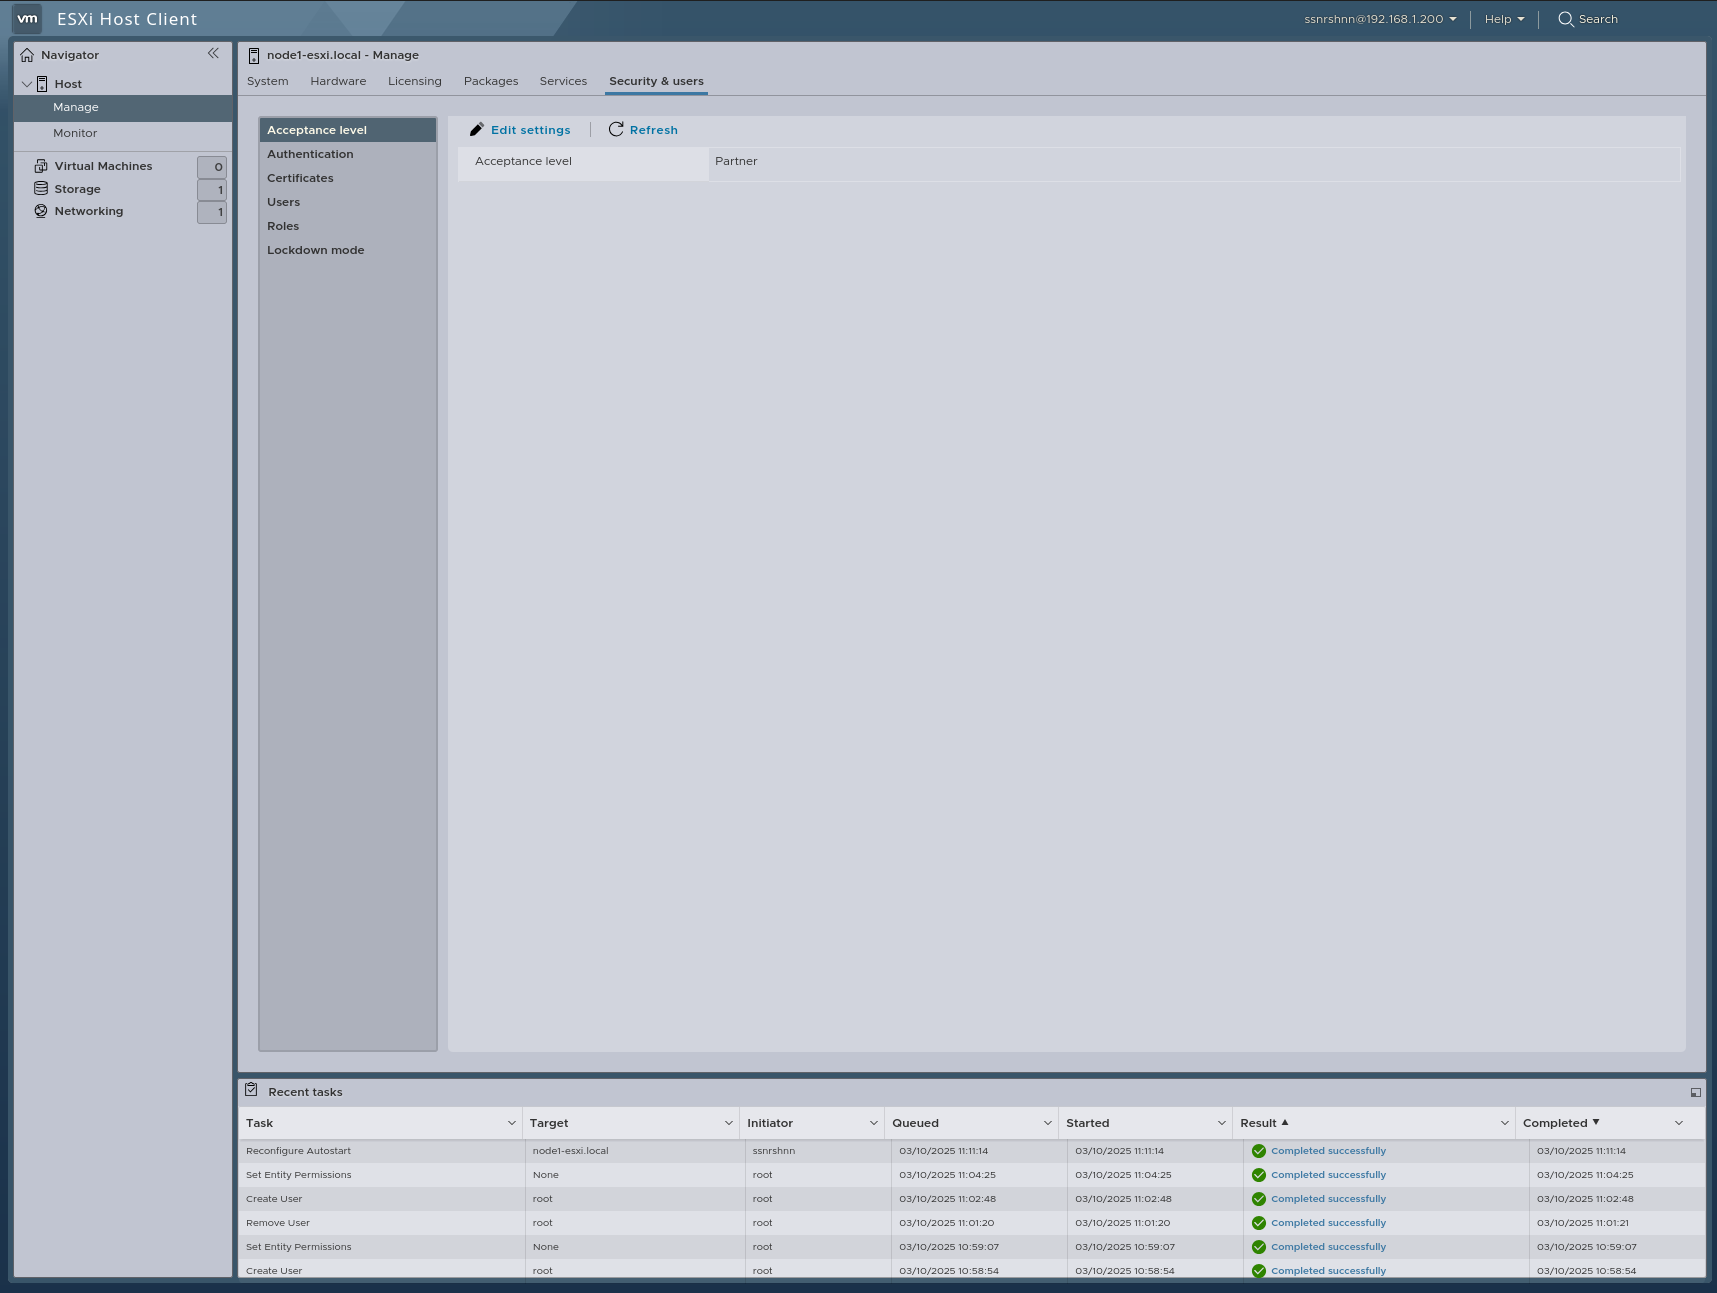
Security & Users:
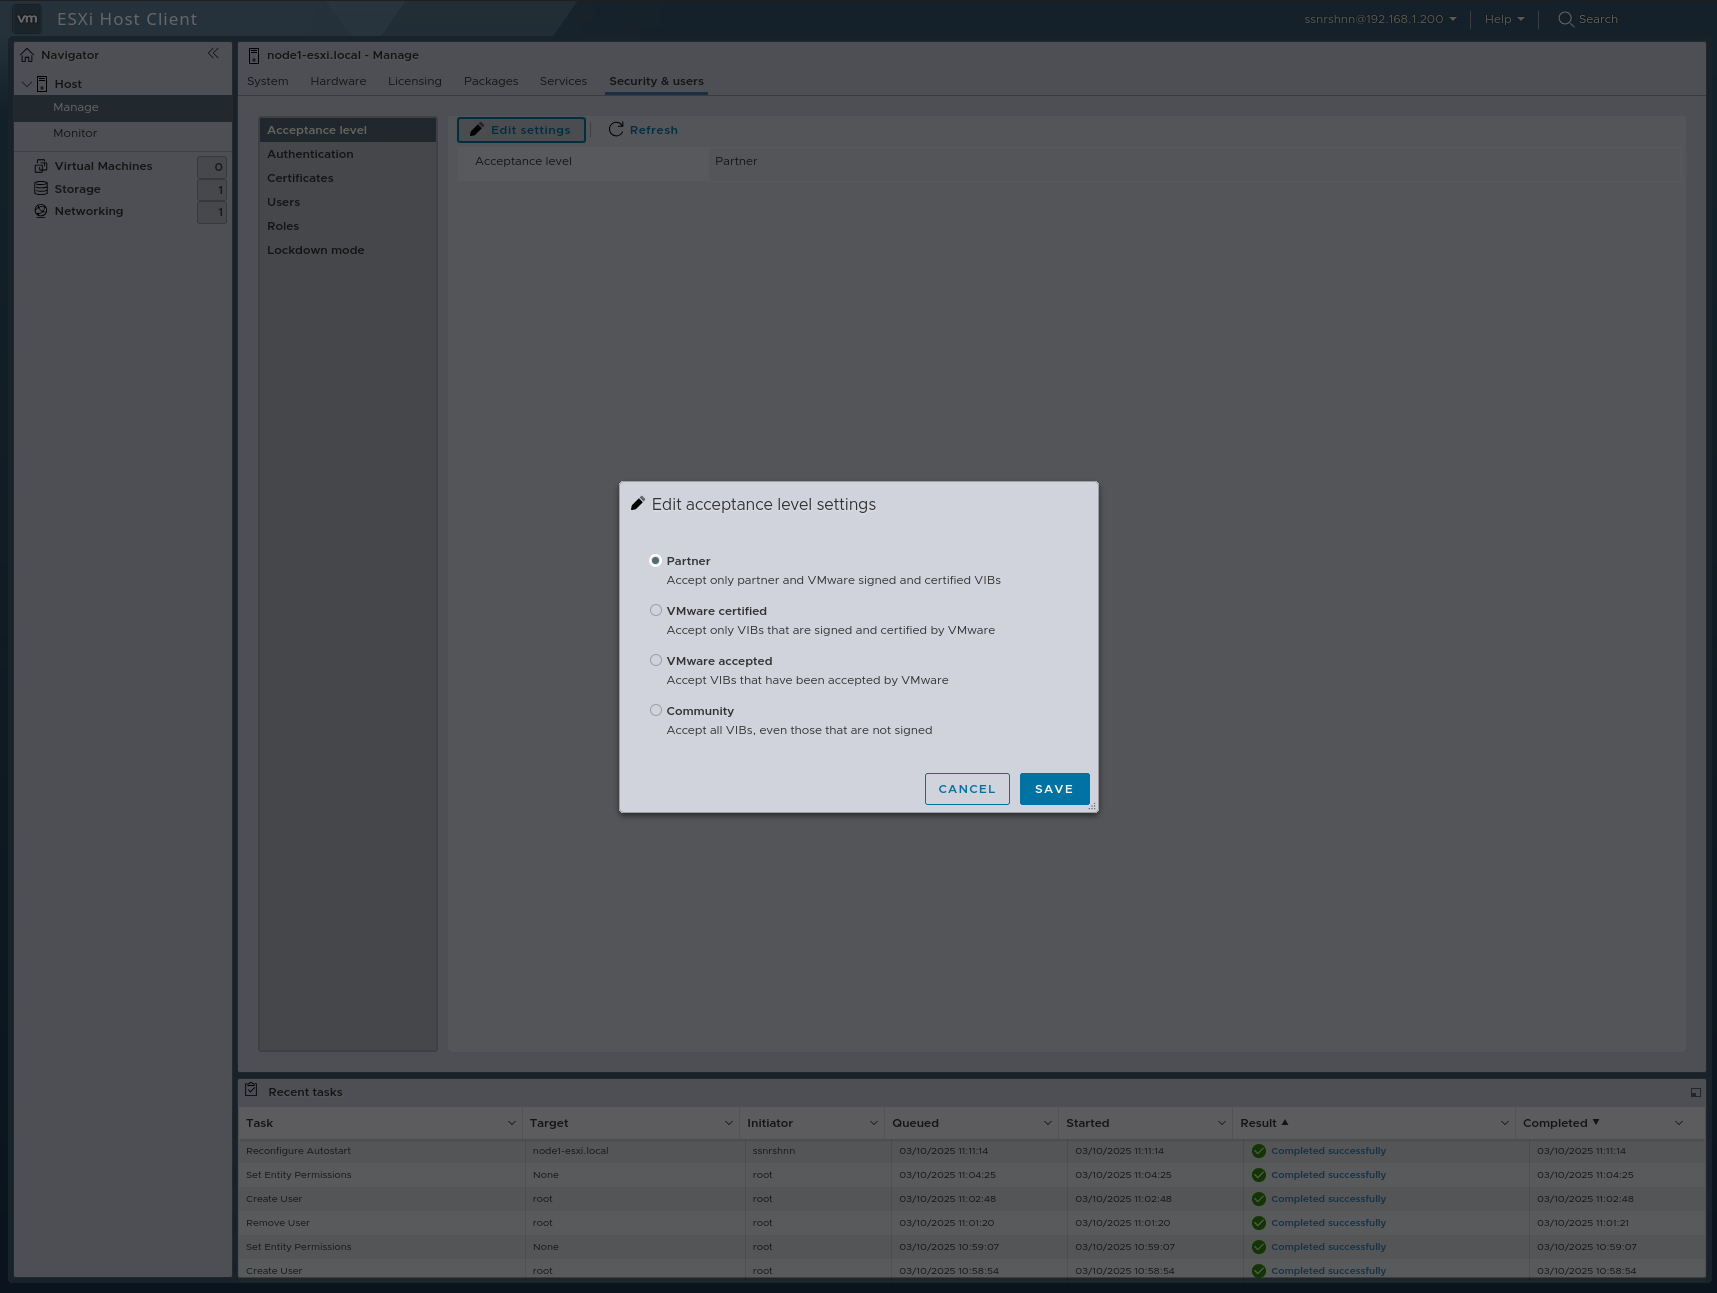
Acceptance Level:
In this section, we can edit the Acceptance Level, which determines which VIBs can be installed on a host.
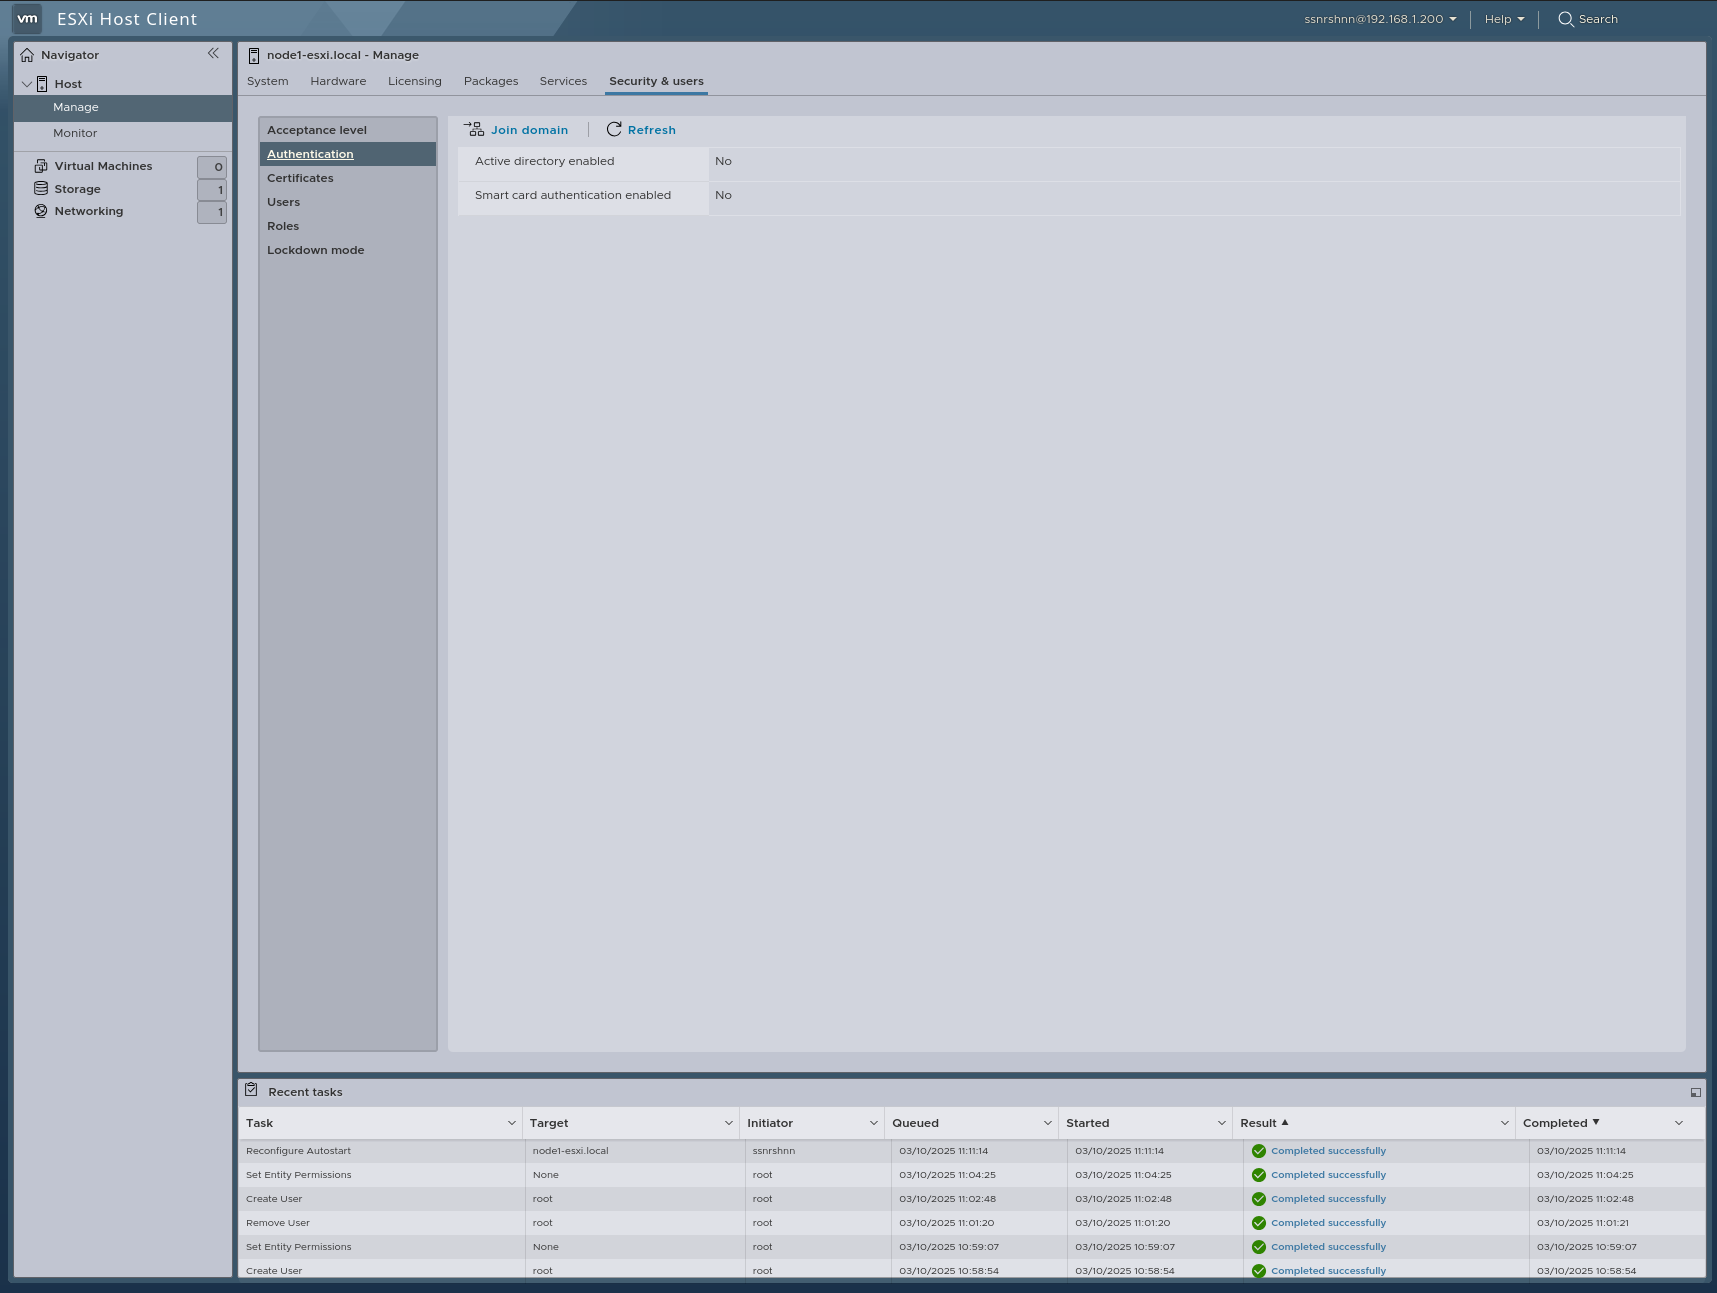
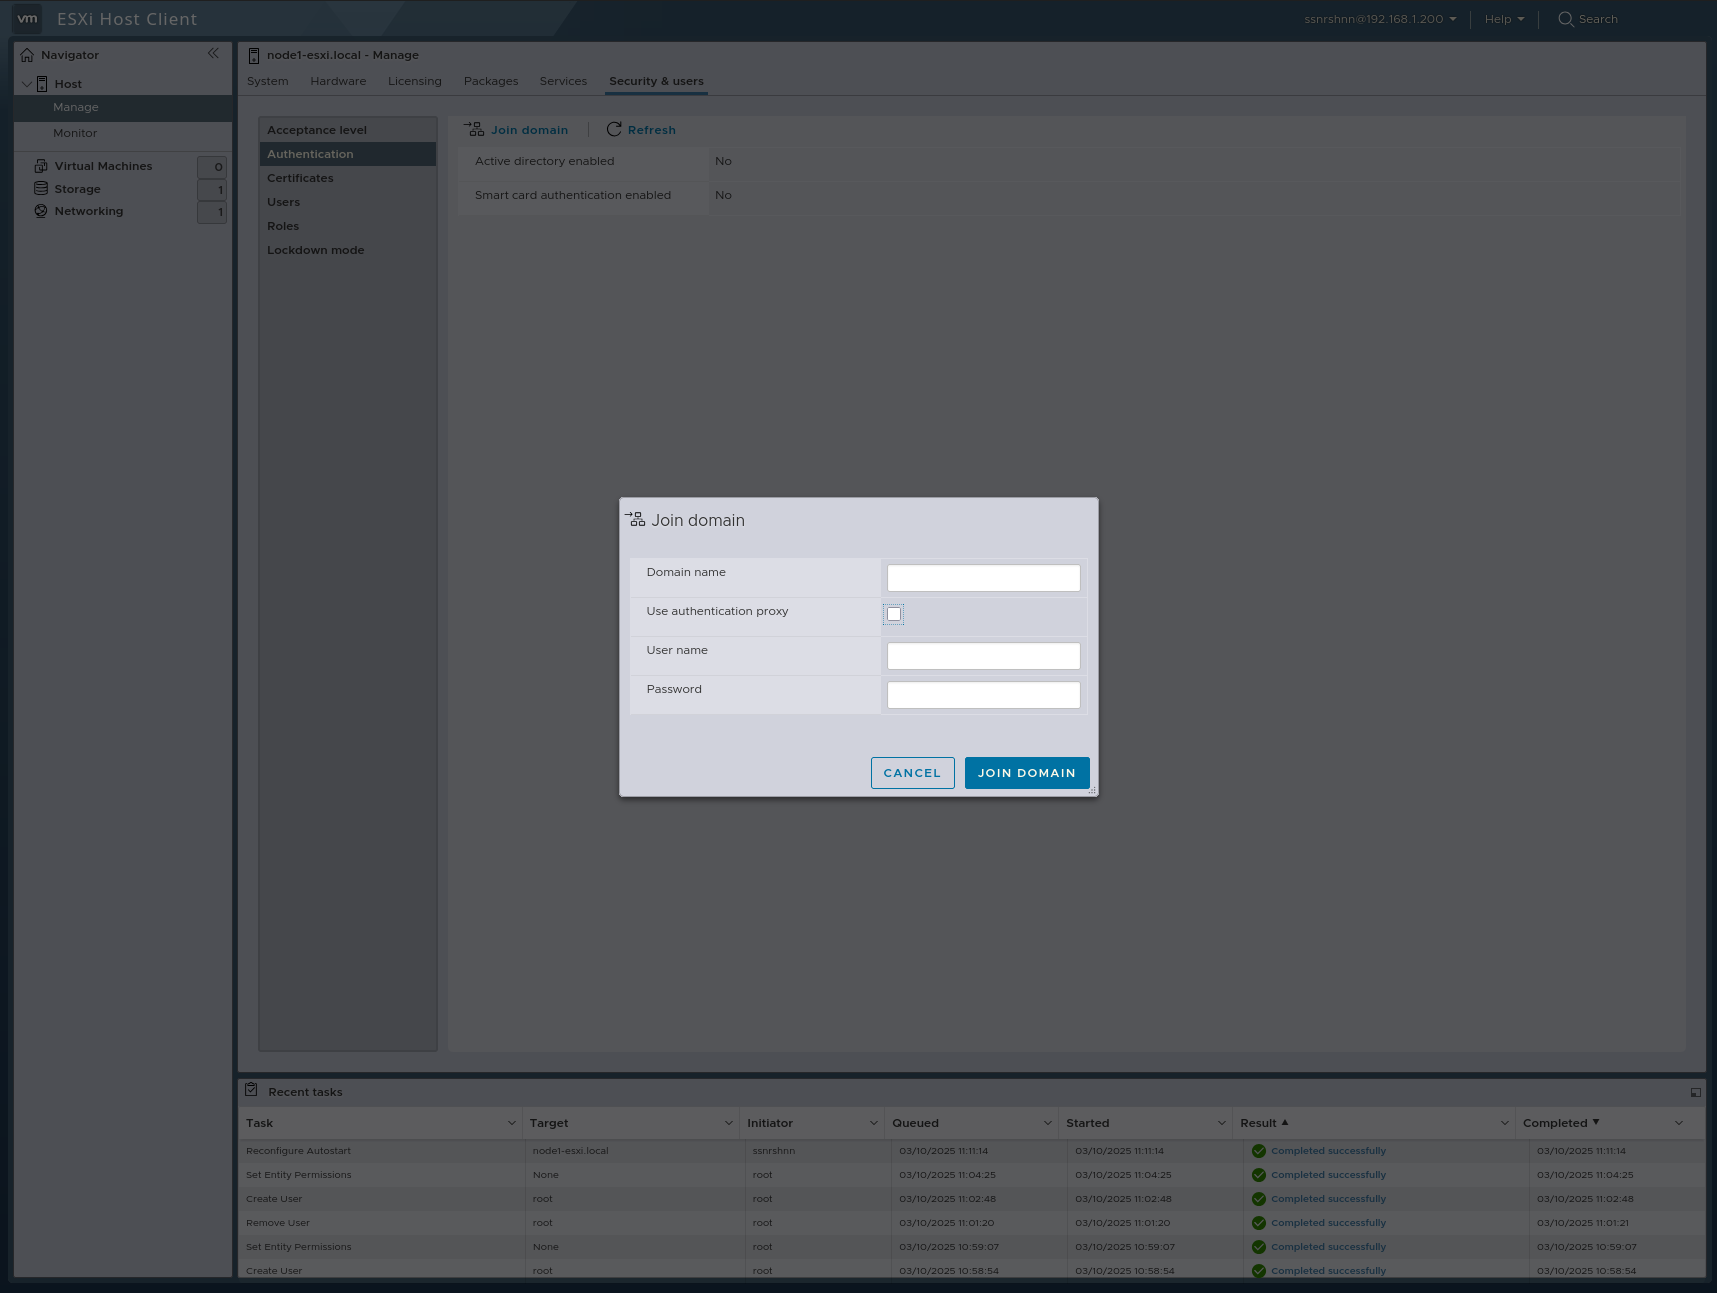
Authentication:
In this section, we can join a domain.
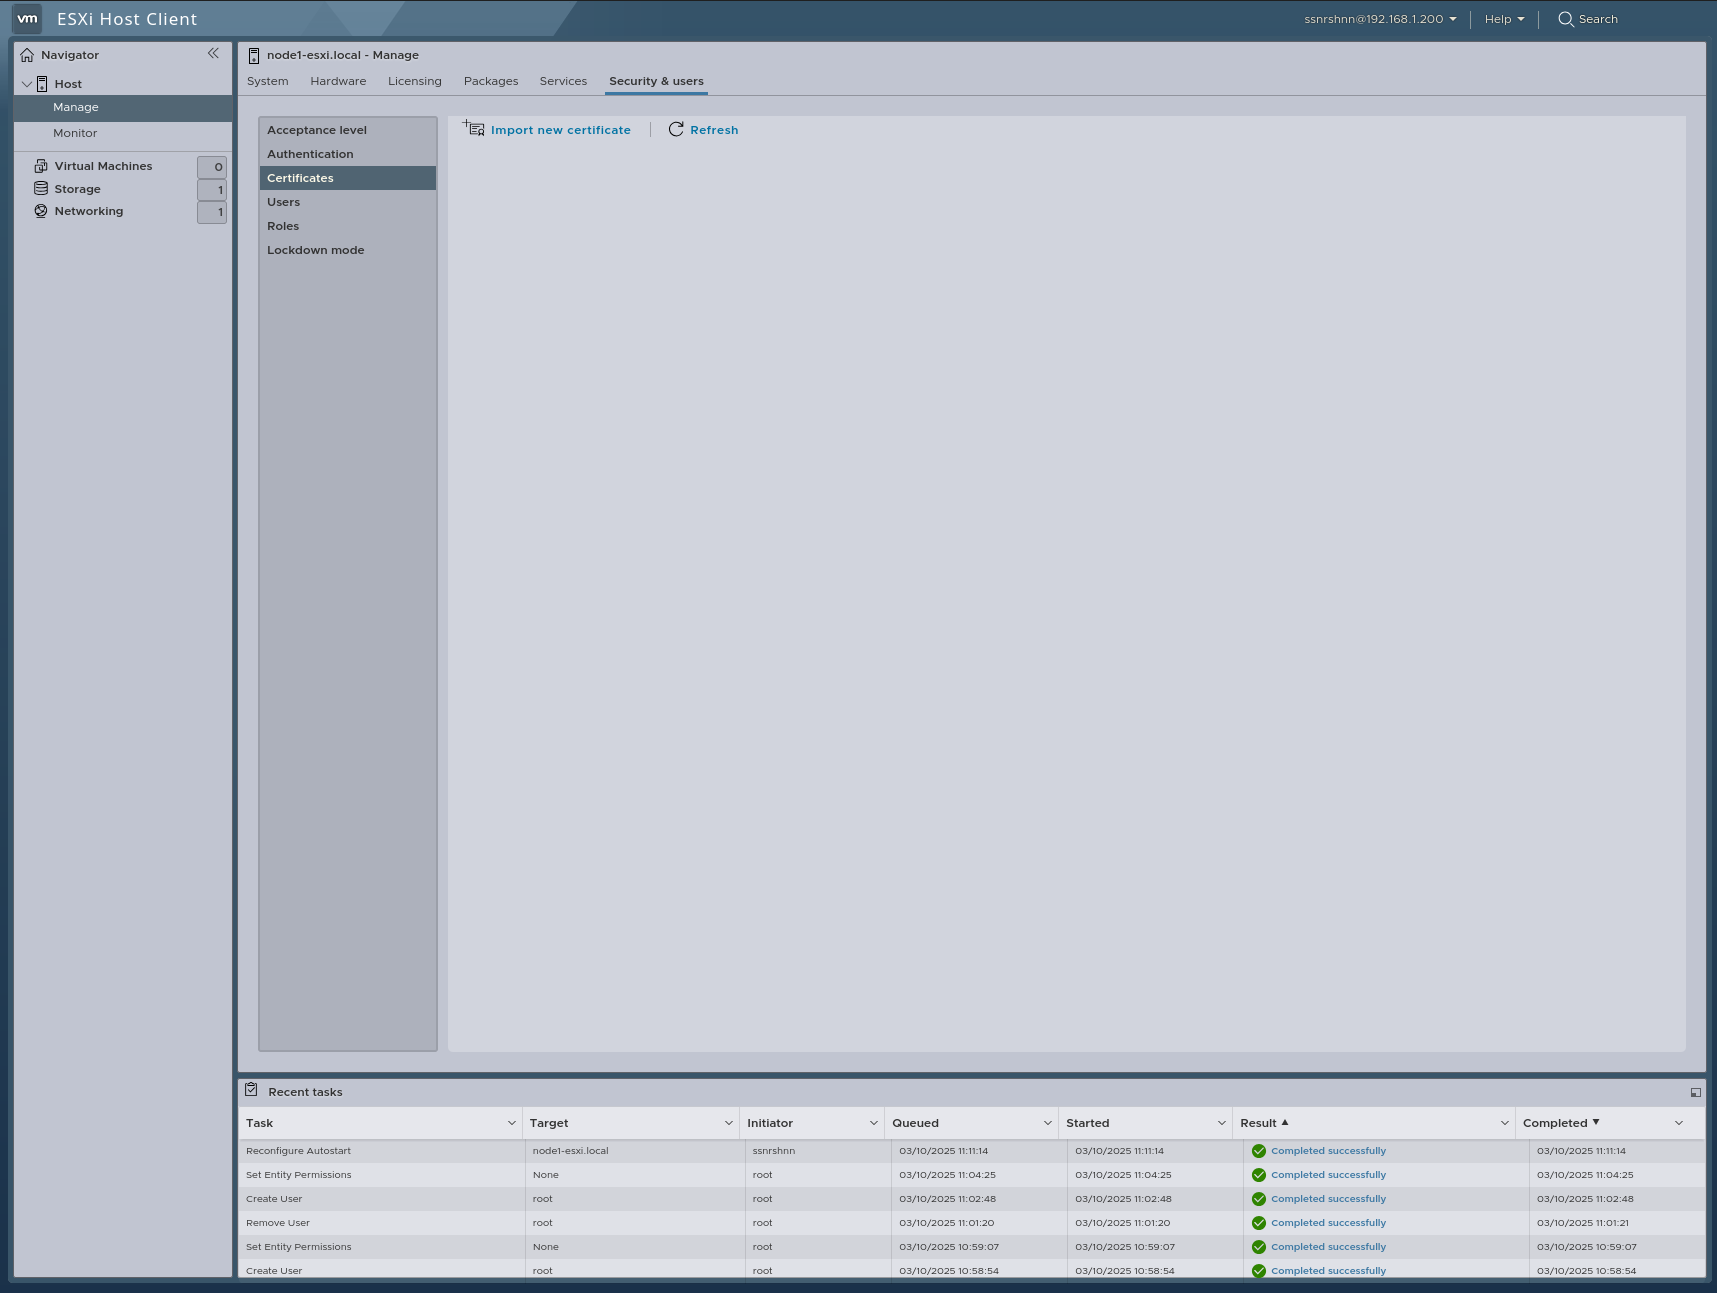
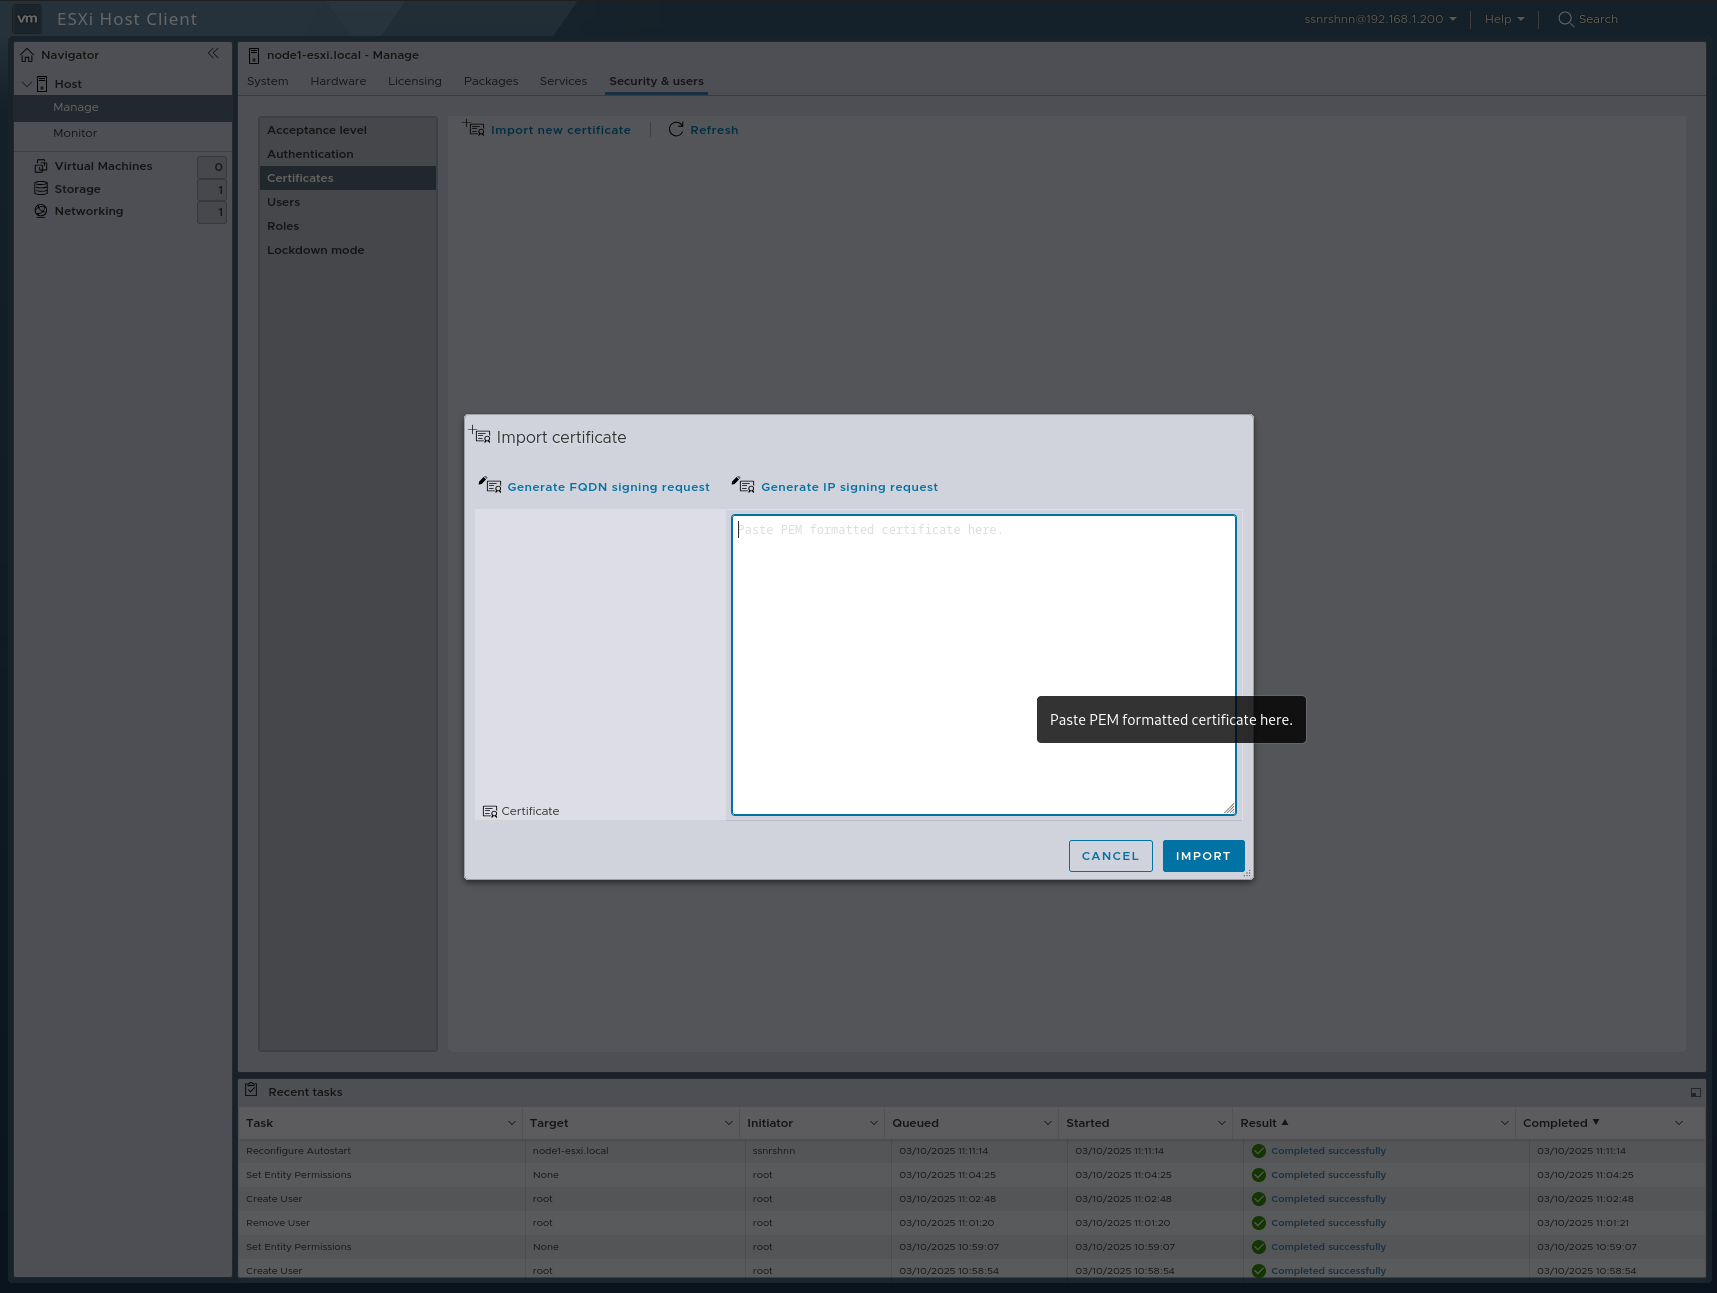
Certificates:
In this section, we can import a certificate for SSL.
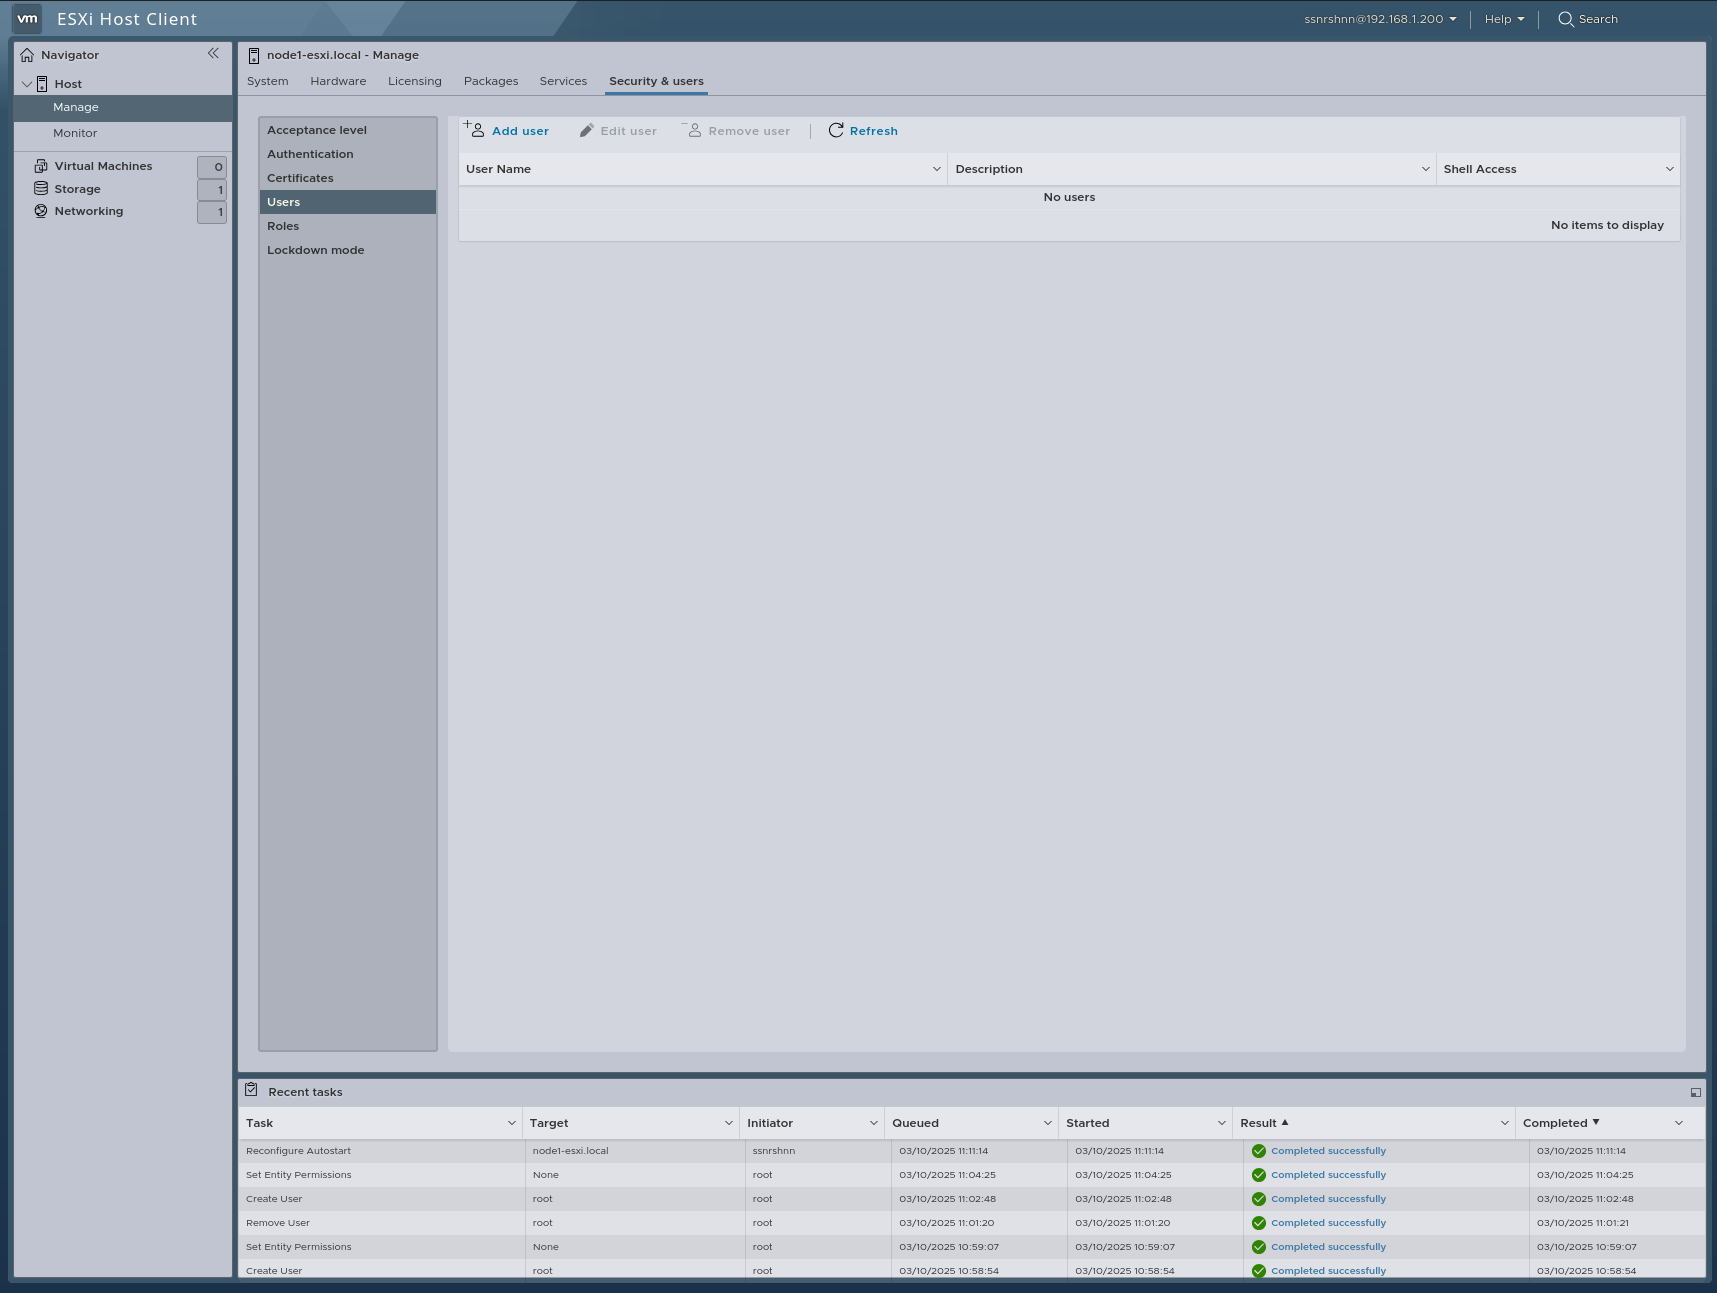
Users:
In this section, we can add, edit, and remove users.
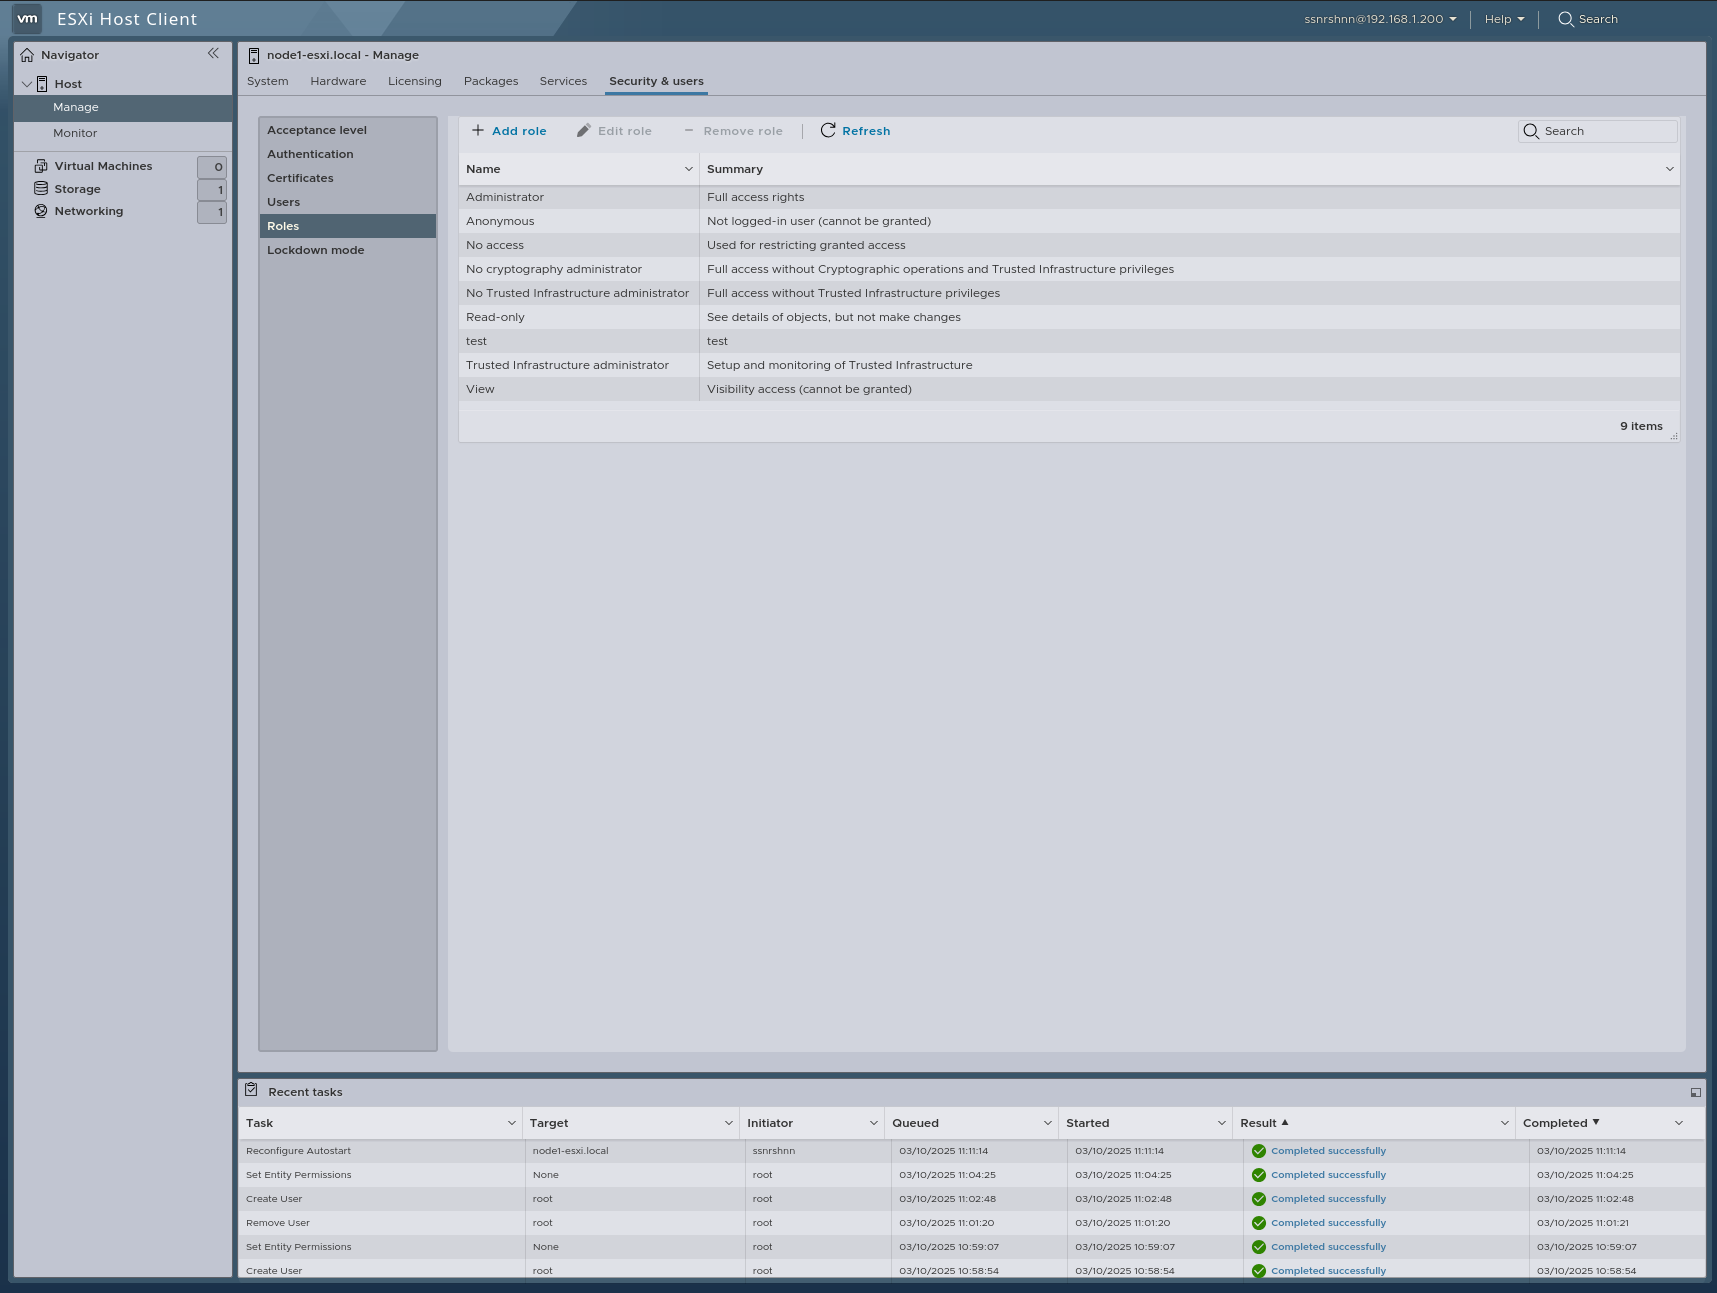
Roles:
In this section, we can view, add, edit, and remove roles.
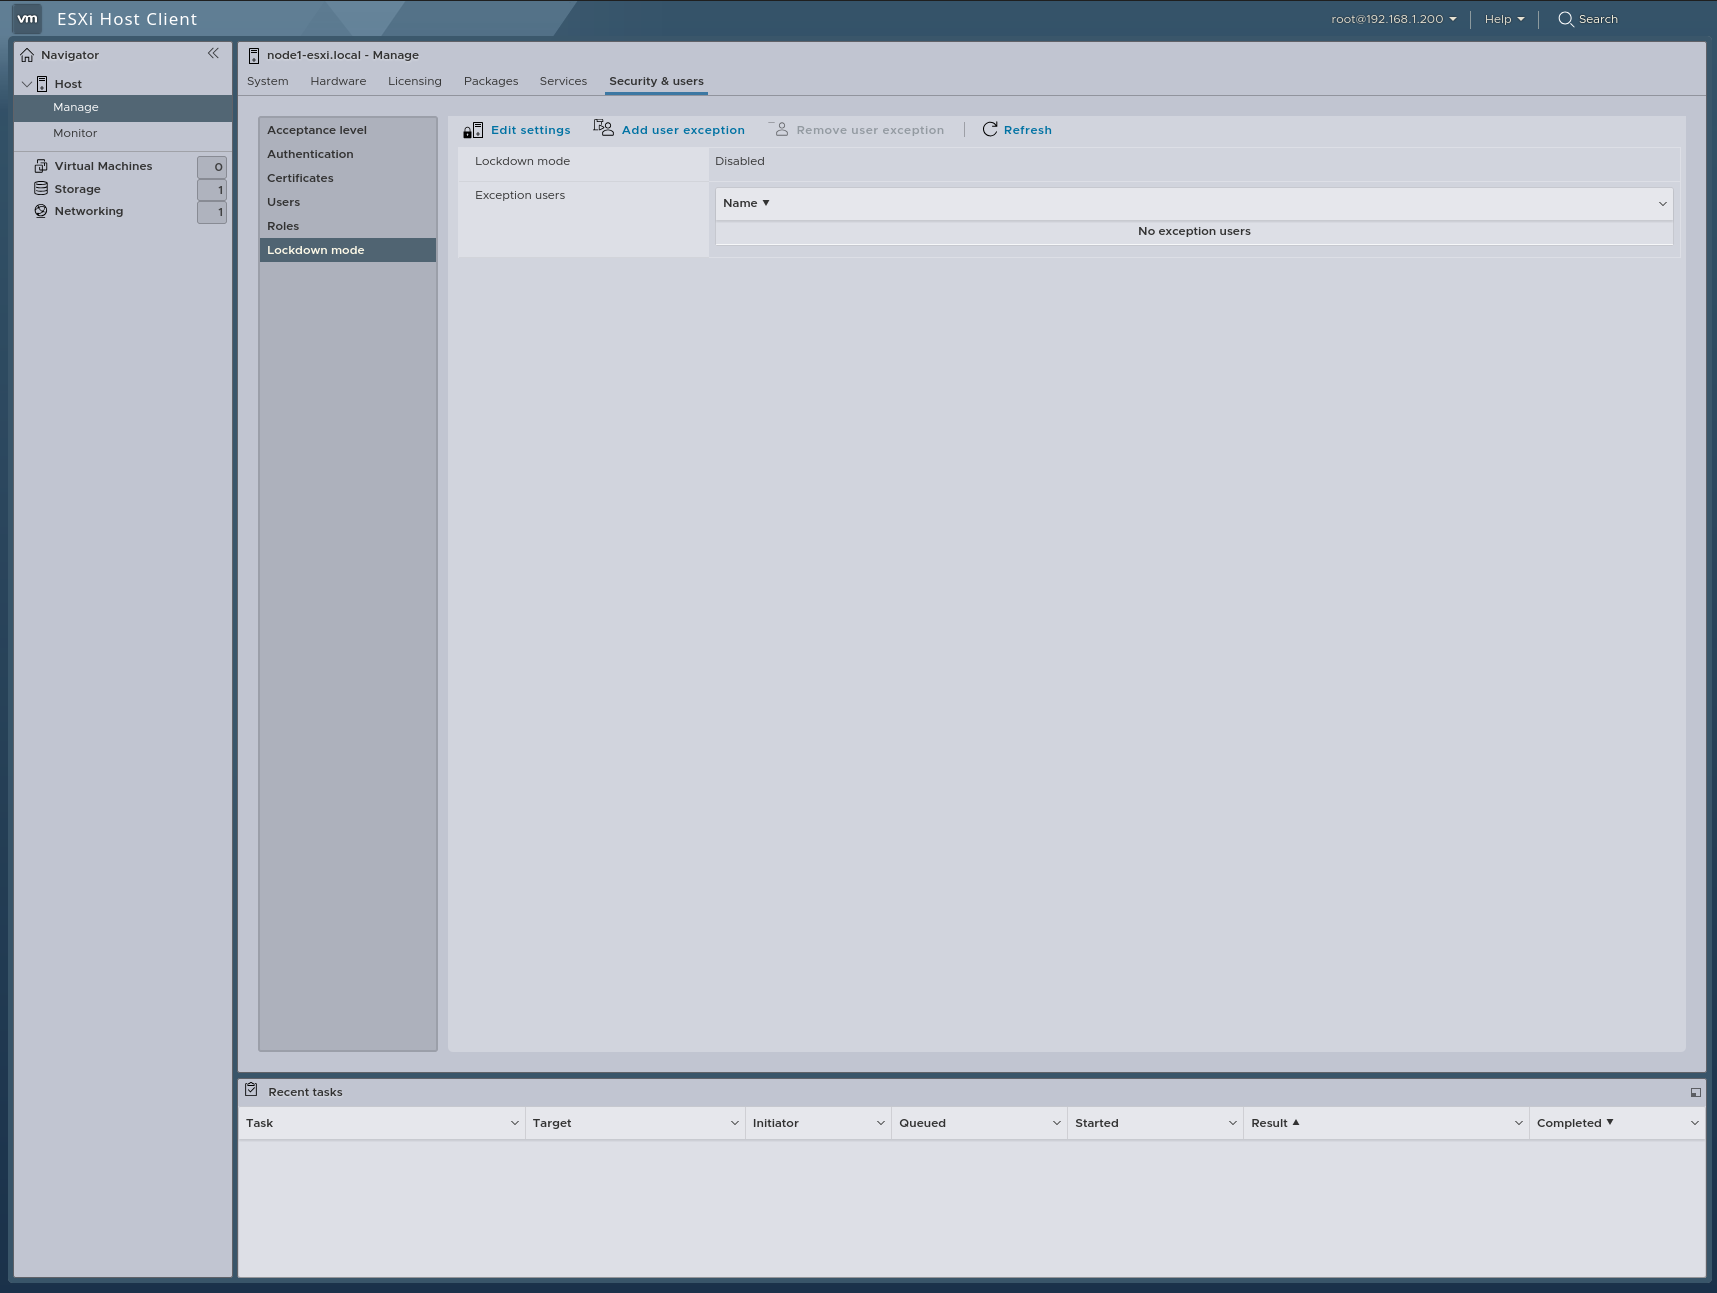
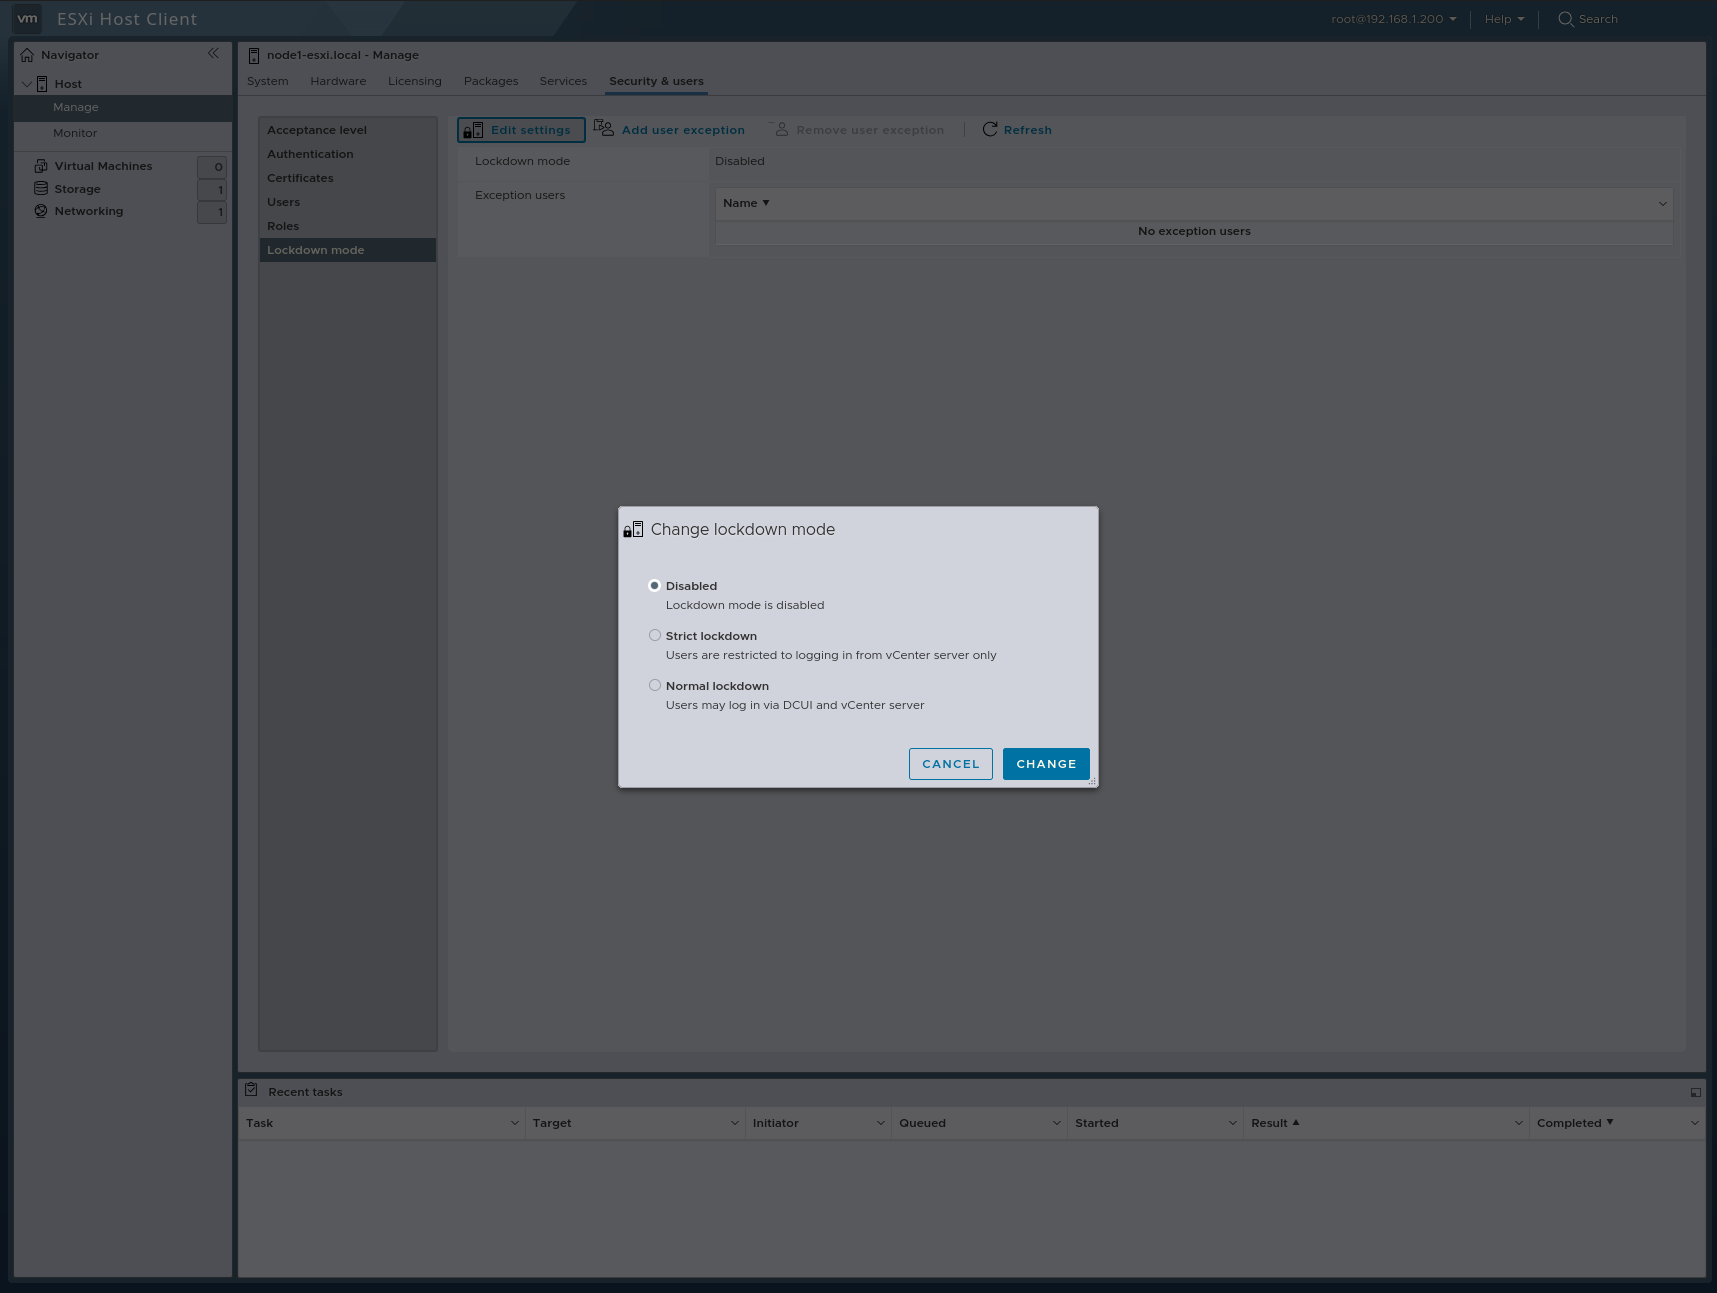
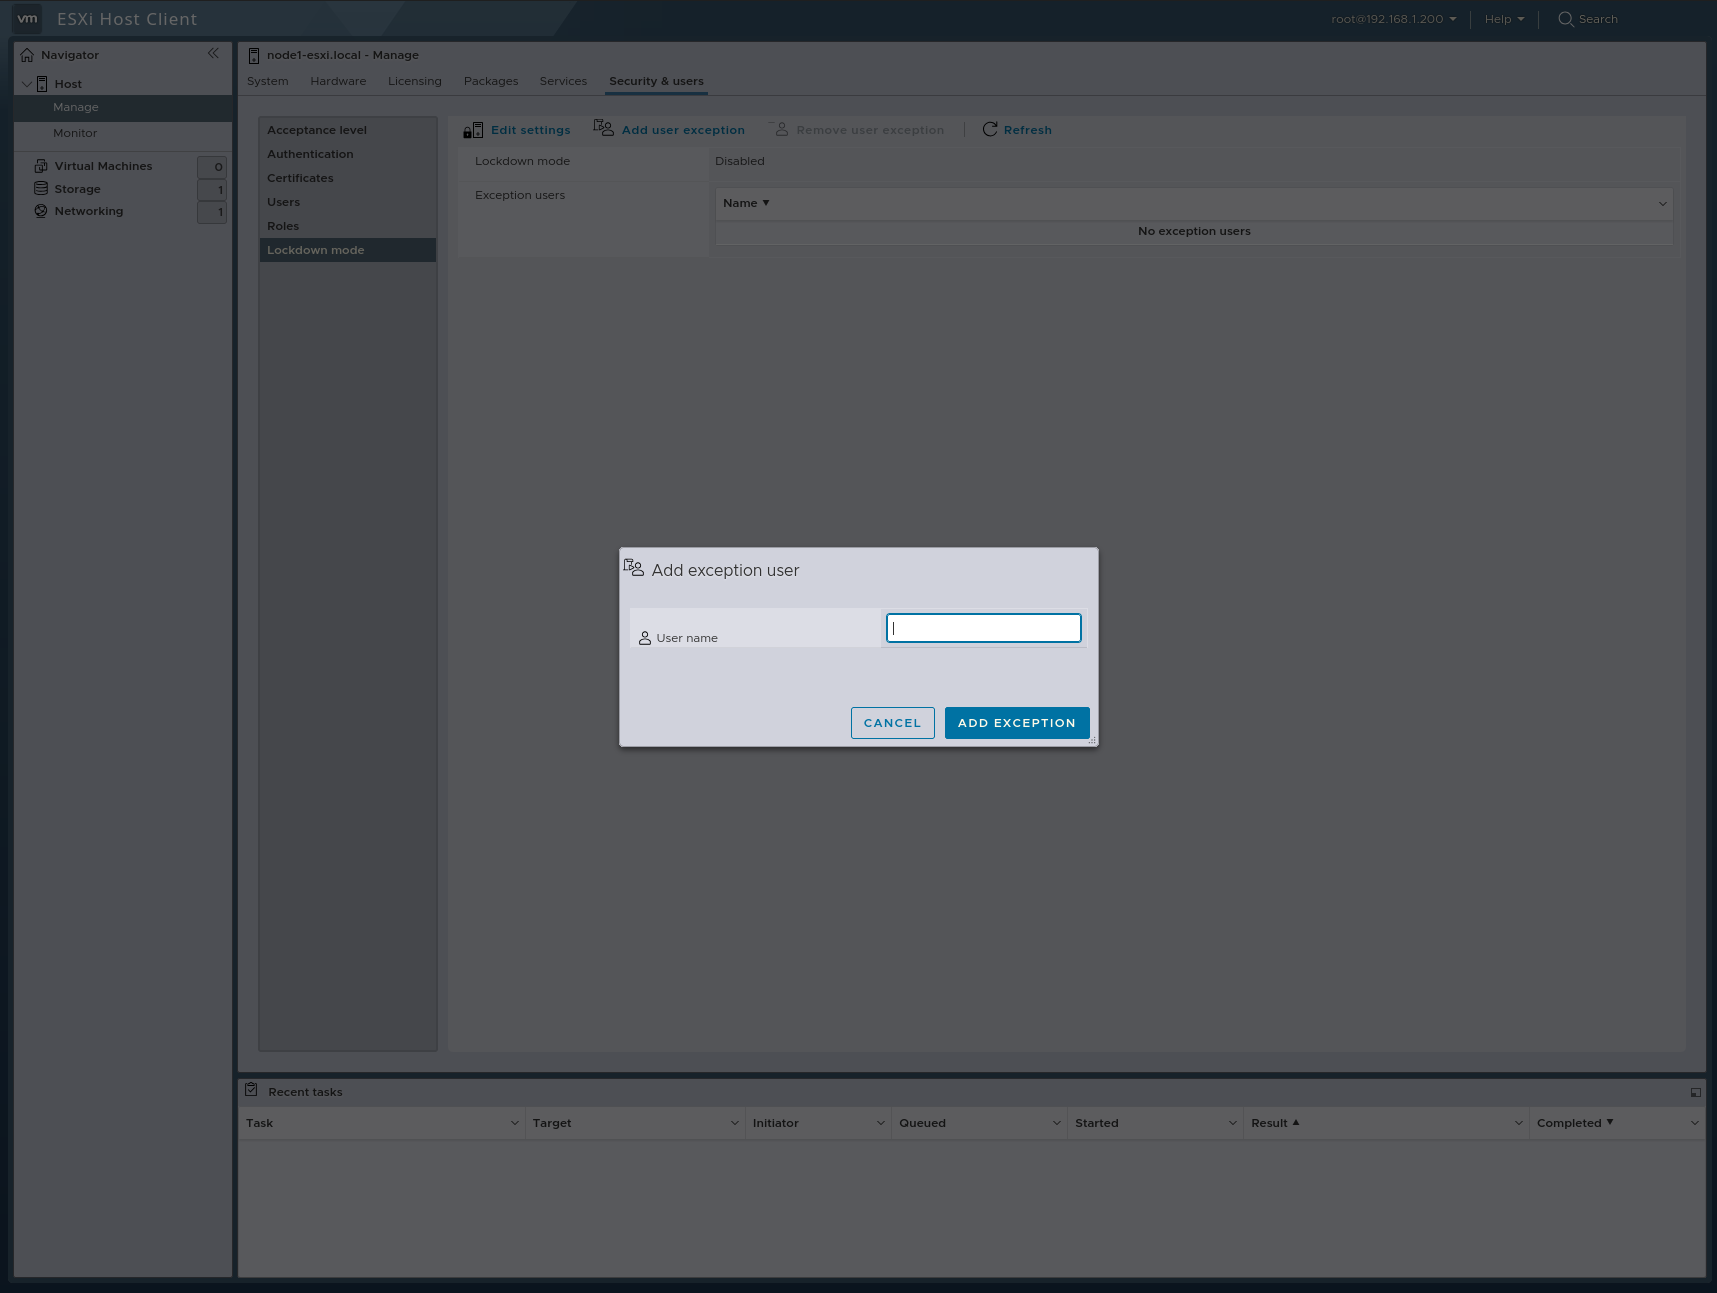
Lockdown Mode:
In this section, we configure Lockdown Mode, which prevents access to the ESXi host’s web management console for security purposes, provided you have a vCenter. You can also configure the user exception feature, which allows only specified exception users to access the host.
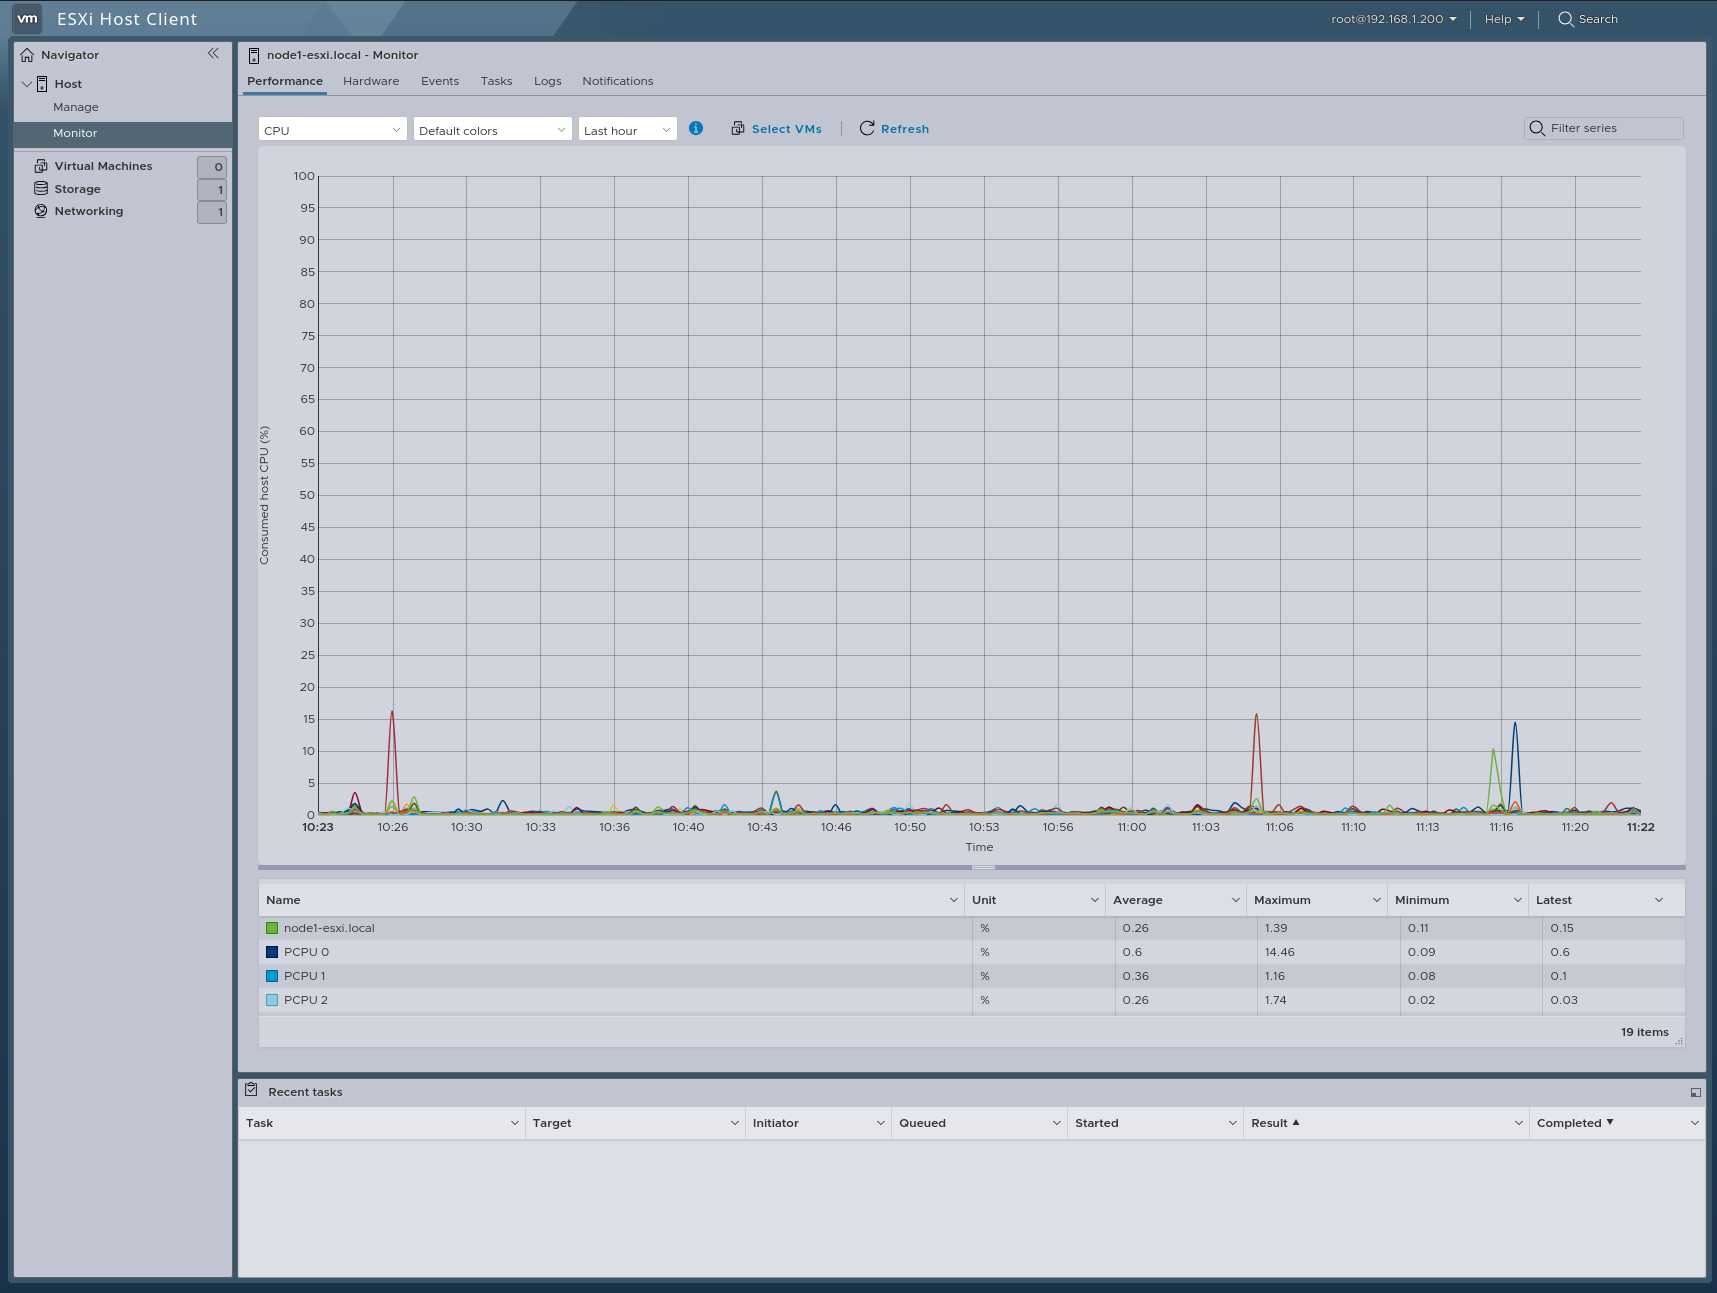
Monitor:
In this section, we can monitor our ESXi host’s resources, including Performance, Hardware, Storage, Events, Tasks, Logs, and Notifications.
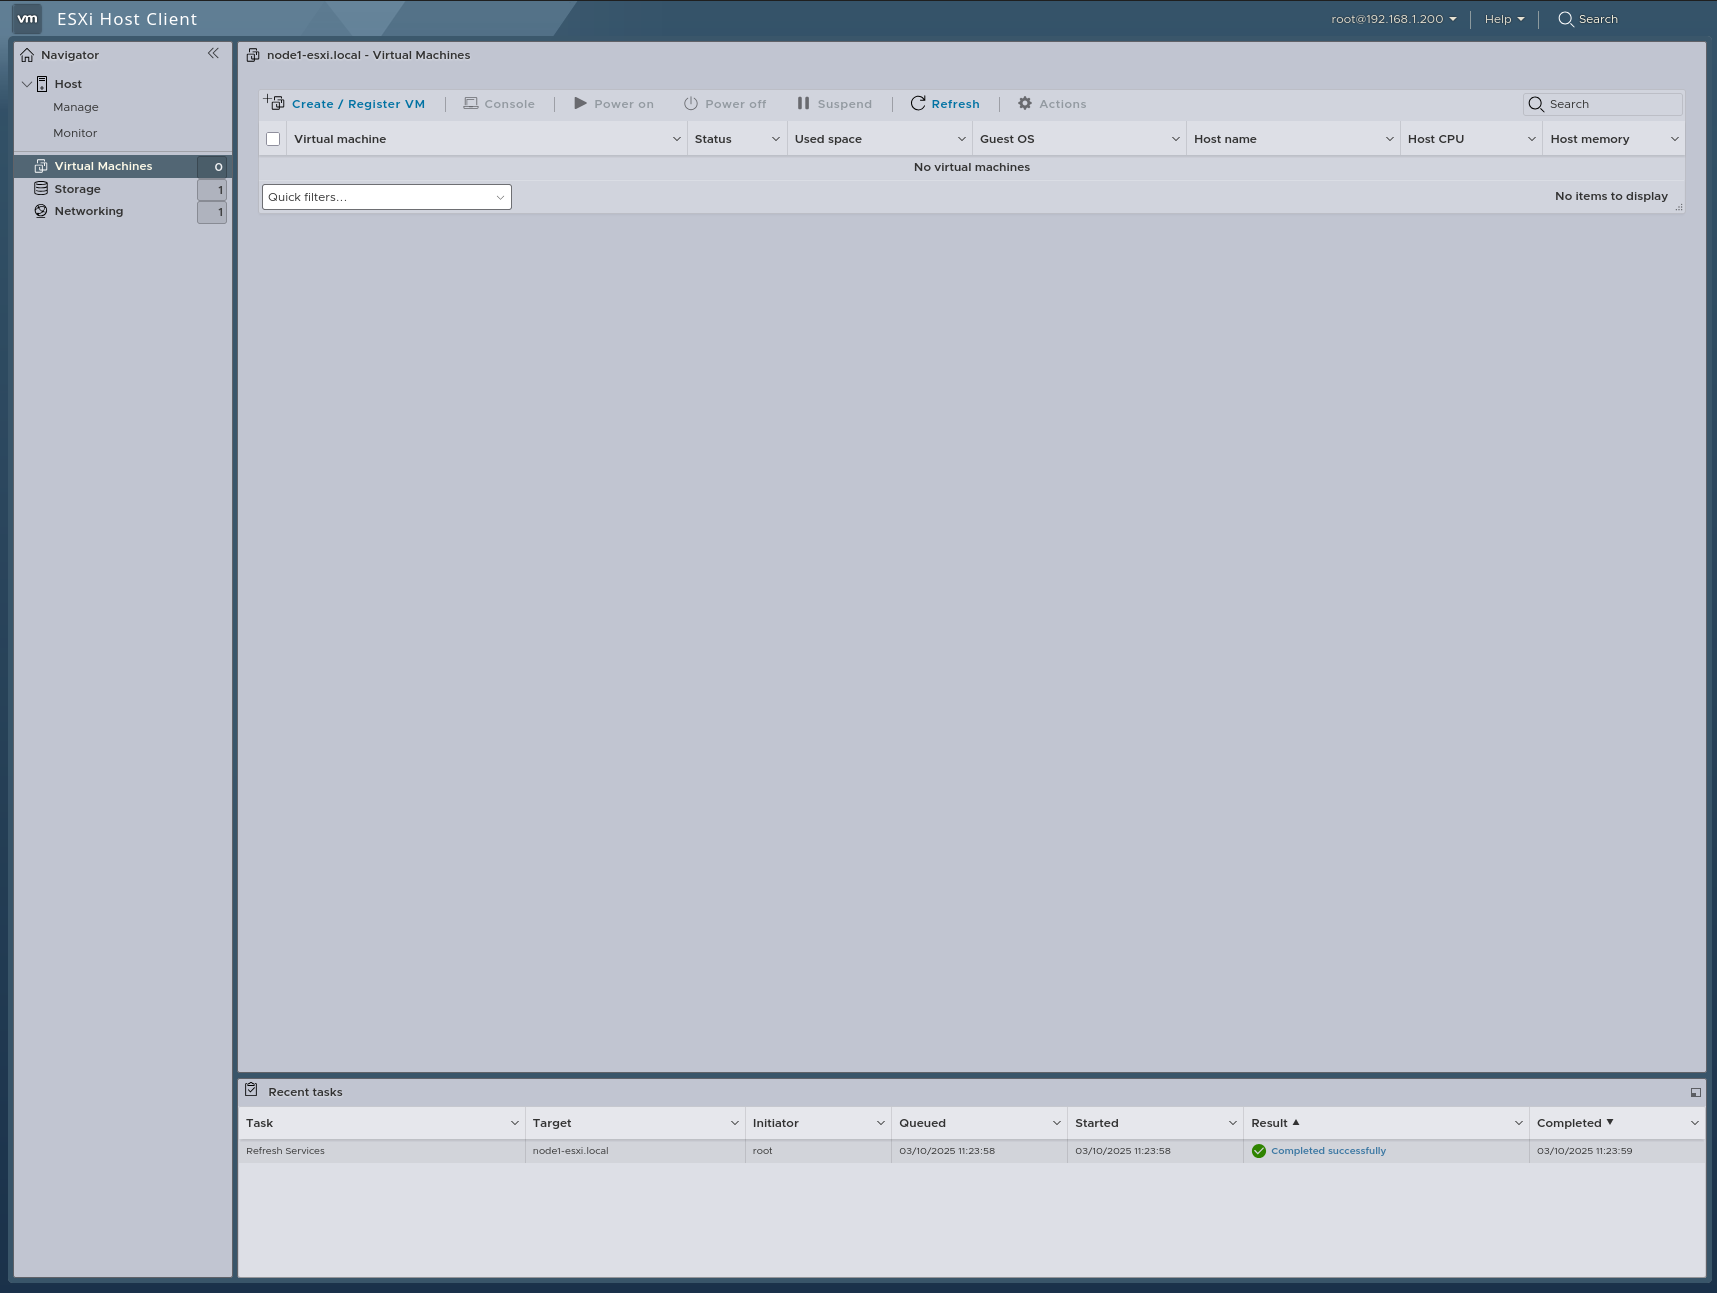
Virtual Machines:
In this section, we can create and manage virtual machines.
Storage:
In this section, we can view and manage our storage.

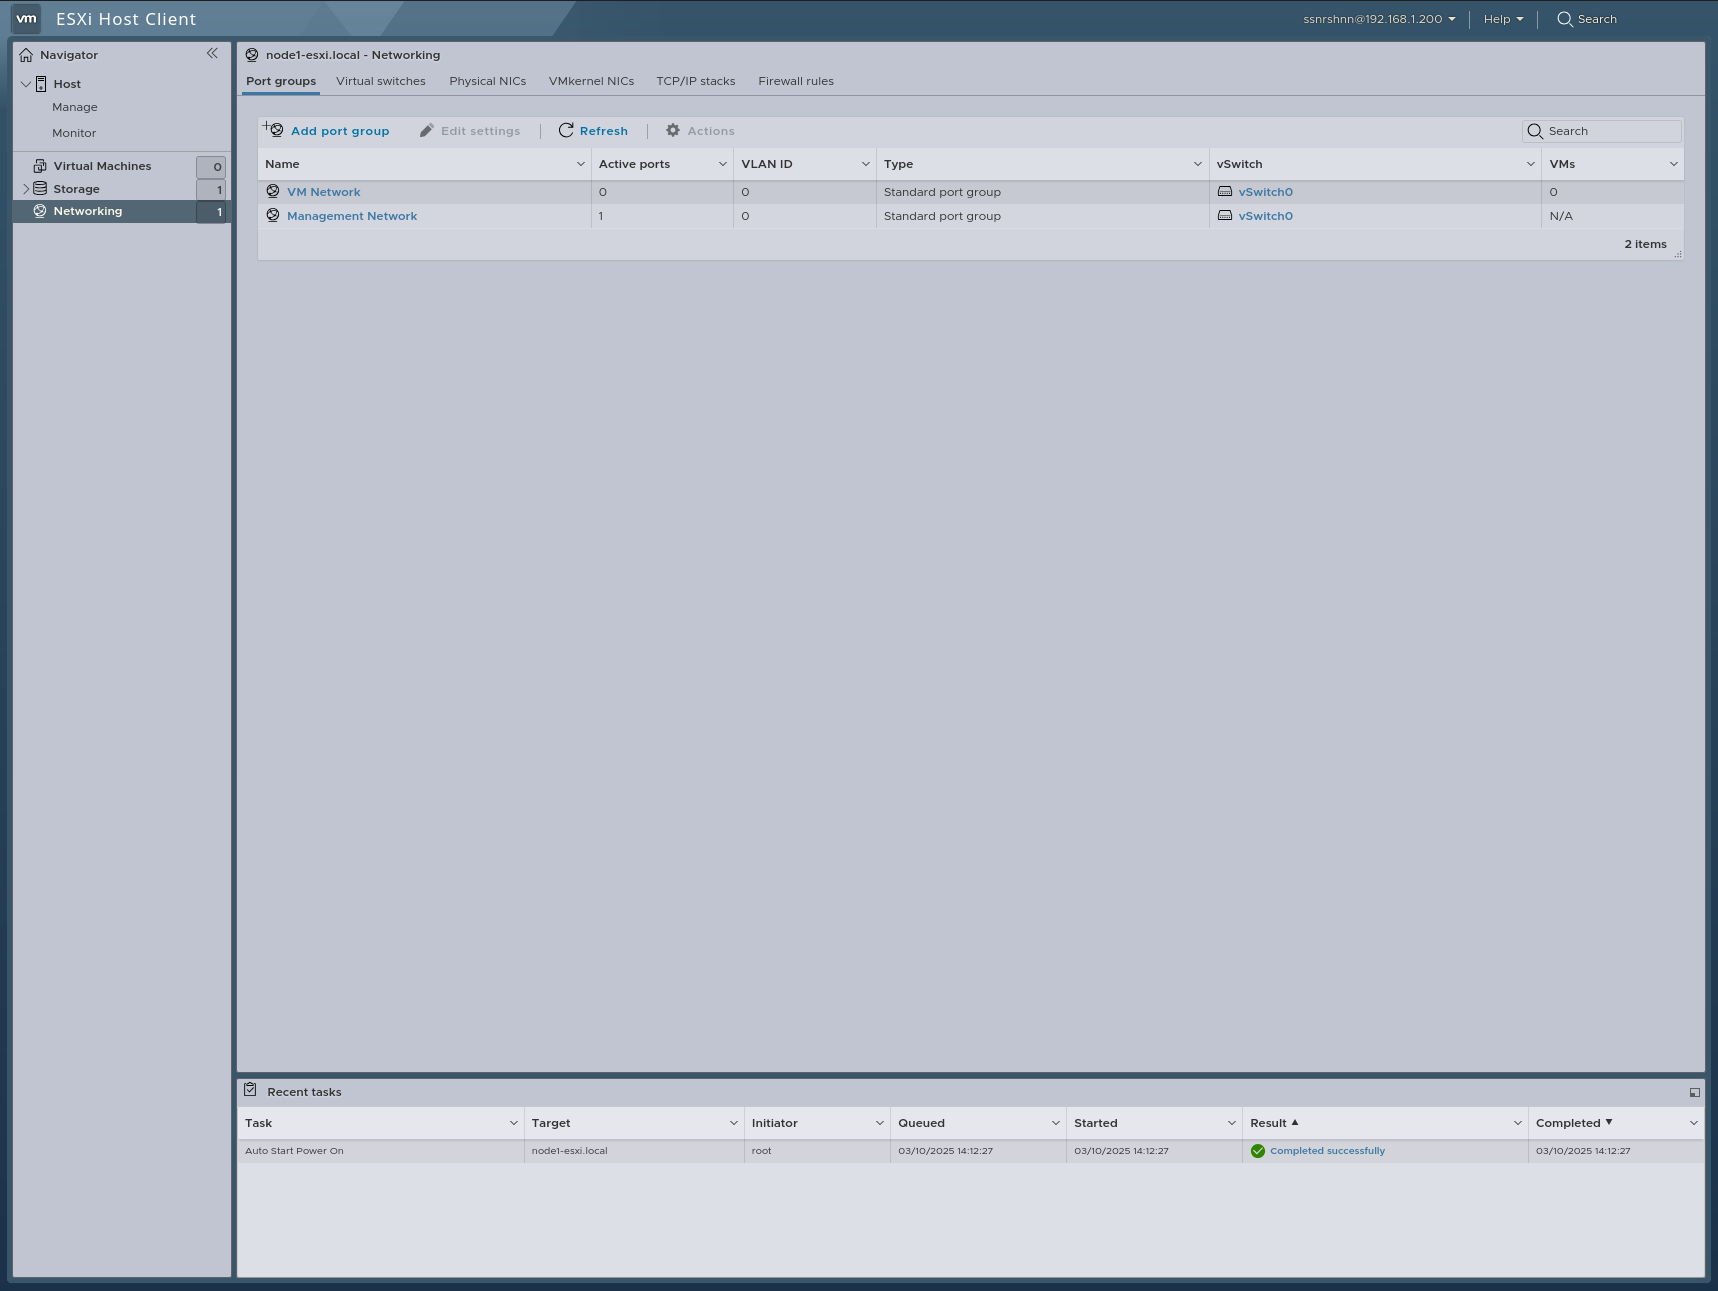
Networking:
In this section, we configure all our networking settings.
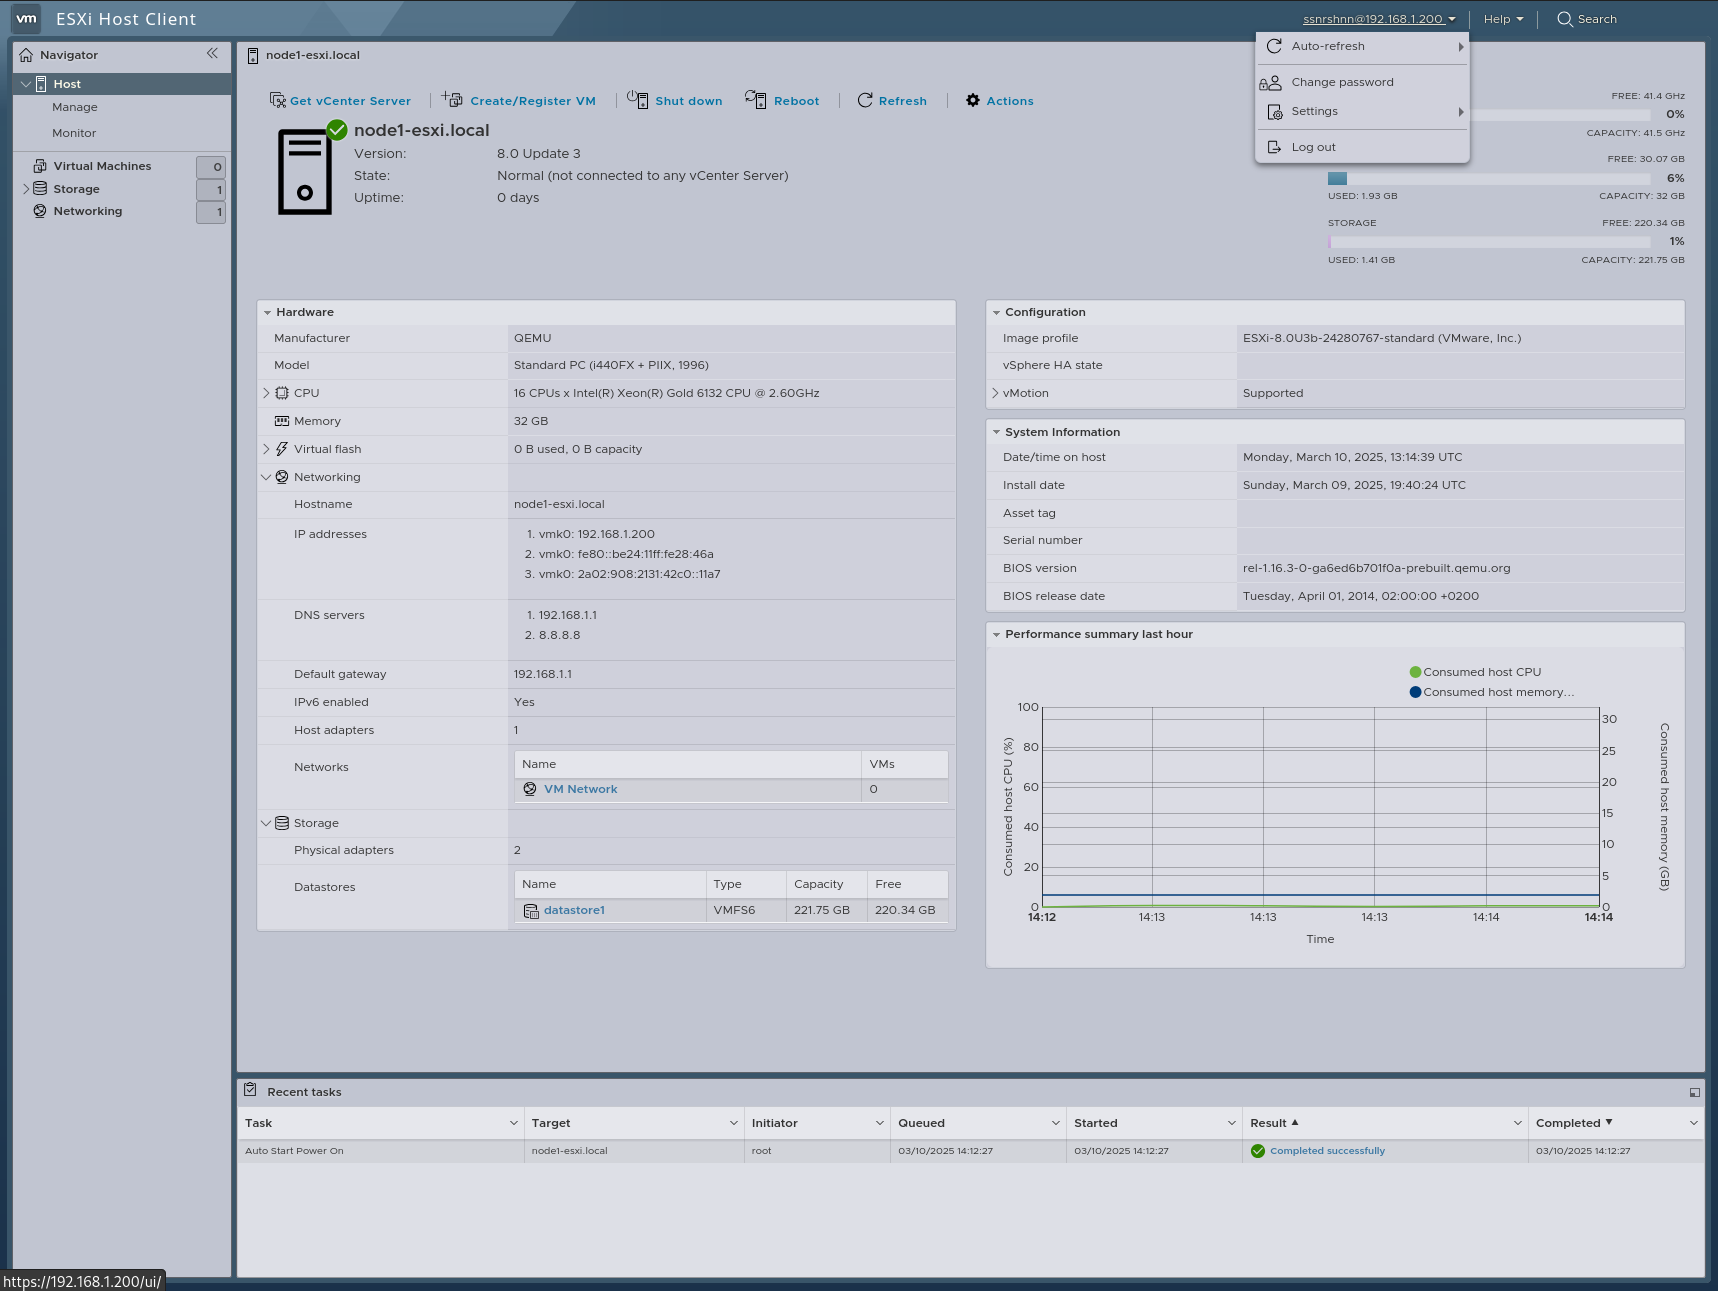
In this section, we can log out, change the password, and manage other settings.
You can configure it according to your infrastructure.
Thank you for taking the time to read this article. I hope you found it useful.
Keep up the great work!